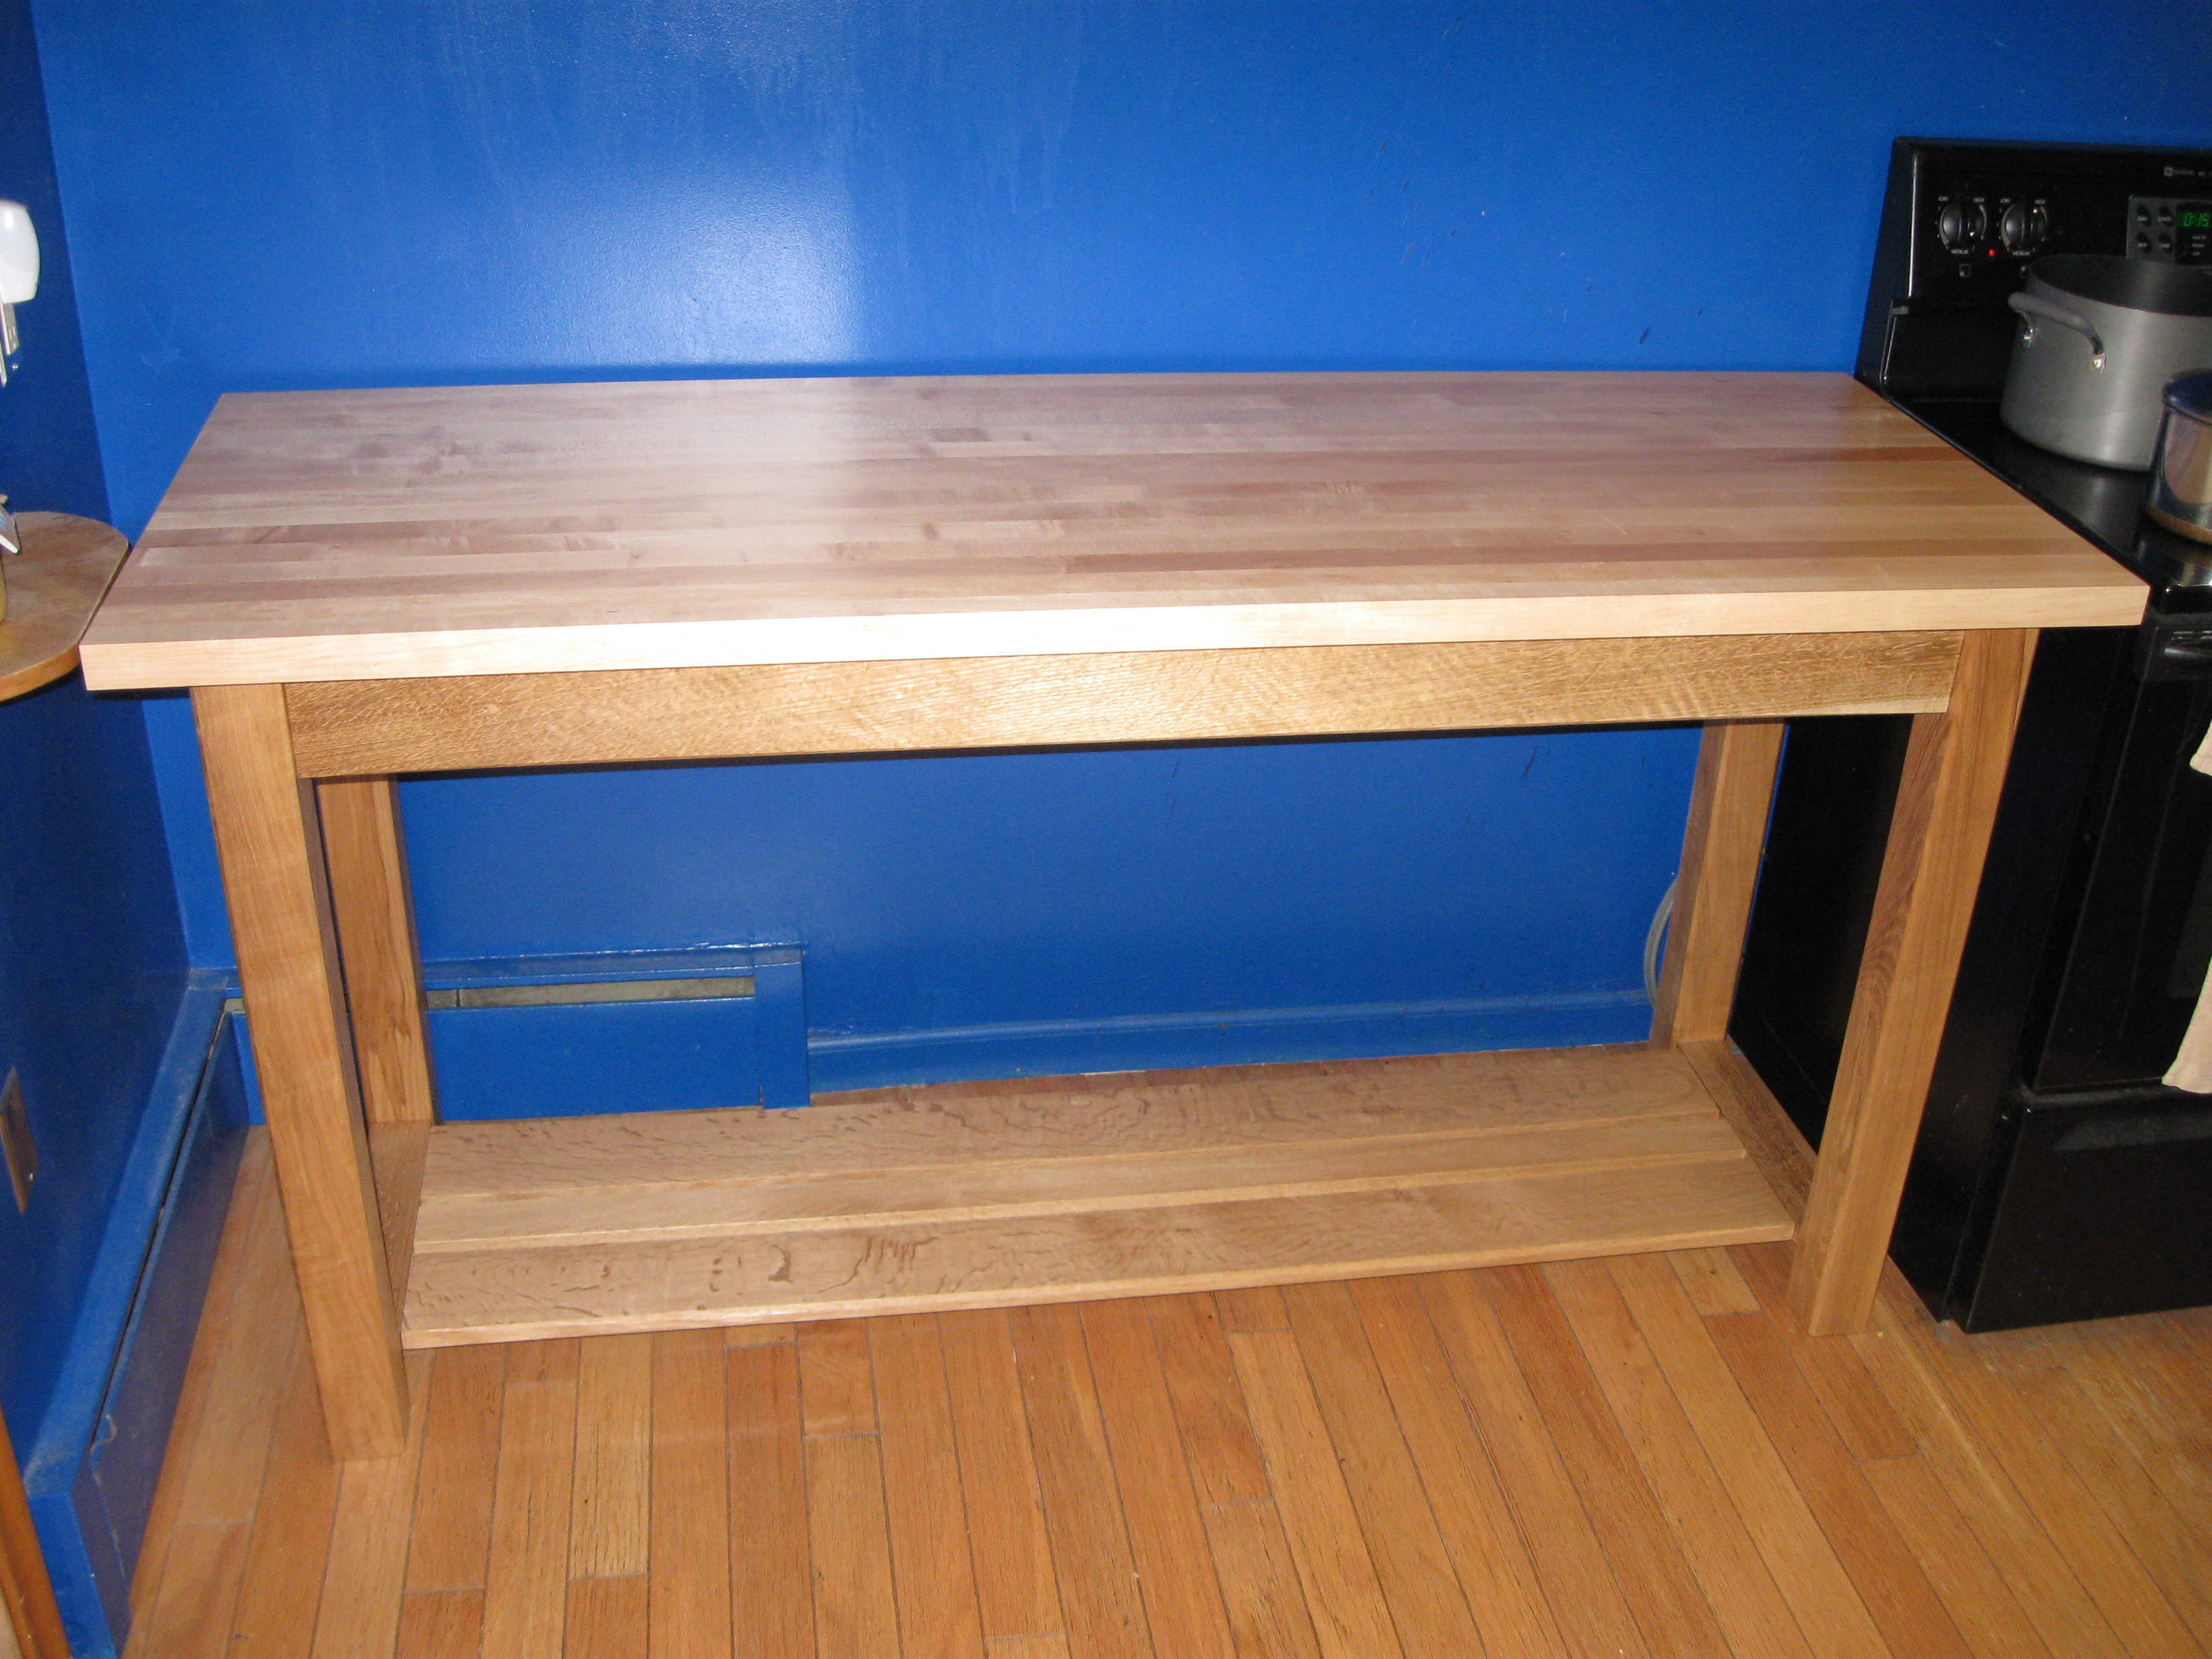
I finished the second of the two projects that got me into woodworking this week (the first was a coat rack). This is a new table for our kitchen, which will give us about six more feet of countertop space.
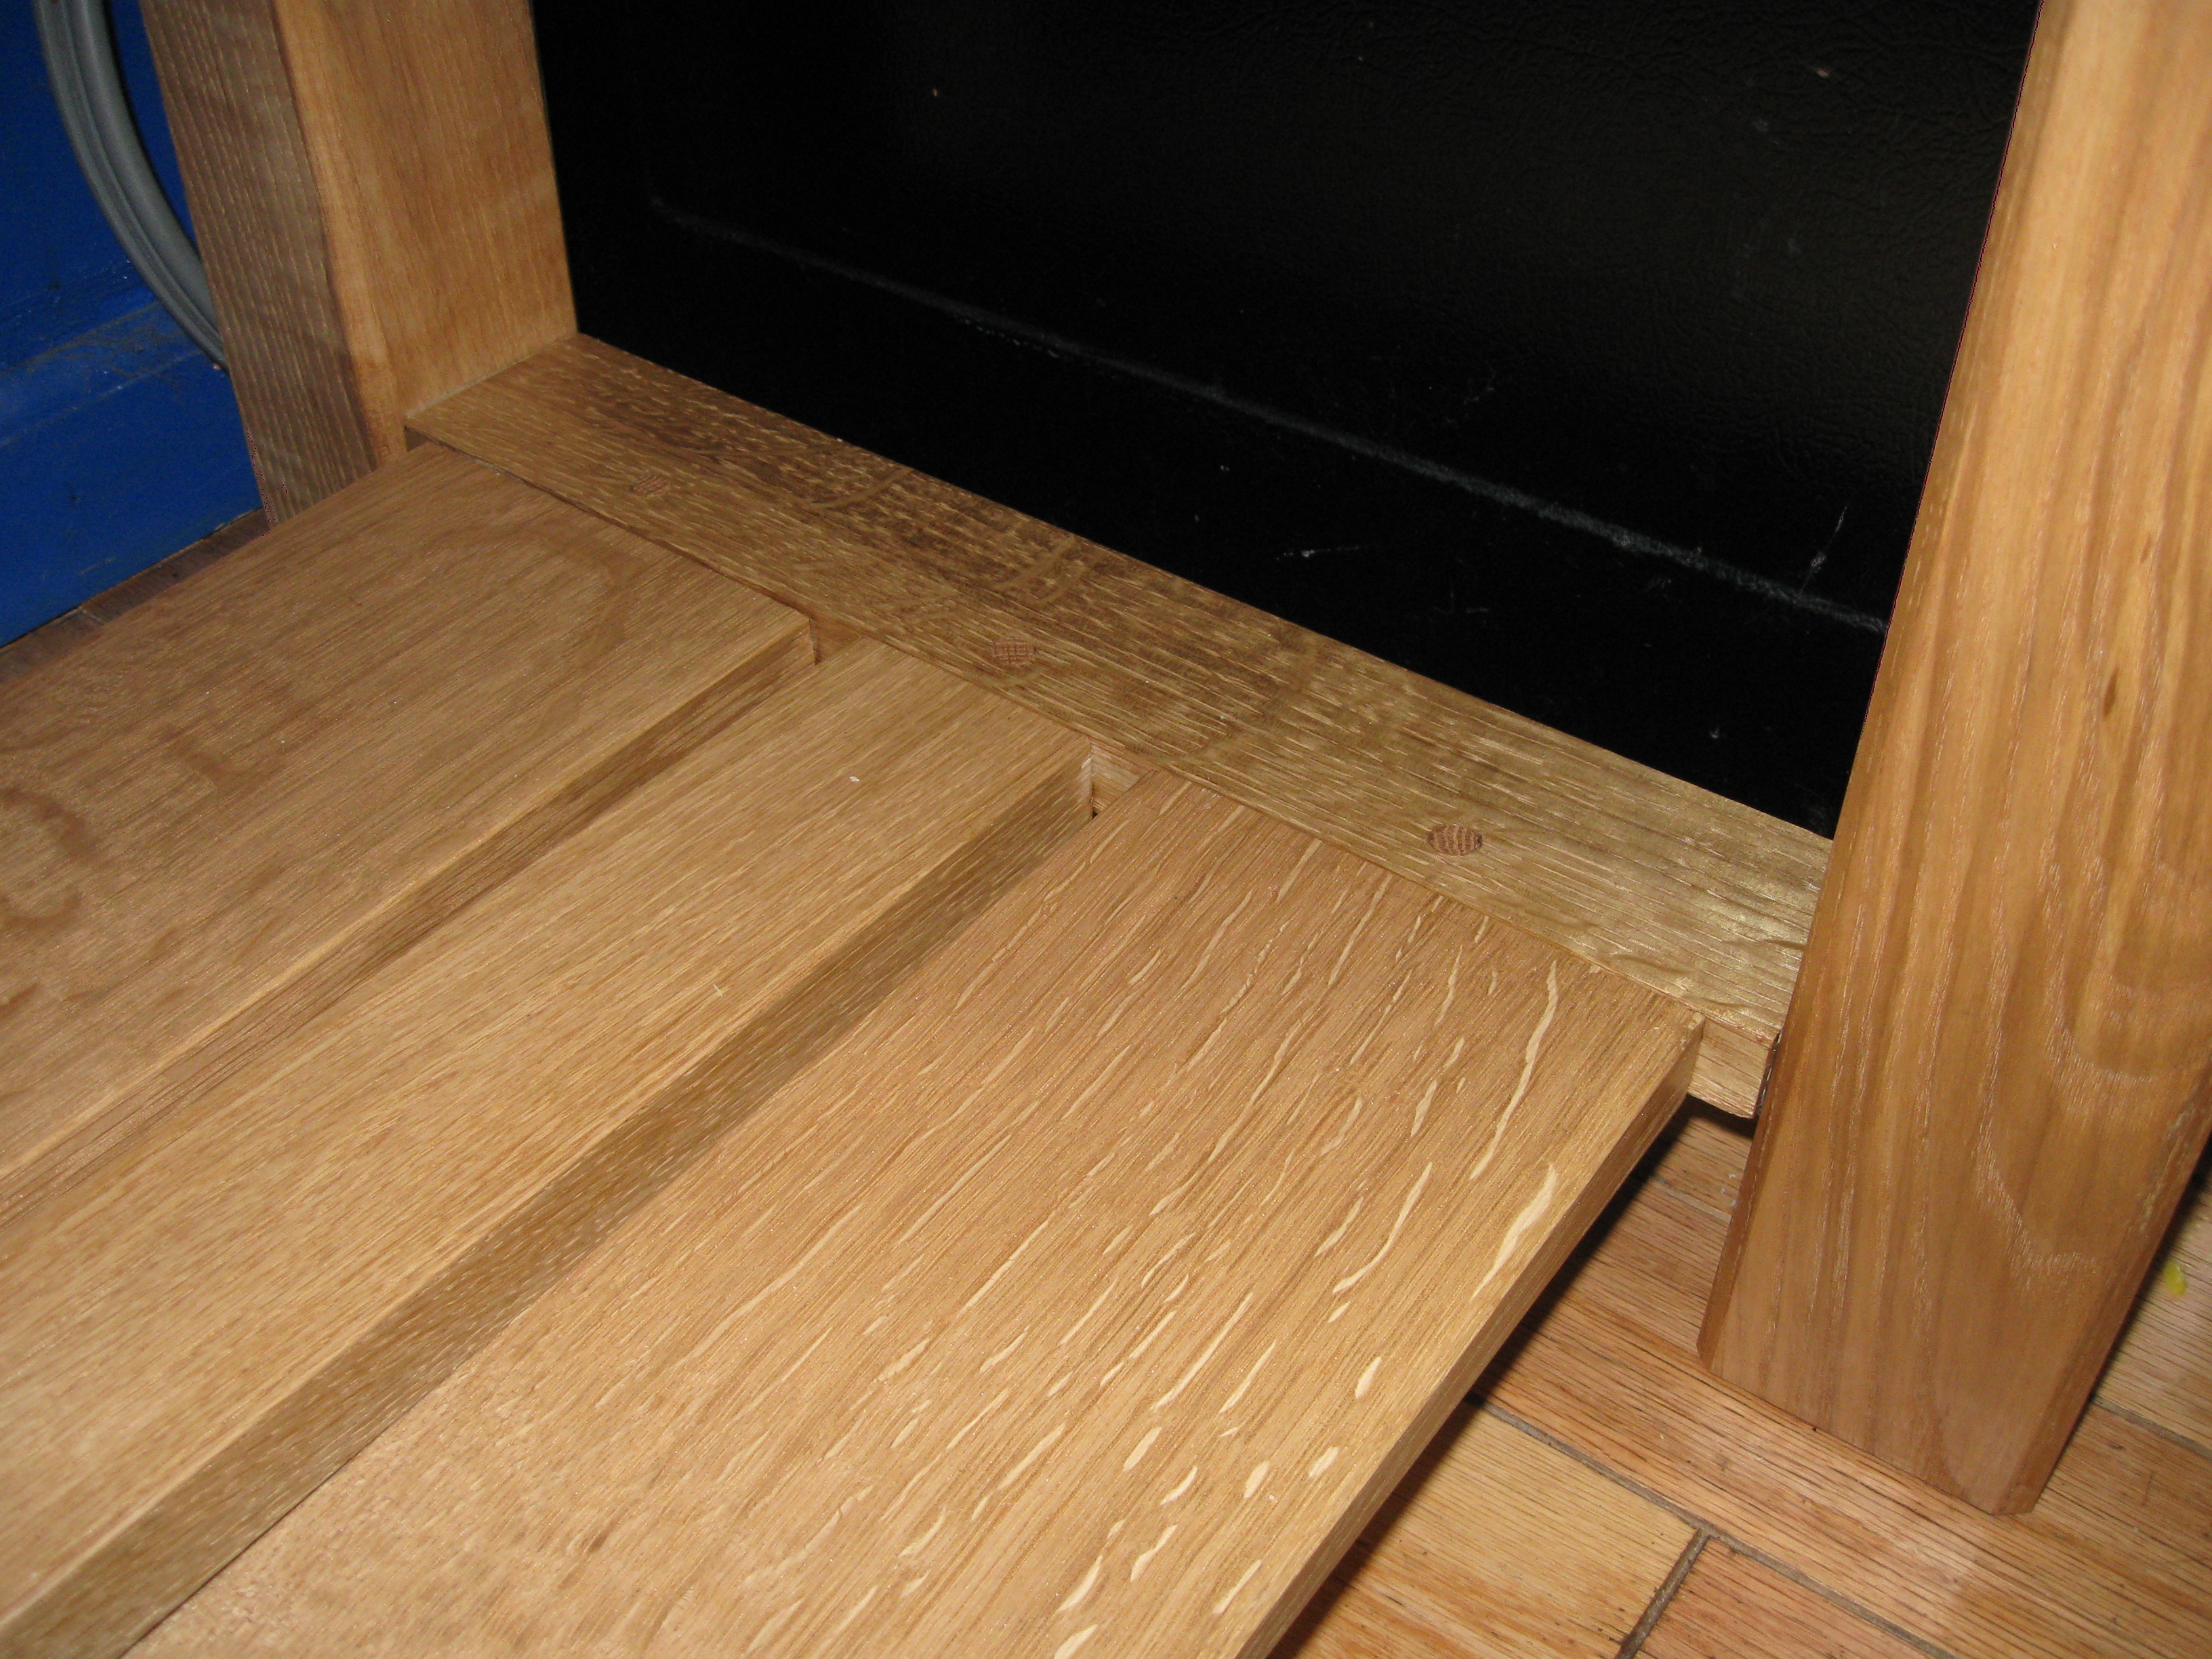
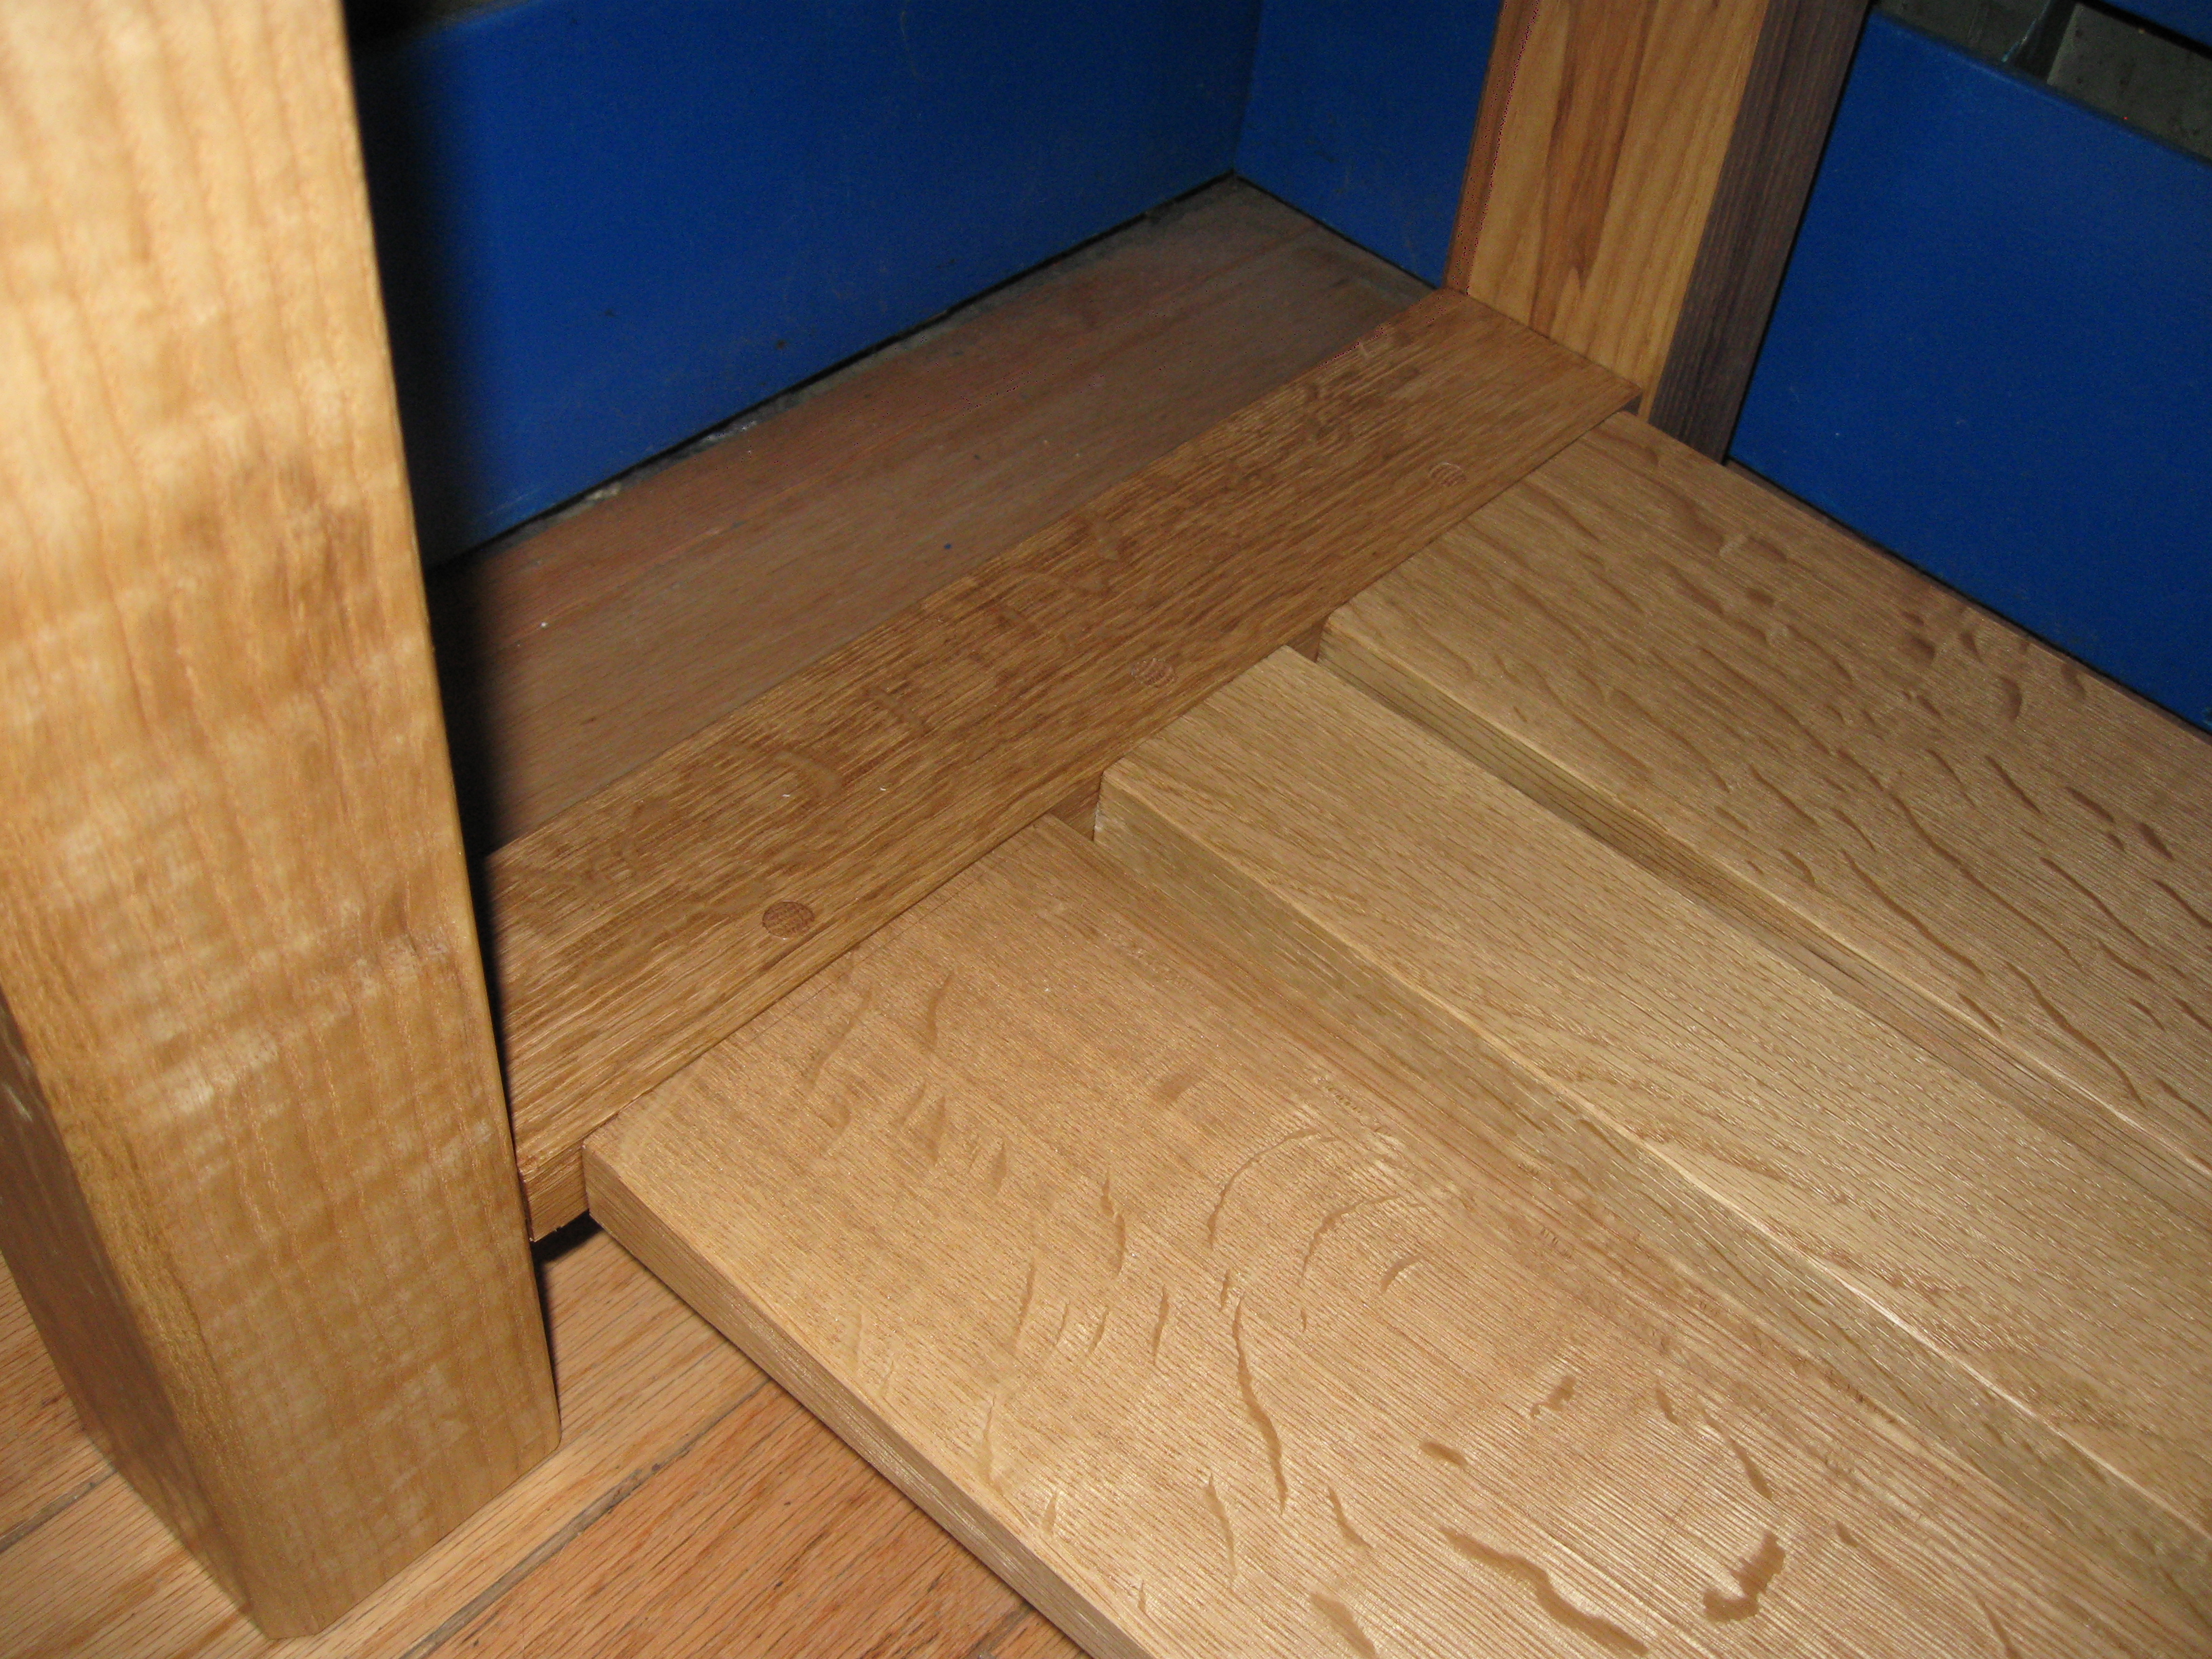
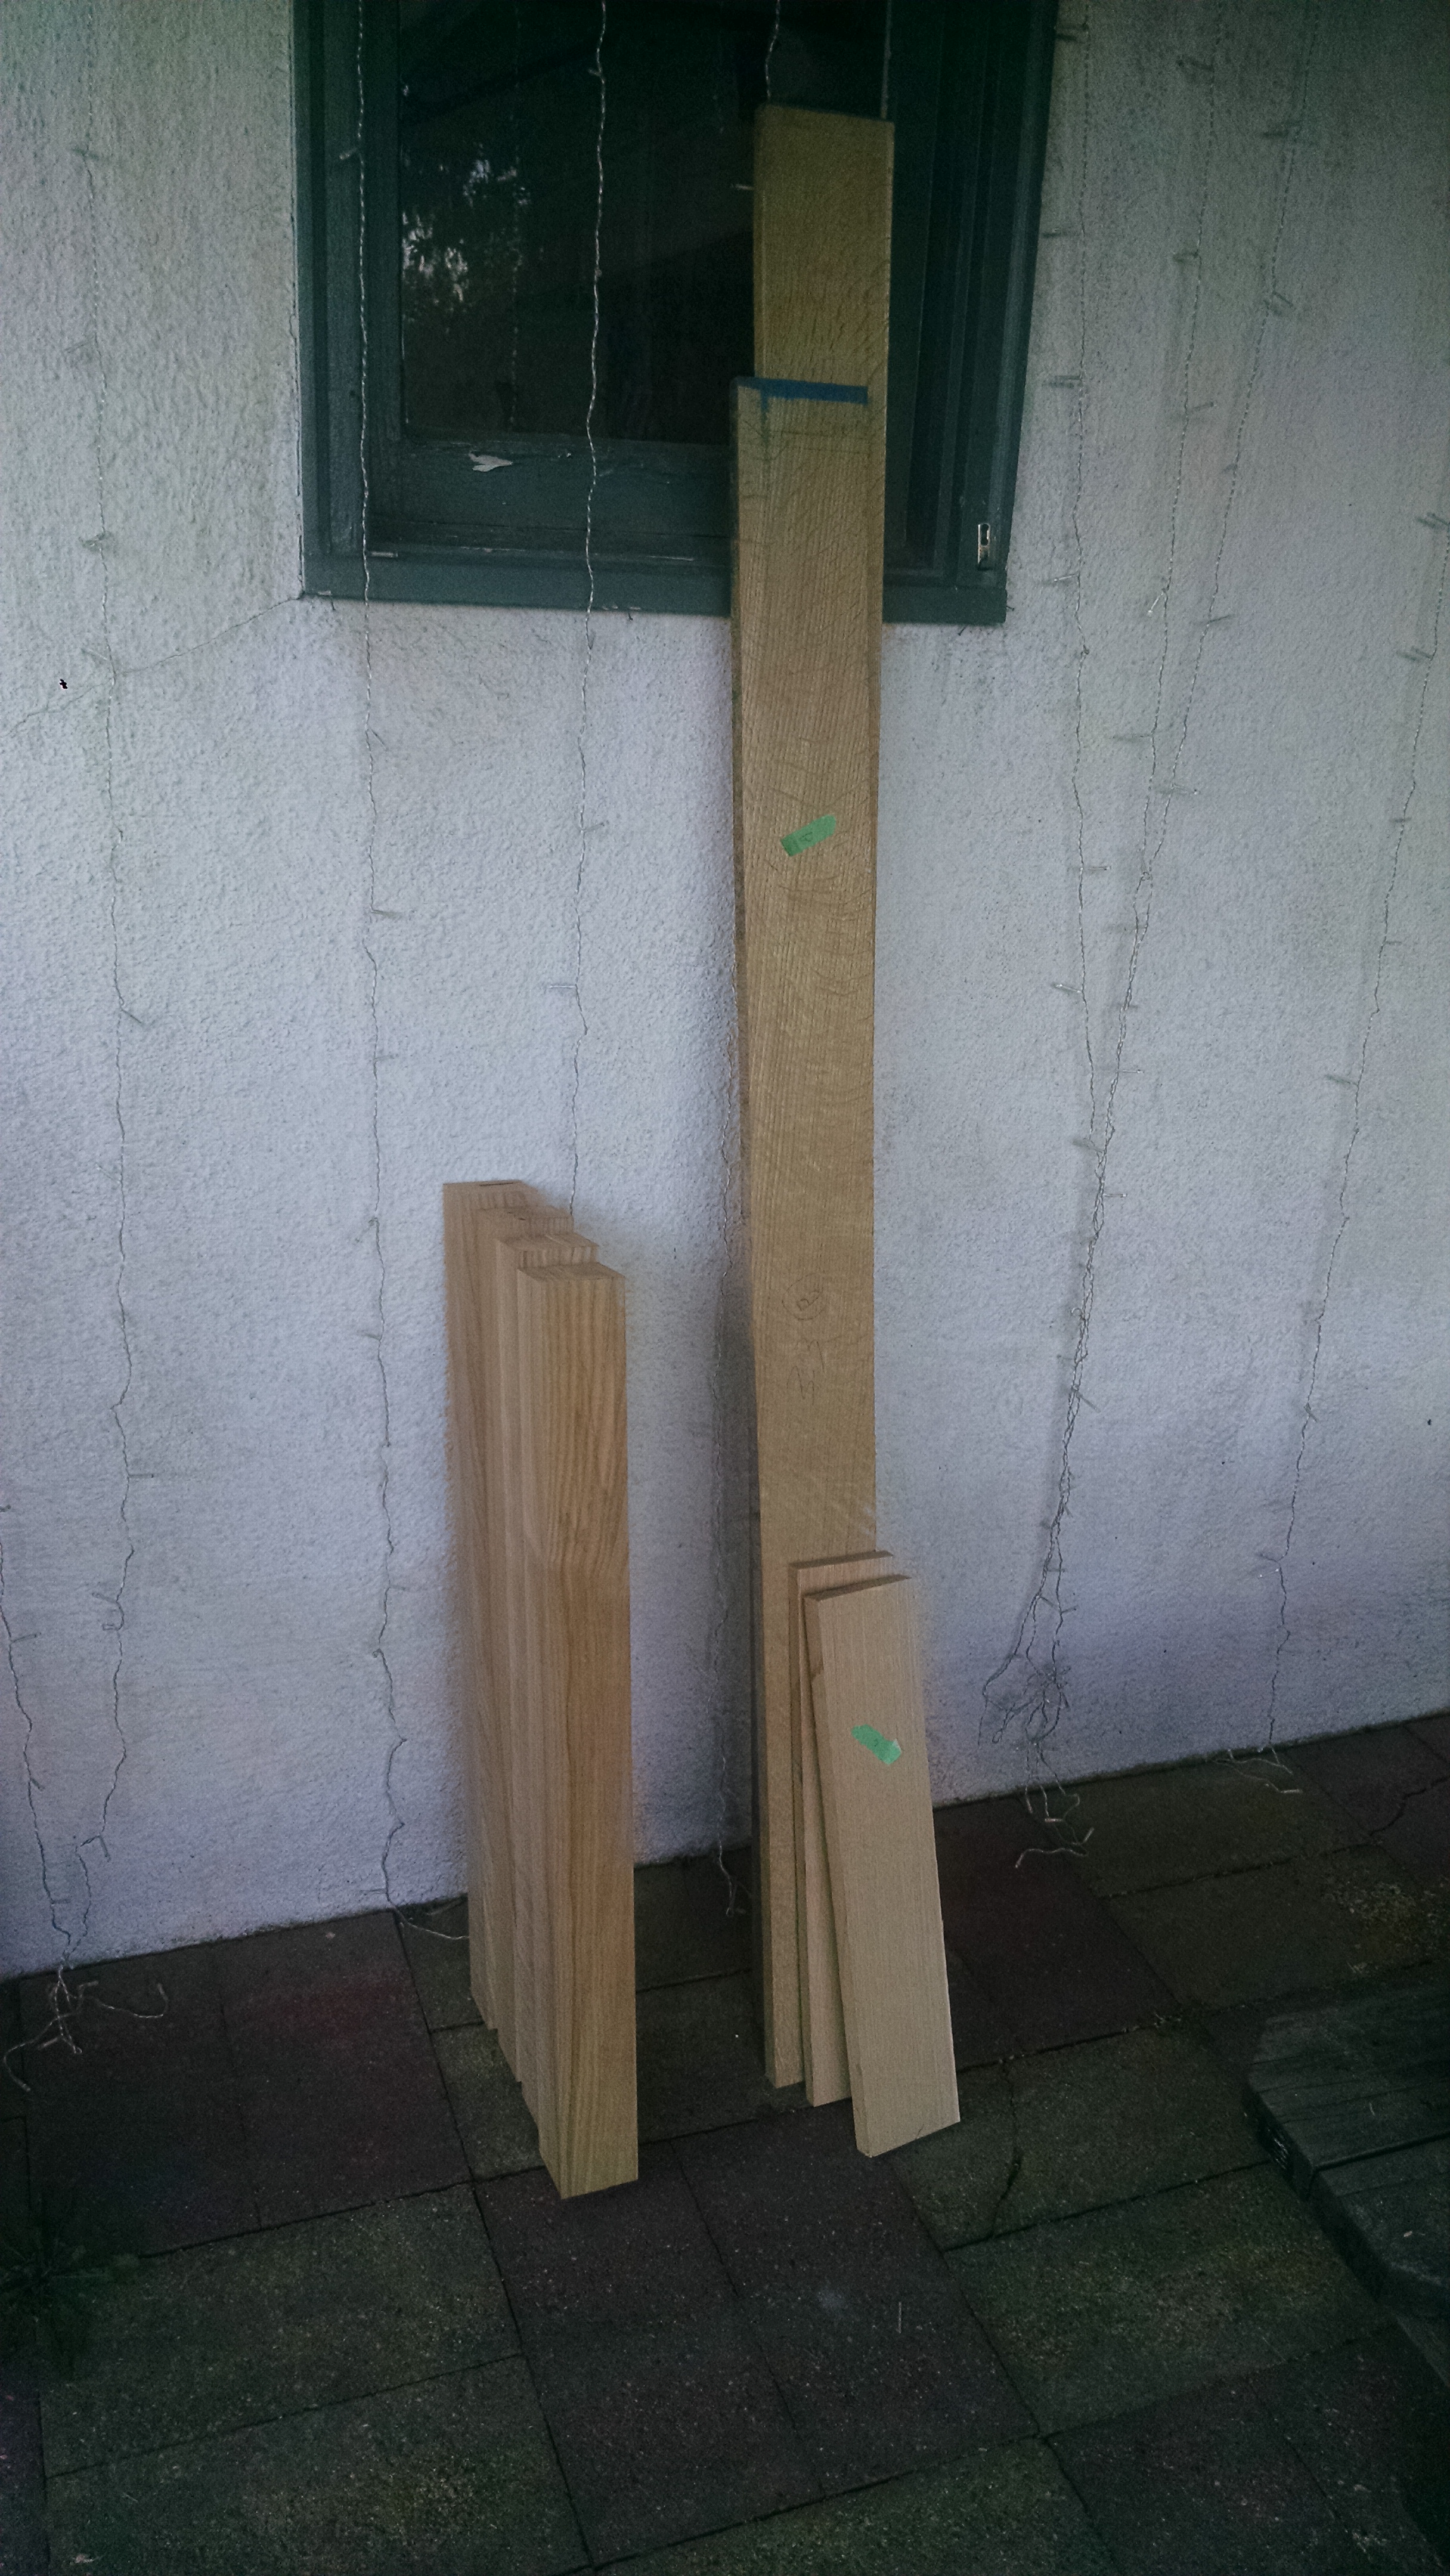
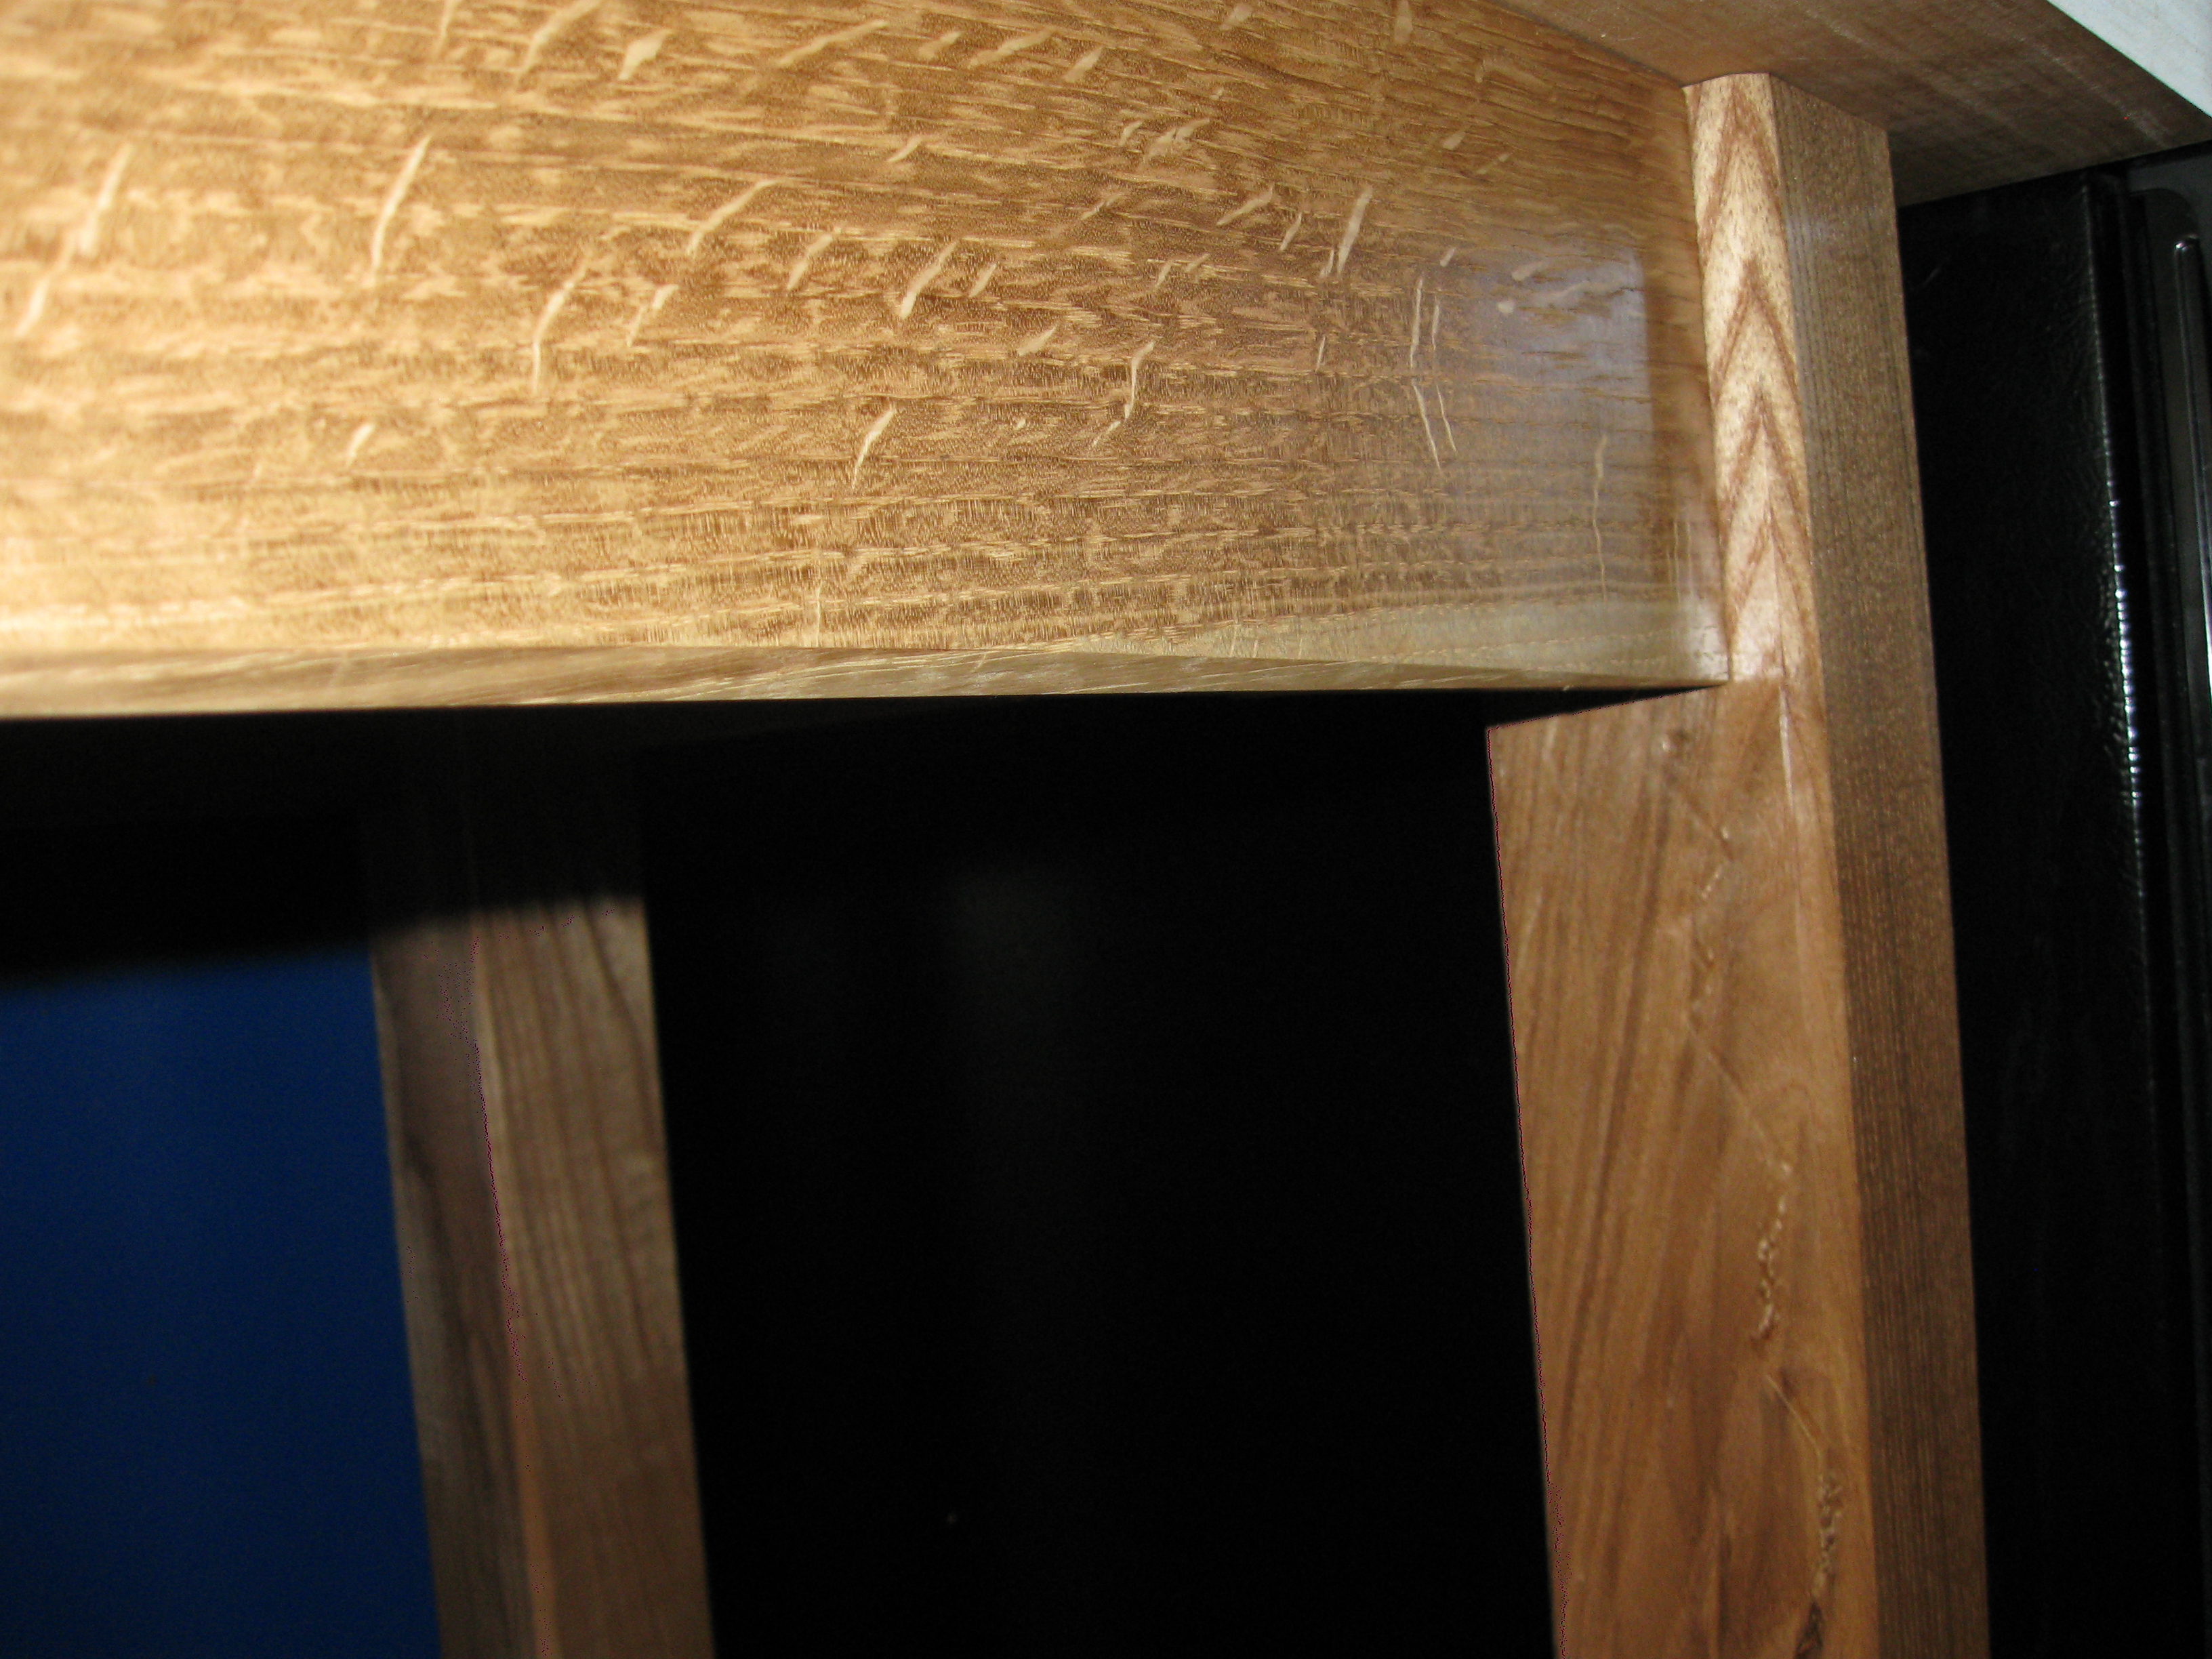
This project had a lot of firsts for me. This was actually my first time working with rough cut lumber. I’d been wanting to do that for a long while, learning how to buy from lumber yards really opens up a lot of options. The frame is all quartersawn white oak and the legs are ash. The shelf is also quartersawn white oak (except the center piece which is plainsawn and is an accent and definitely not because I grabbed from the wrong pile at the lumber yard). Floor to top, the table is 36 inches high. The top is 70 inches long and 25 inches deep. I purchased the top pre-made from Michigan Maple via my lumber yard, since I didn’t have the confidence to build a nice flat surface that size with hand tools. After completing this project, I think I might be able to try it in the future.
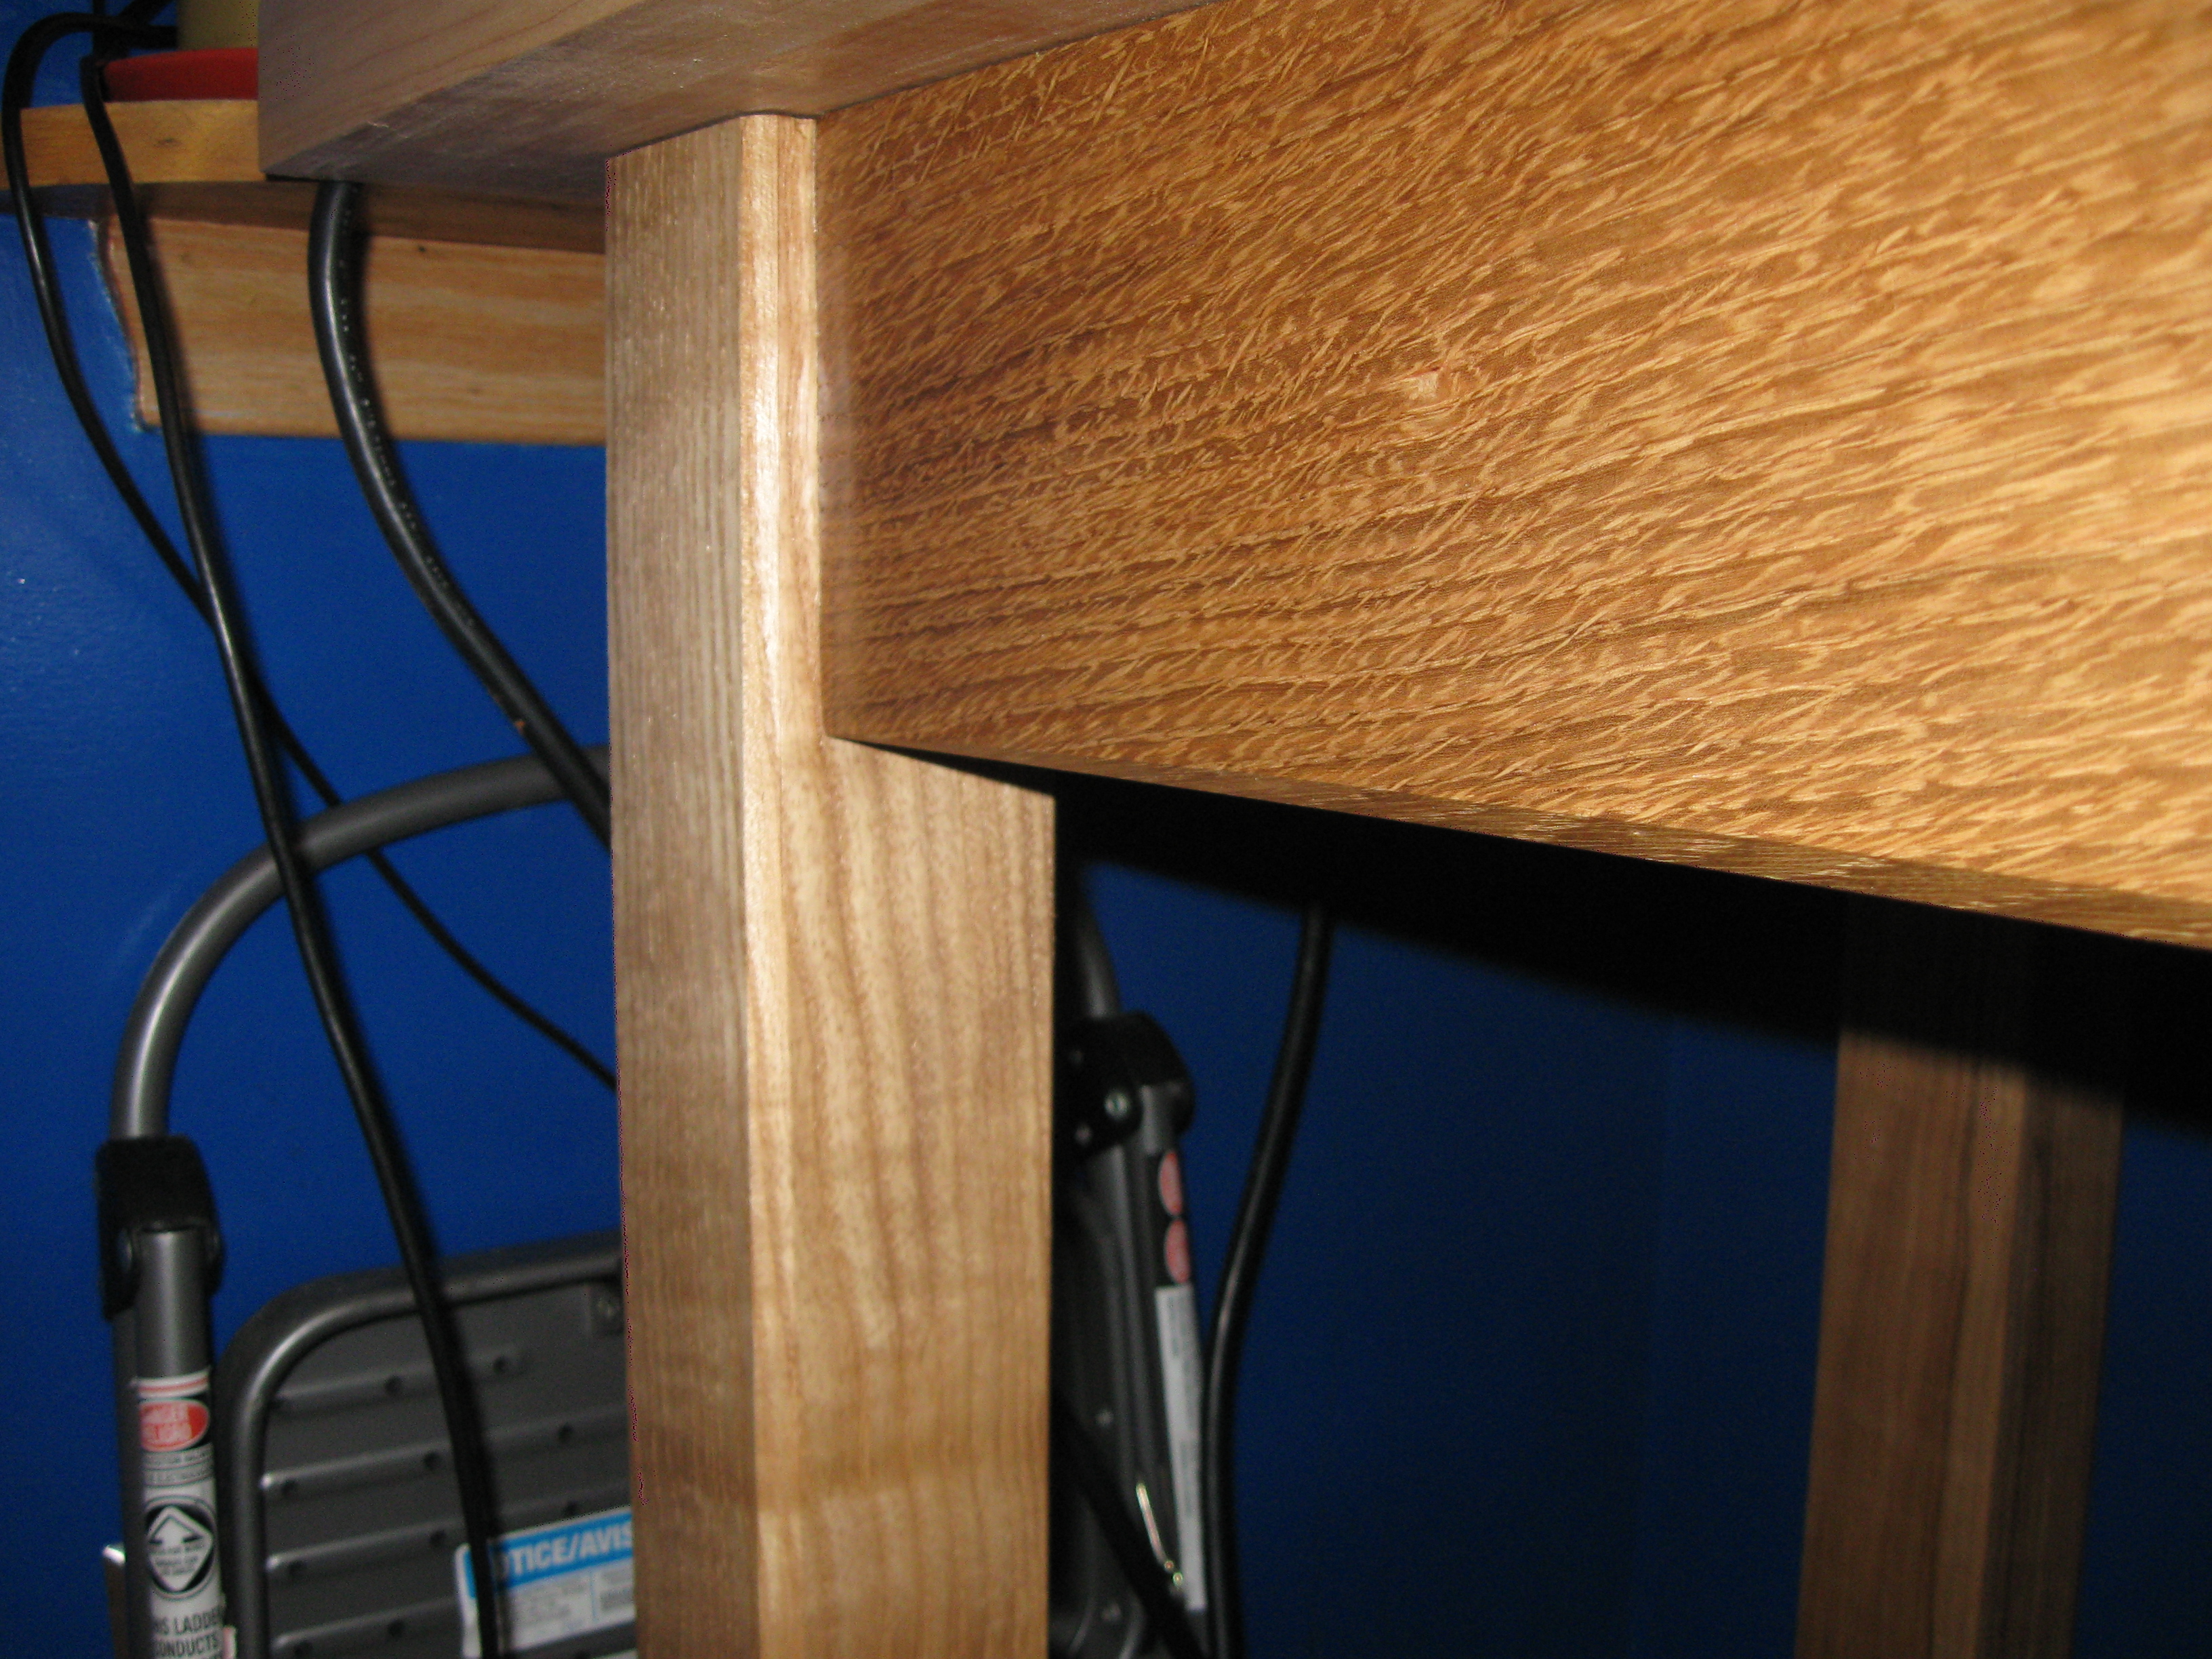
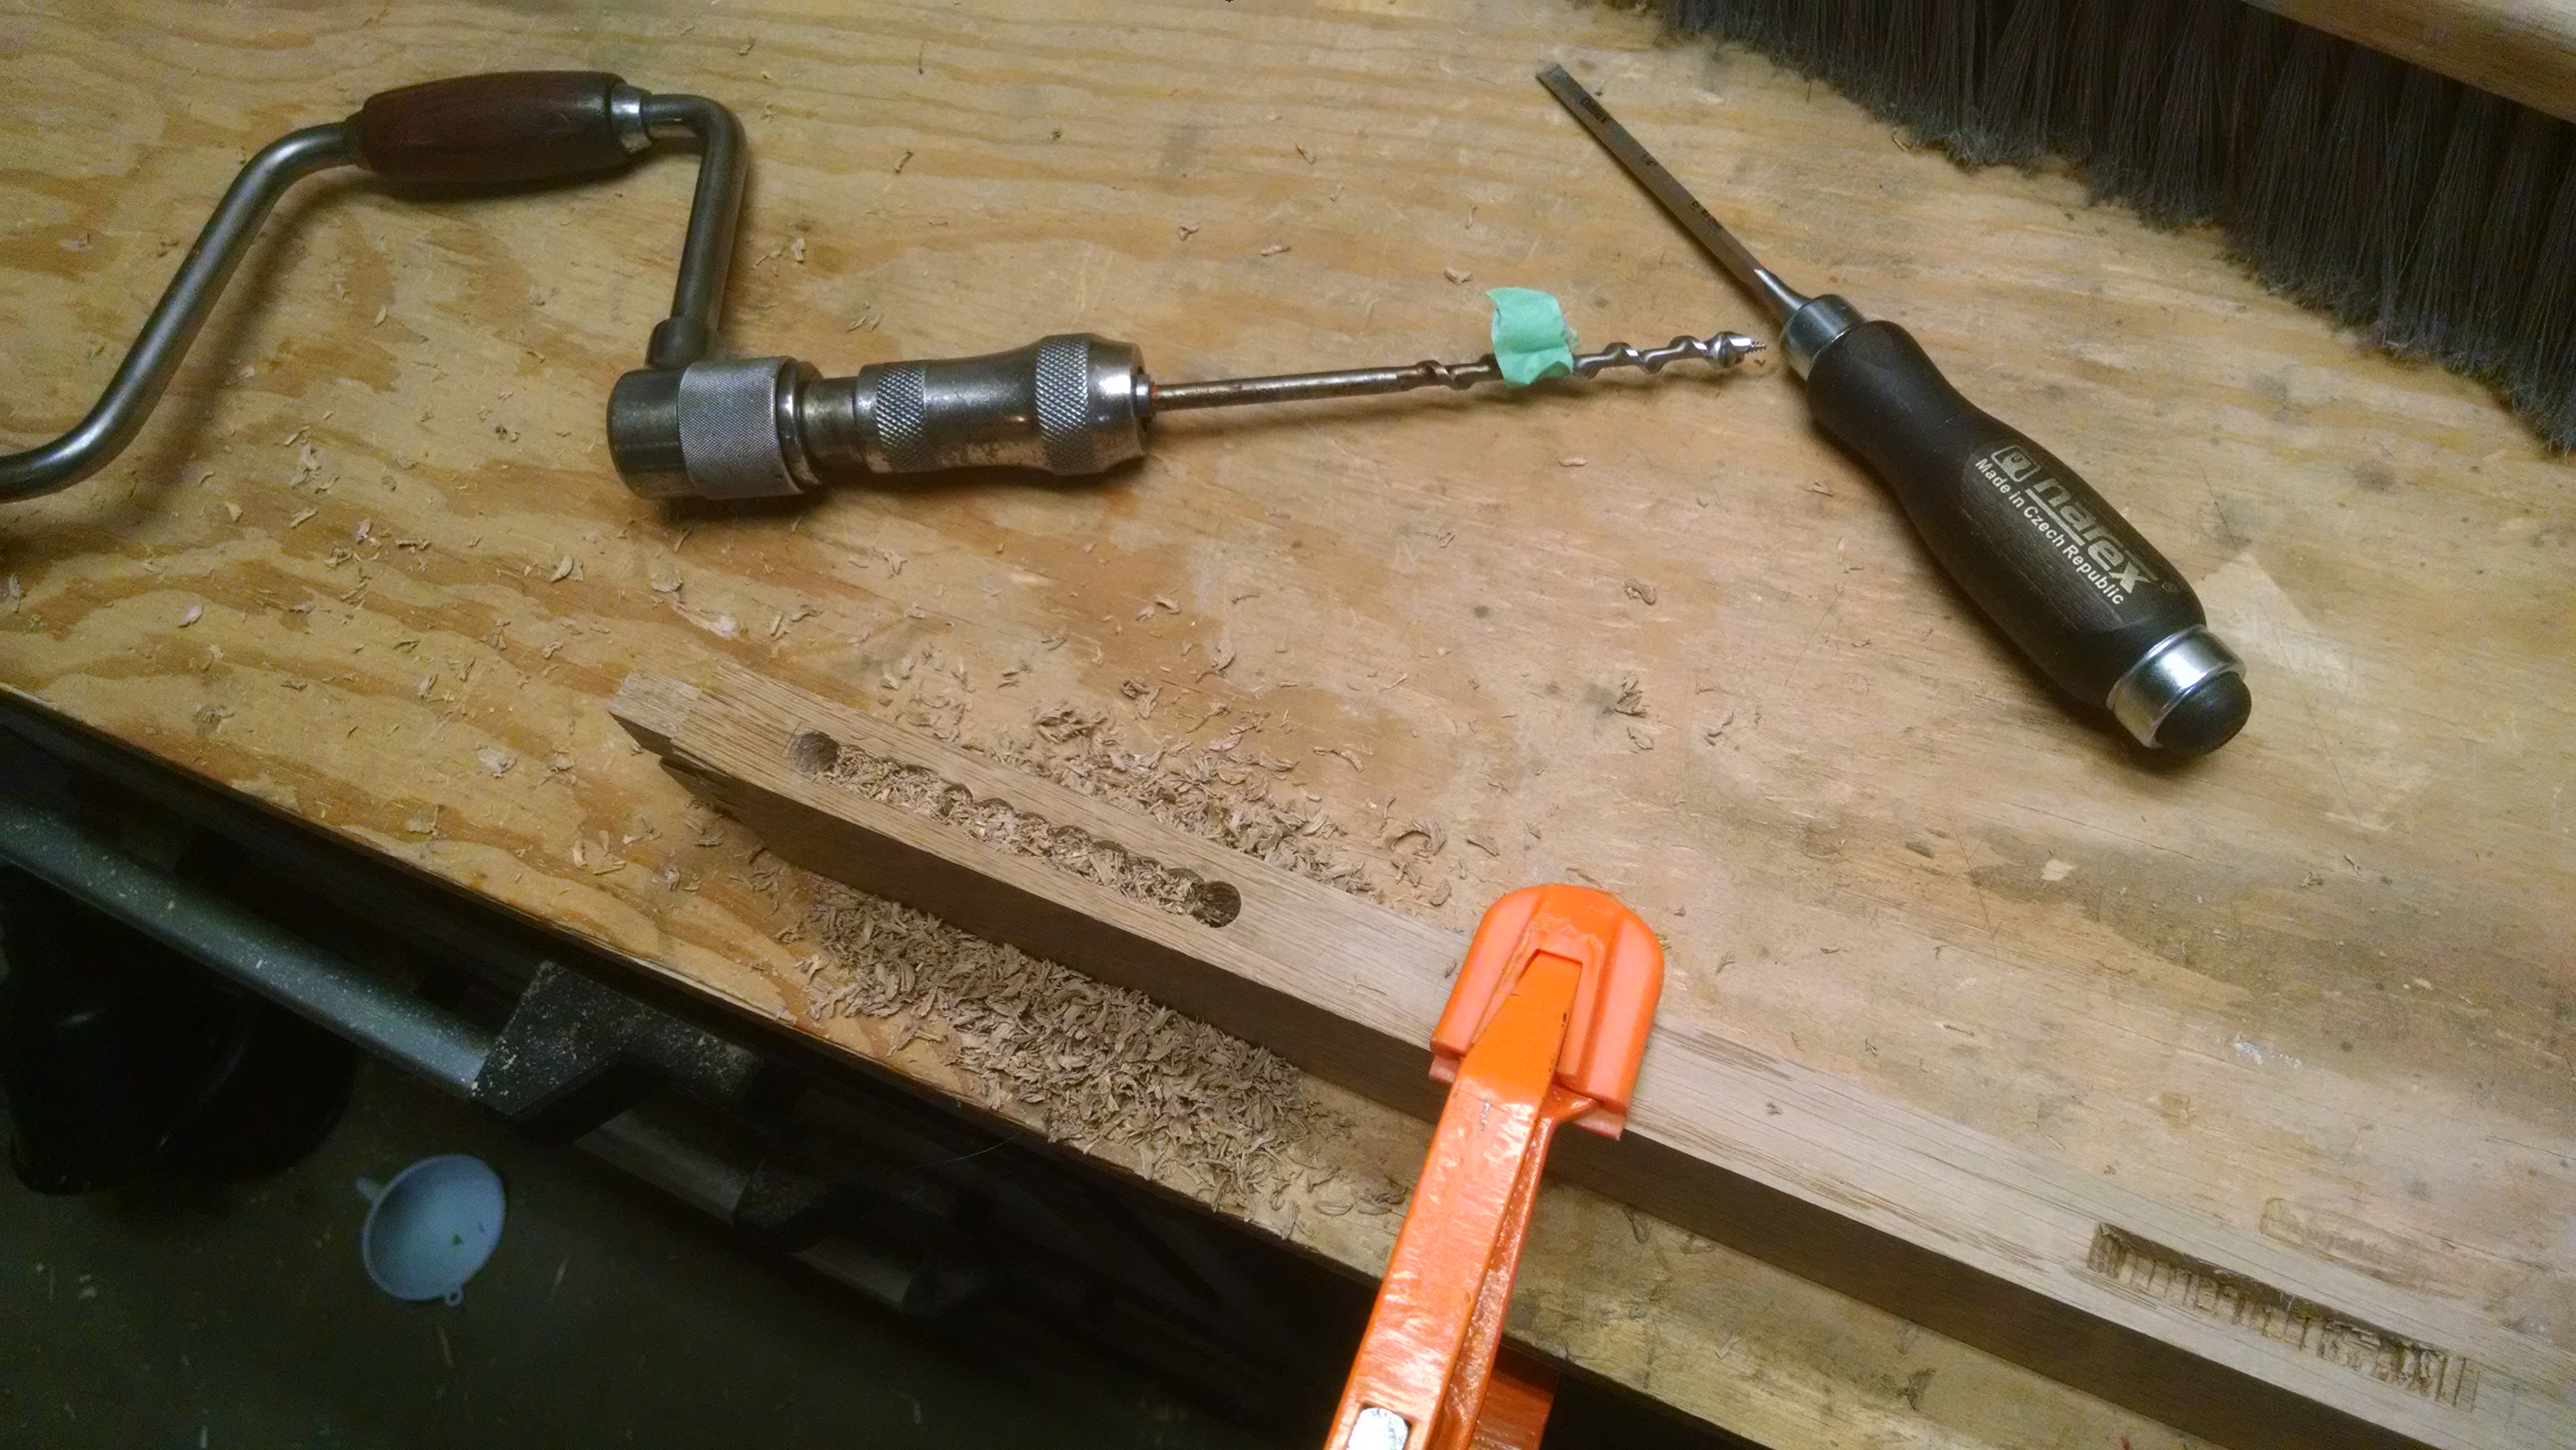
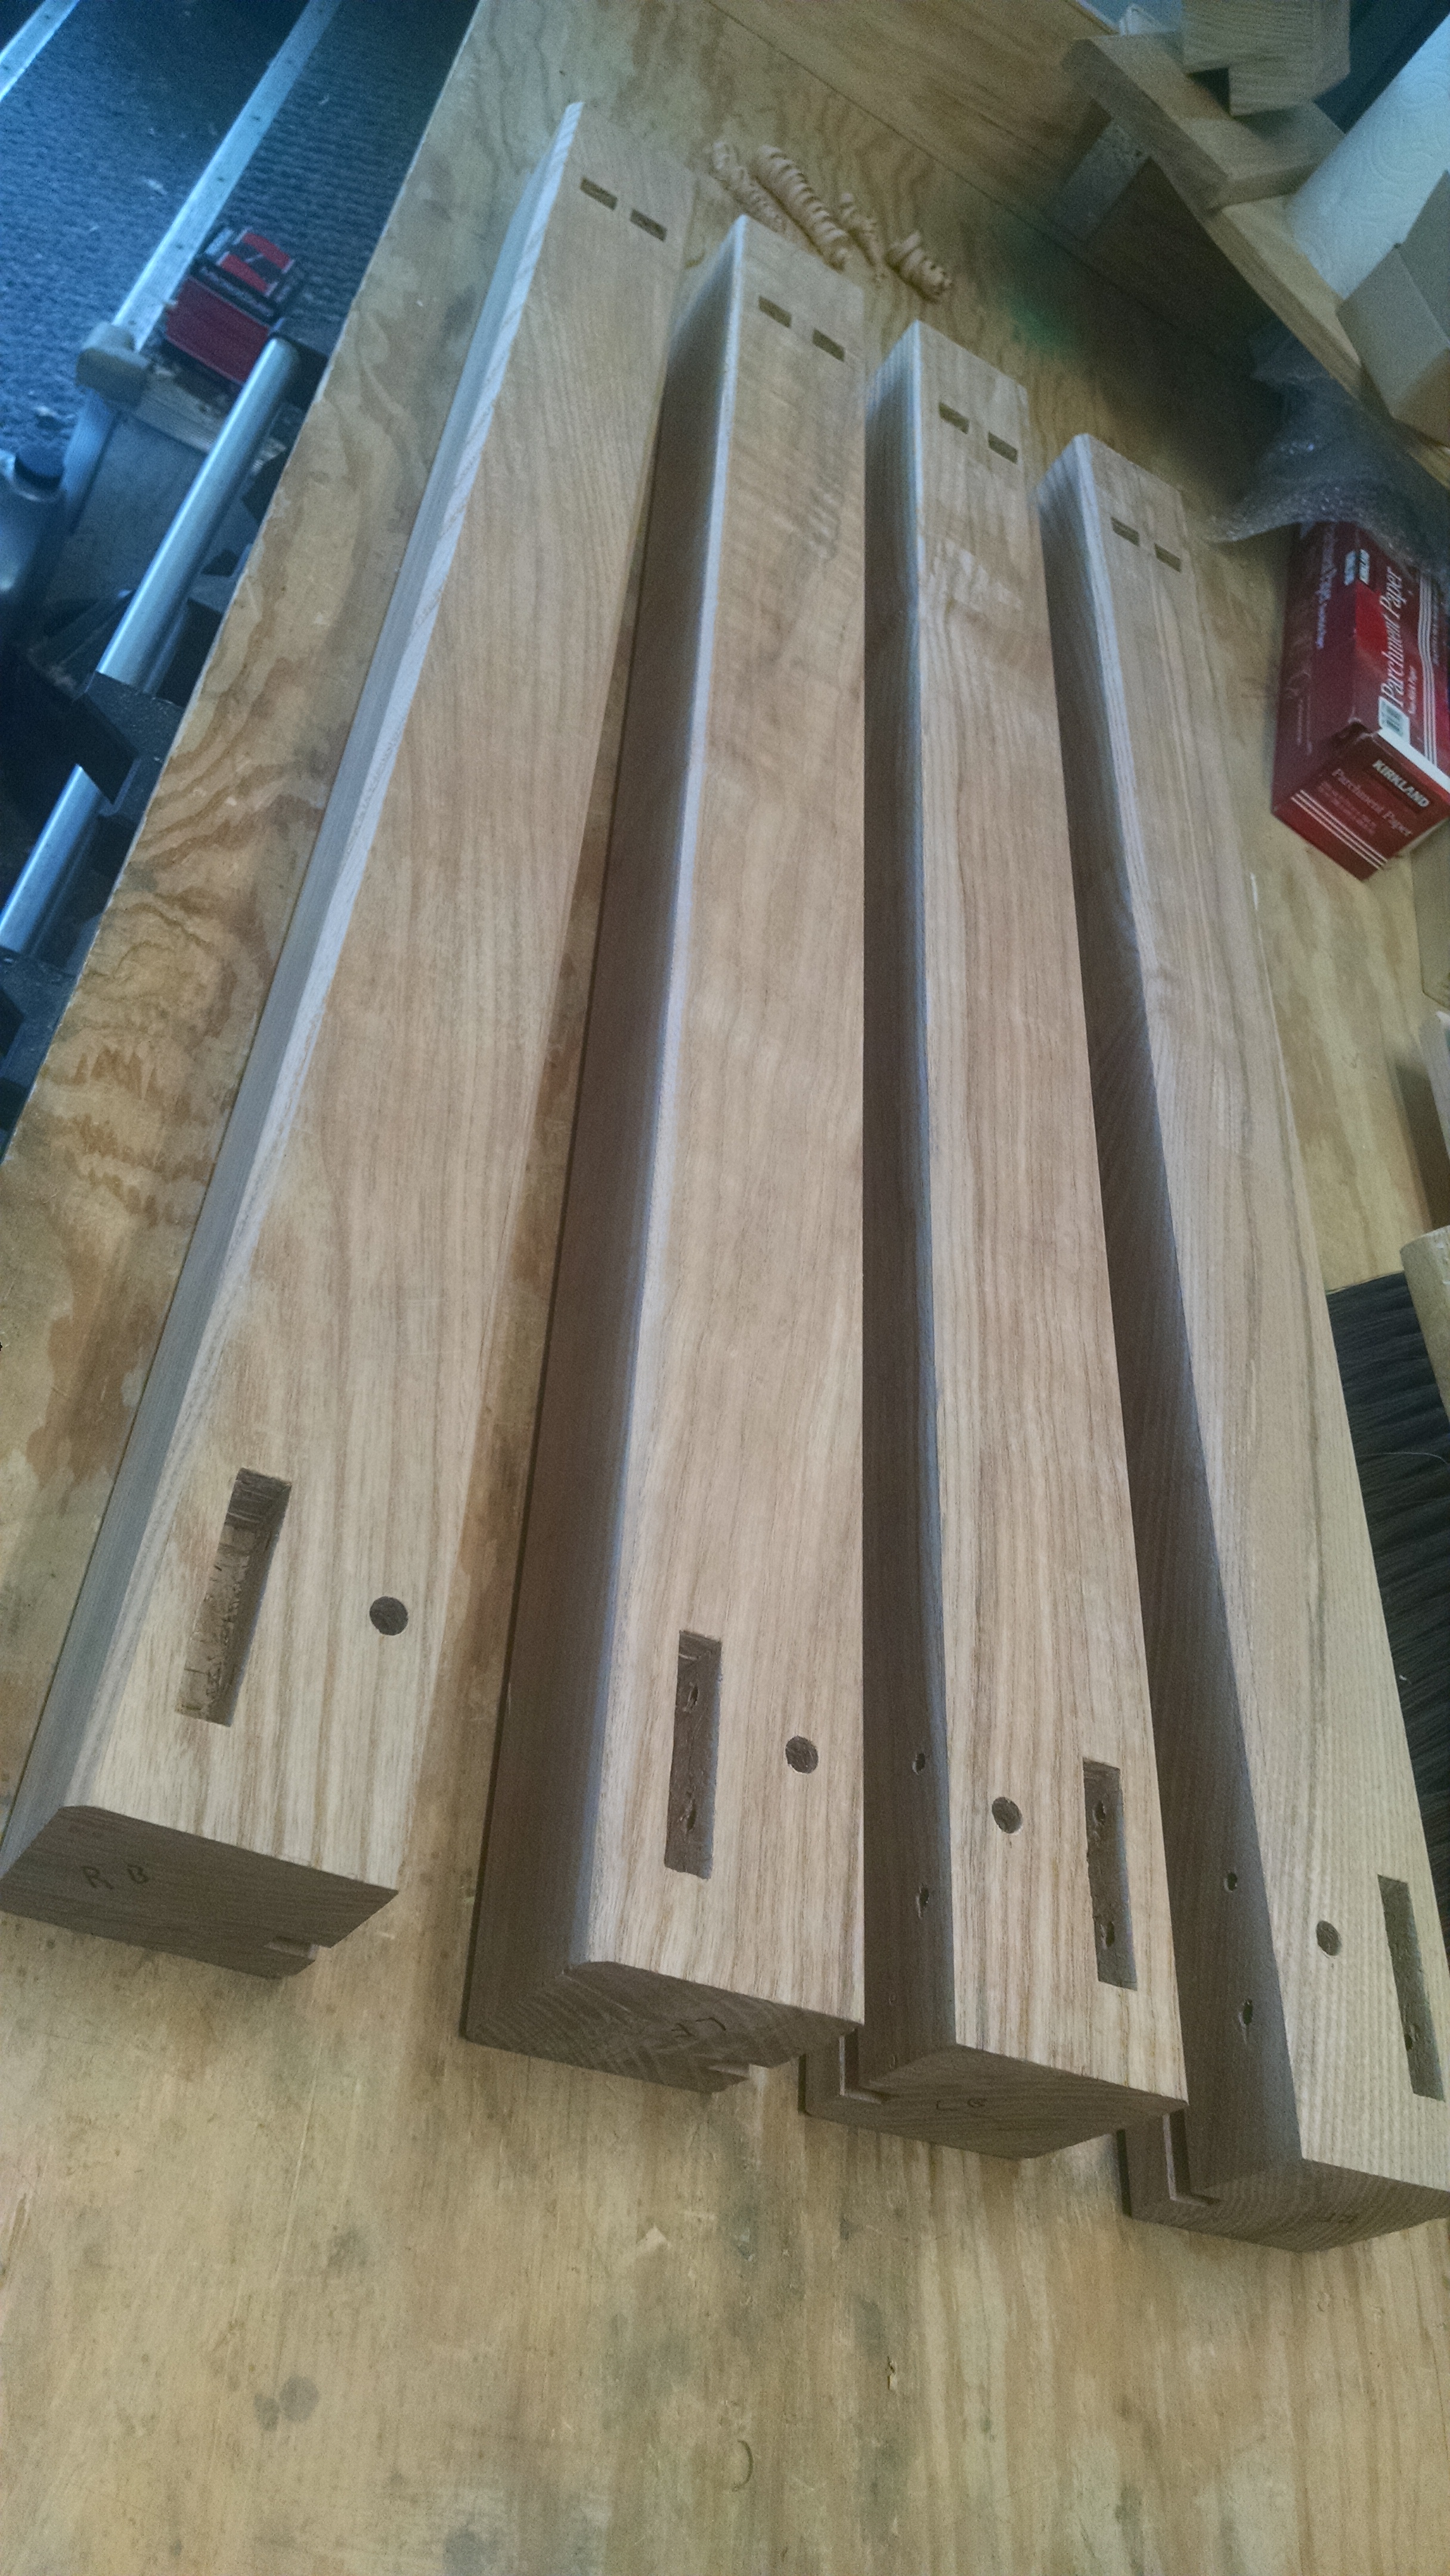
The joinery is all mortise and tenon. The lower stretcher, for the shelf, was double tenoned to increase the vertical grain surface. Most of the mortises were chopped out with a mortising chisel, but I also tried a bit brace to pull out most of the material on the deep shelf joints. I didn’t time it, but including time to clean up the edges of the mortise, it seemed to take about the same amount of time as the chisel. But it was much less physically exhausting, which meant I could keep up the pace for longer.
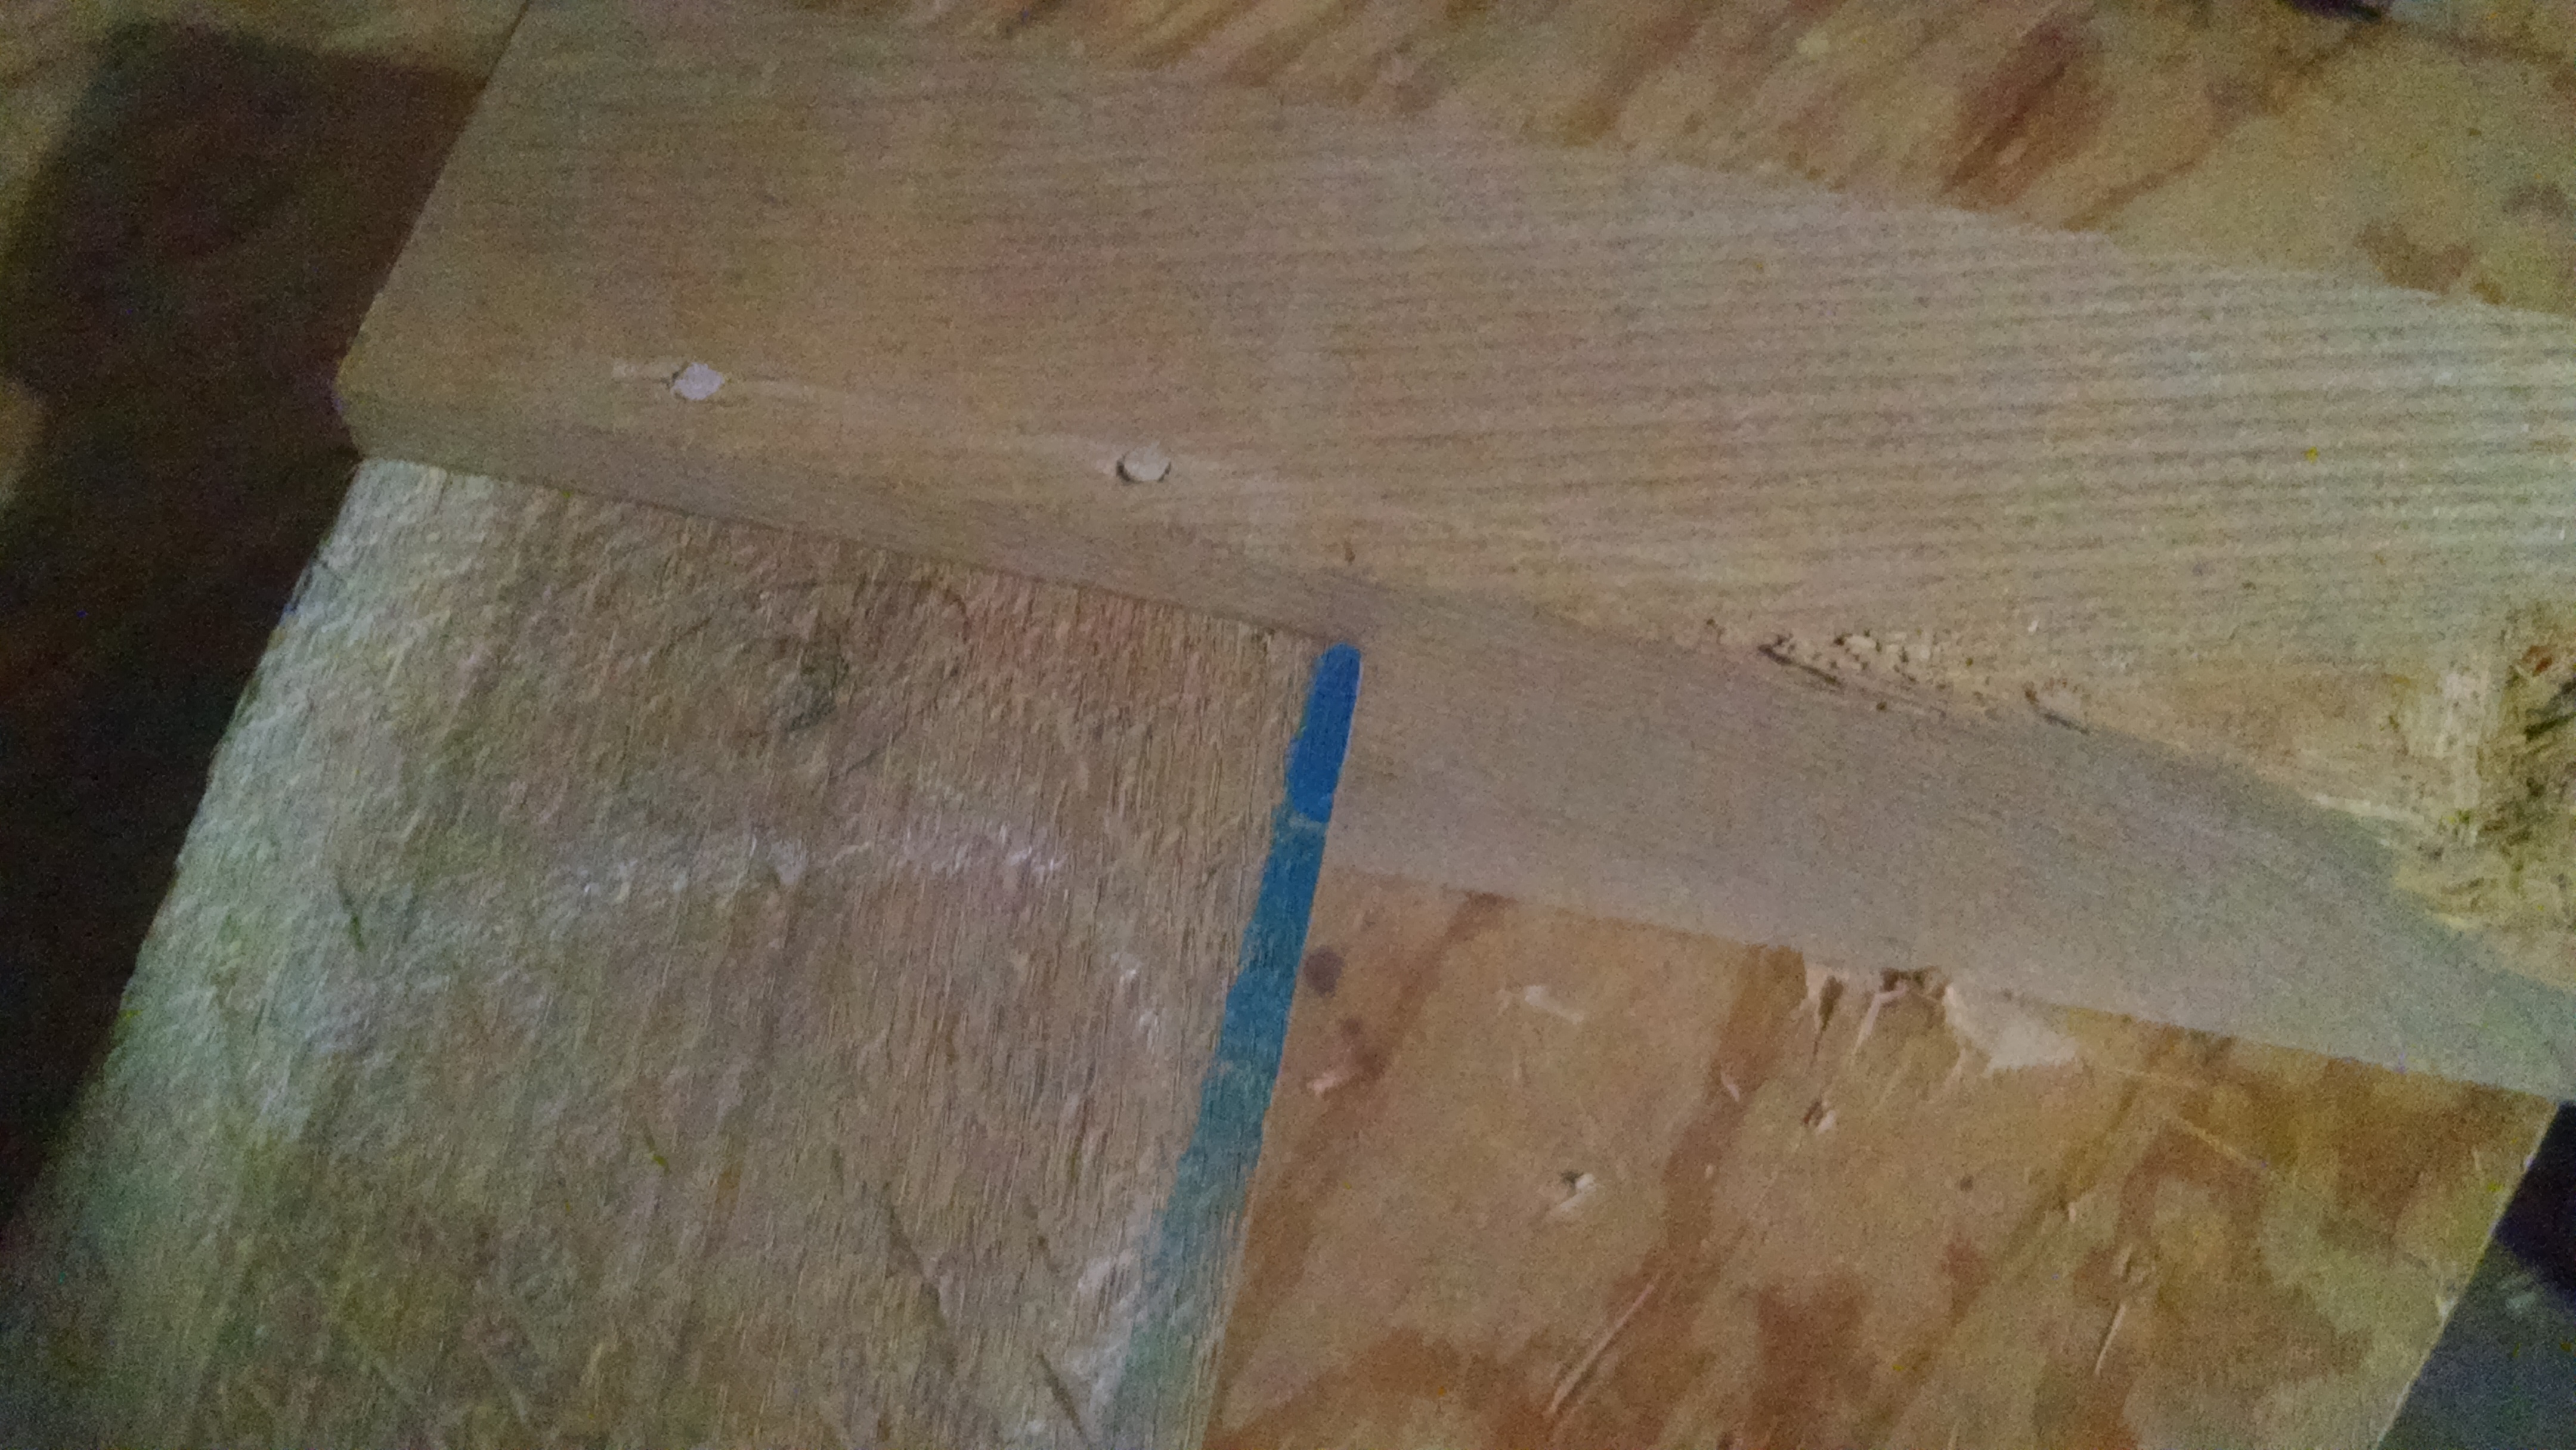
I chose to drawbore all of the mortise and tenon joints, mostly for strength but also because I don’t have clamps long enough to span the width of the table. Drawboring will draw the joint together without clamps. Since this was my first time drawboring, I did a practice joint, without glue. I actually still have this test joint in my garage. Every now and then I try to pull it apart, but it’s solid, even with the thin pegs and without glue.
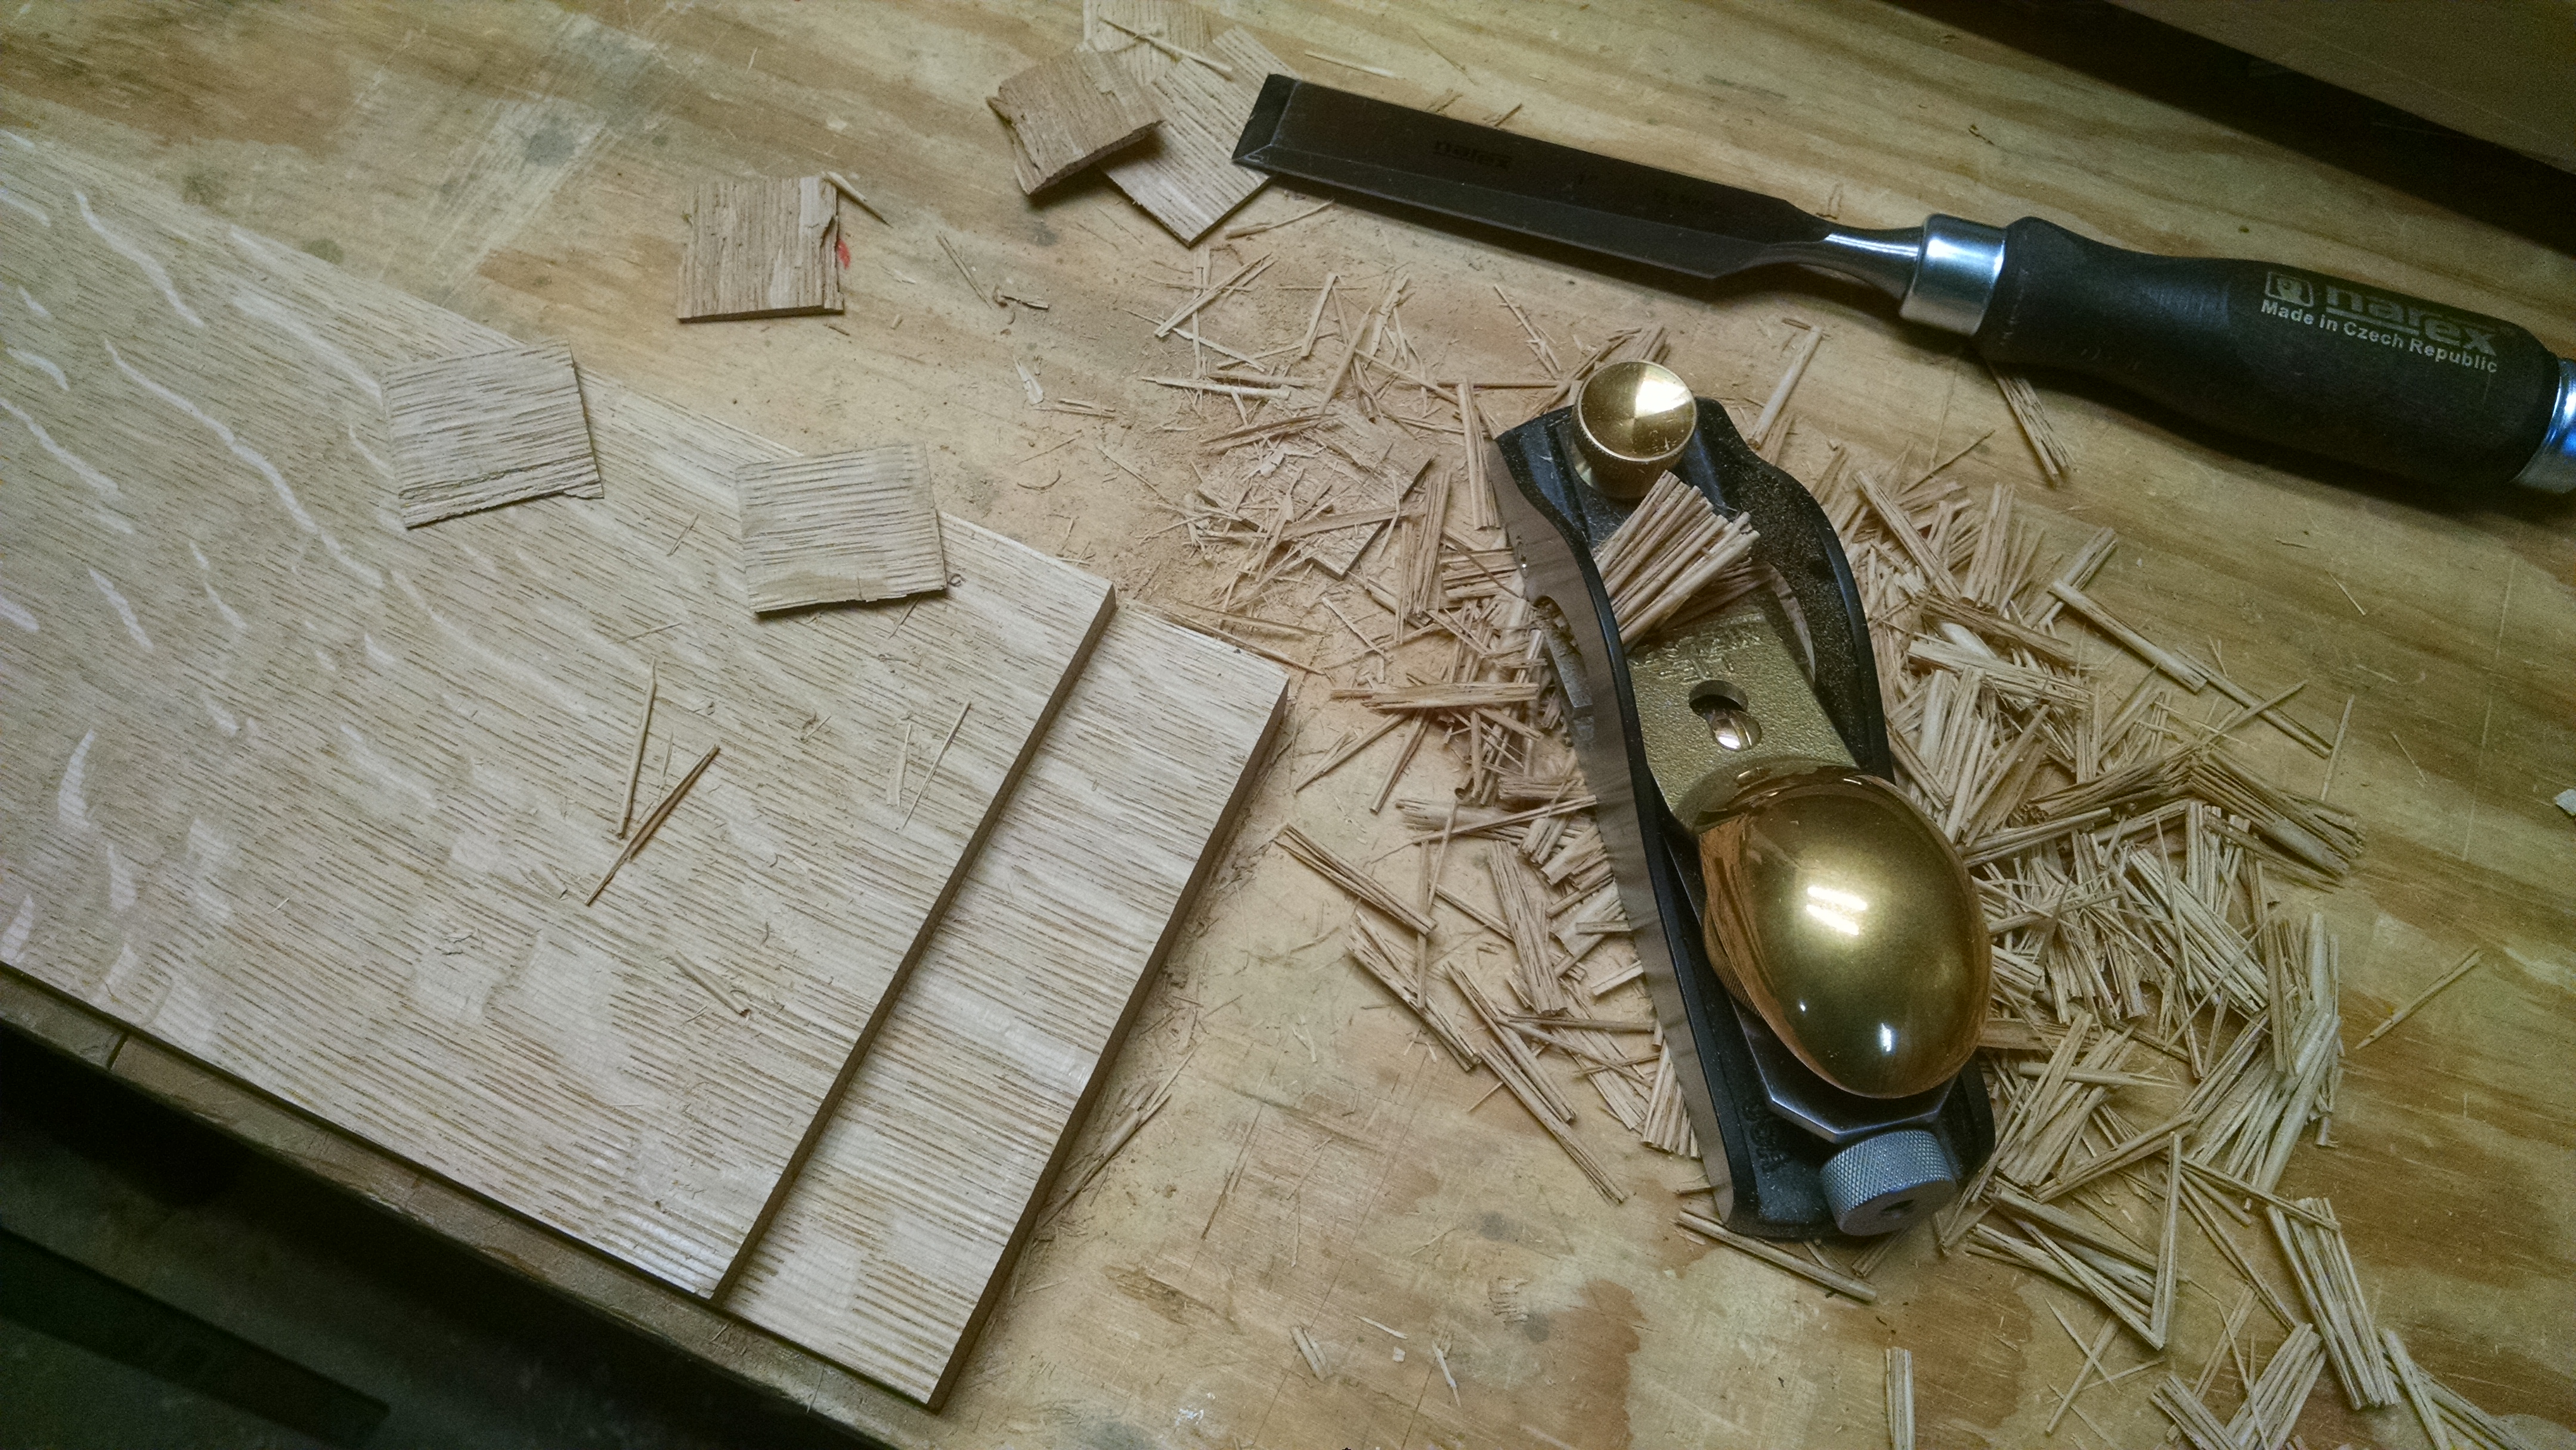
I don’t have much experience with details, so I chose to do something simple on the edges. All parts of the frame have a consistent width facet which tapers to nothing as the board reaches the joints. The legs have the same facet along the full height. To make the facets taper, after marking the depth of the facet with a marking gauge, I started with a No 5 plane to shape most of the facet. However, I never let the cut start until a few inches from the end. Then I switched down to a No 4 to get a little closer to the edges, then down to my block plane to finish tapering. Because the cut never touched the corners, this provided a smooth taper as the plane angle changed while traveling into the existing facet. The progressively smaller planes led to sharper angles.
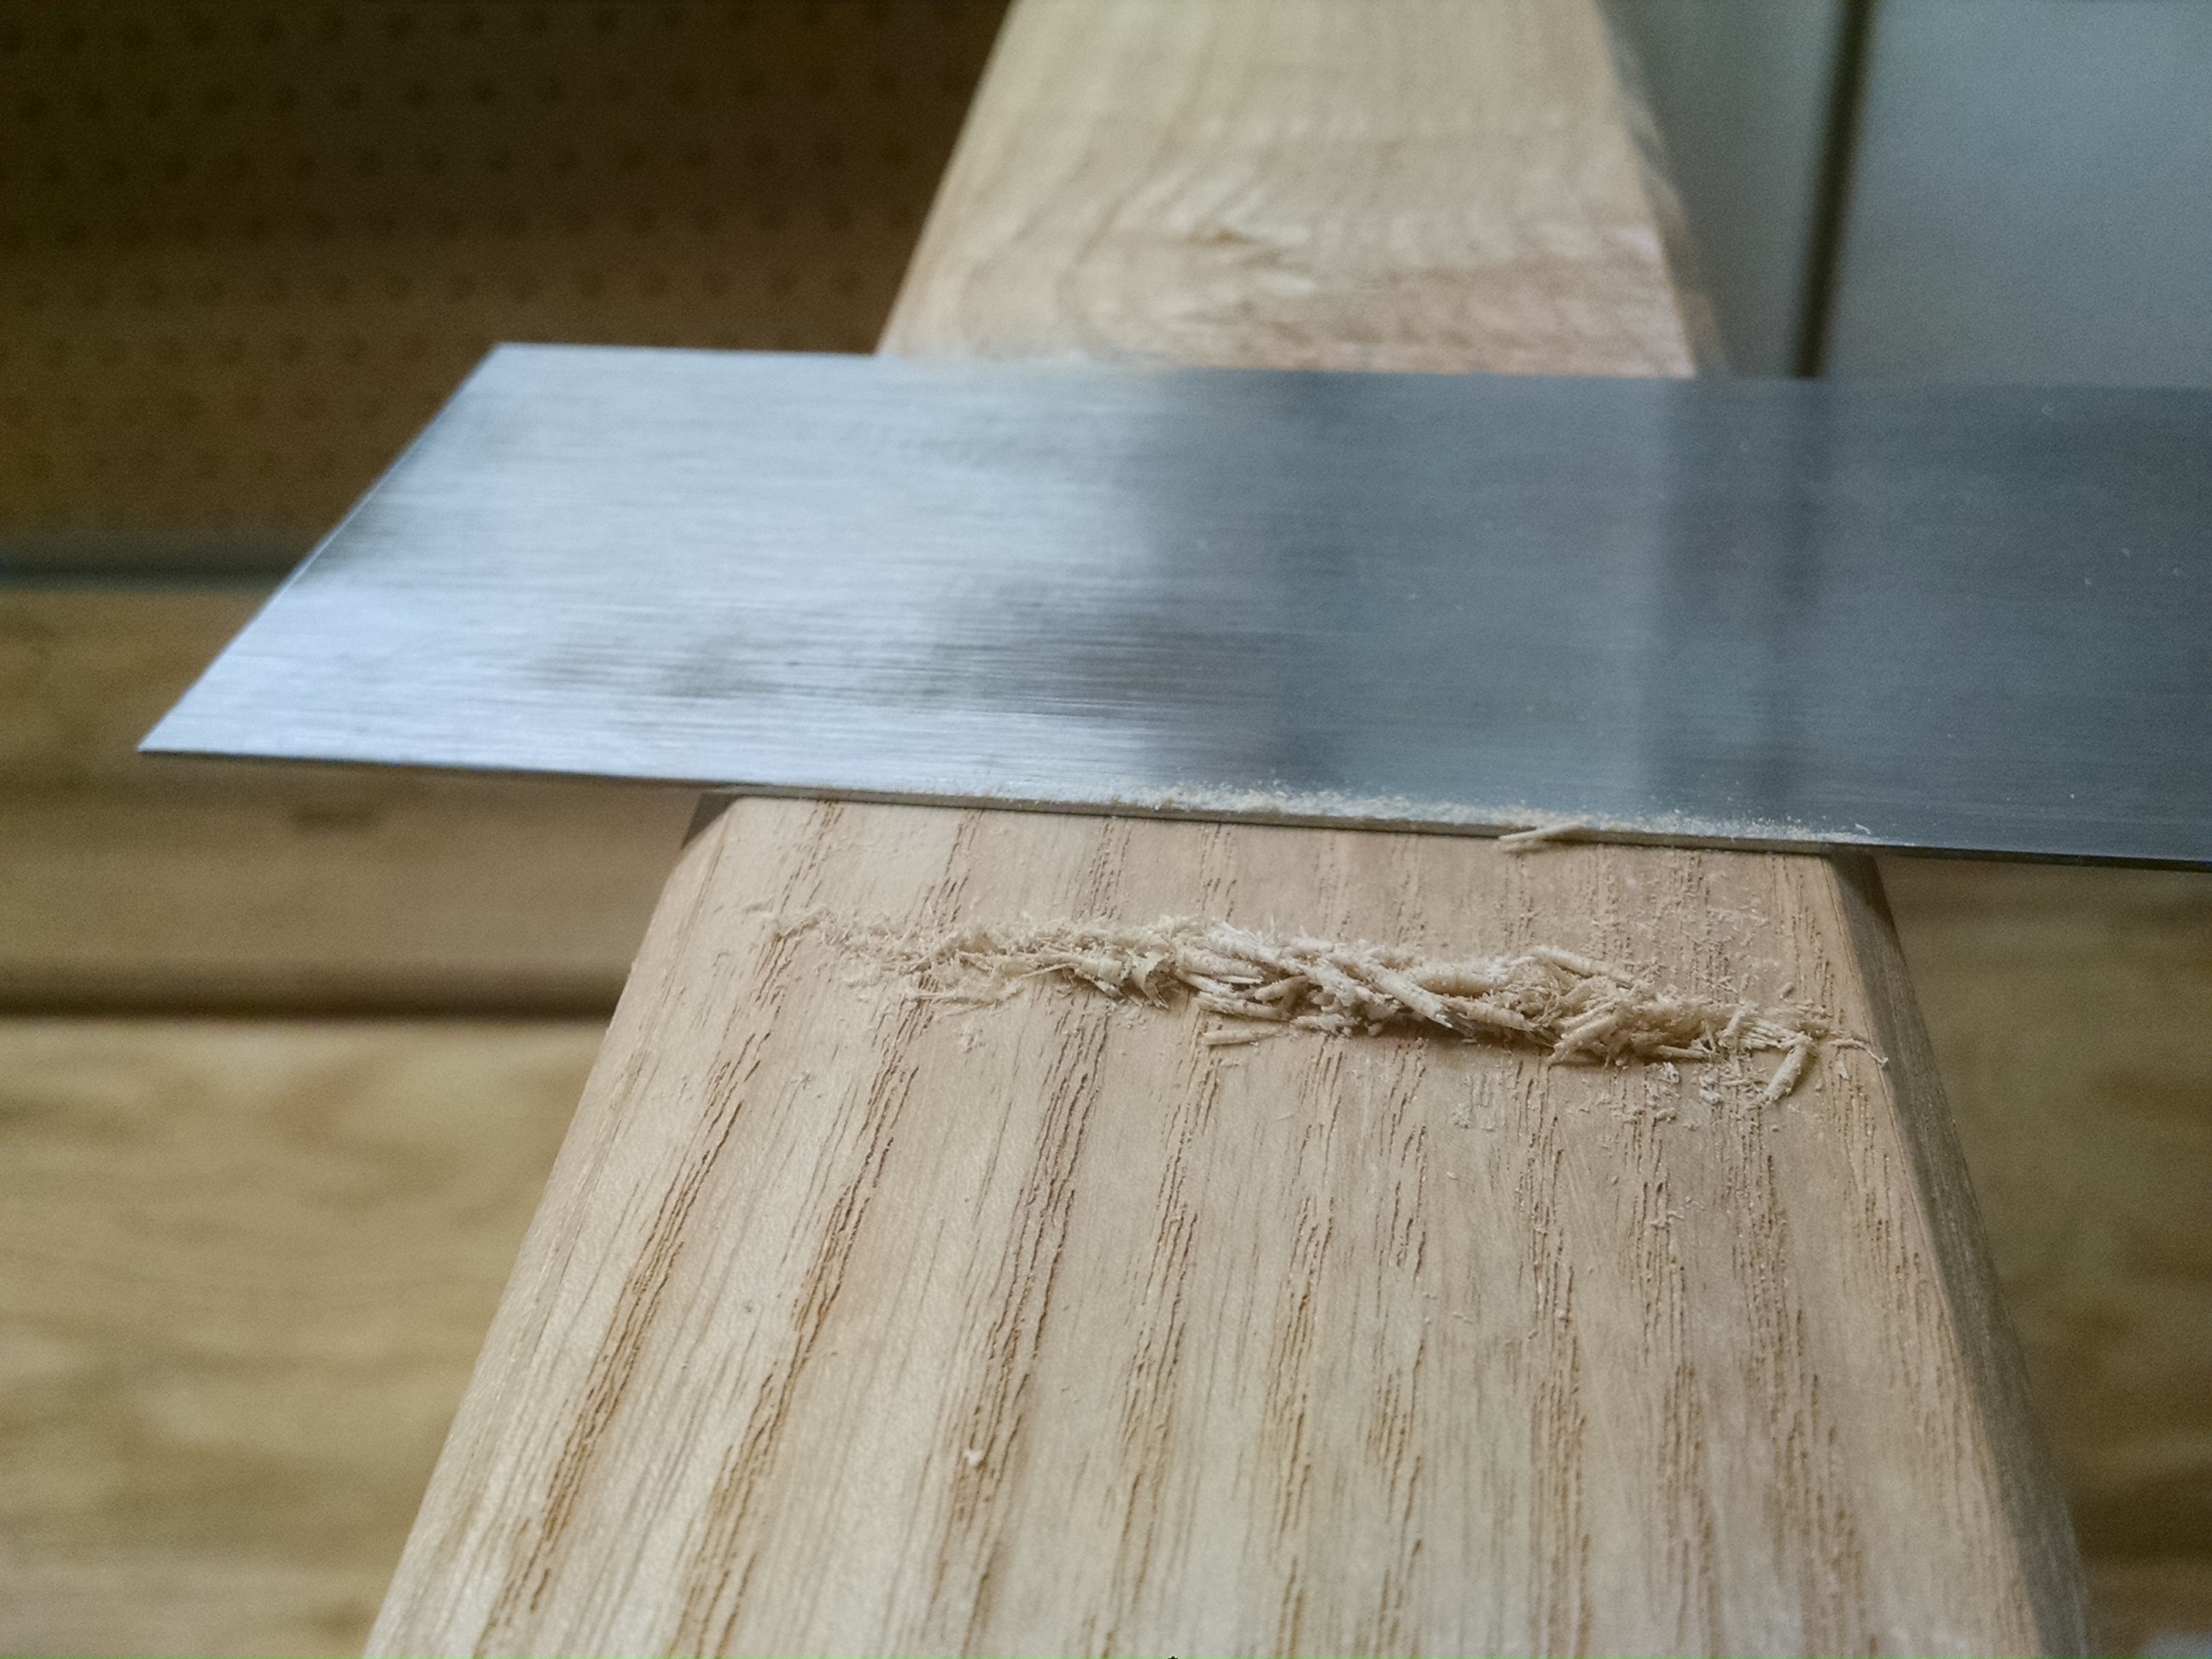
After everything was glued up, I went over it with a card scraper. In retrospect, I should have done this before glue up. But I was still learning how to use a scraper, so I wasn’t sure I would even use it. Once I got the hang of it, I found it very effective at cleaning up tool marks and at least smoothing over rough grain, if not fixing it up entirely.
At this point, I leveled the frame in our kitchen. Then the frame was finished with Emmet’s Good Stuff. The lumber yard recommended it; it’s food safe and water resistant, which is perfect for a kitchen table.
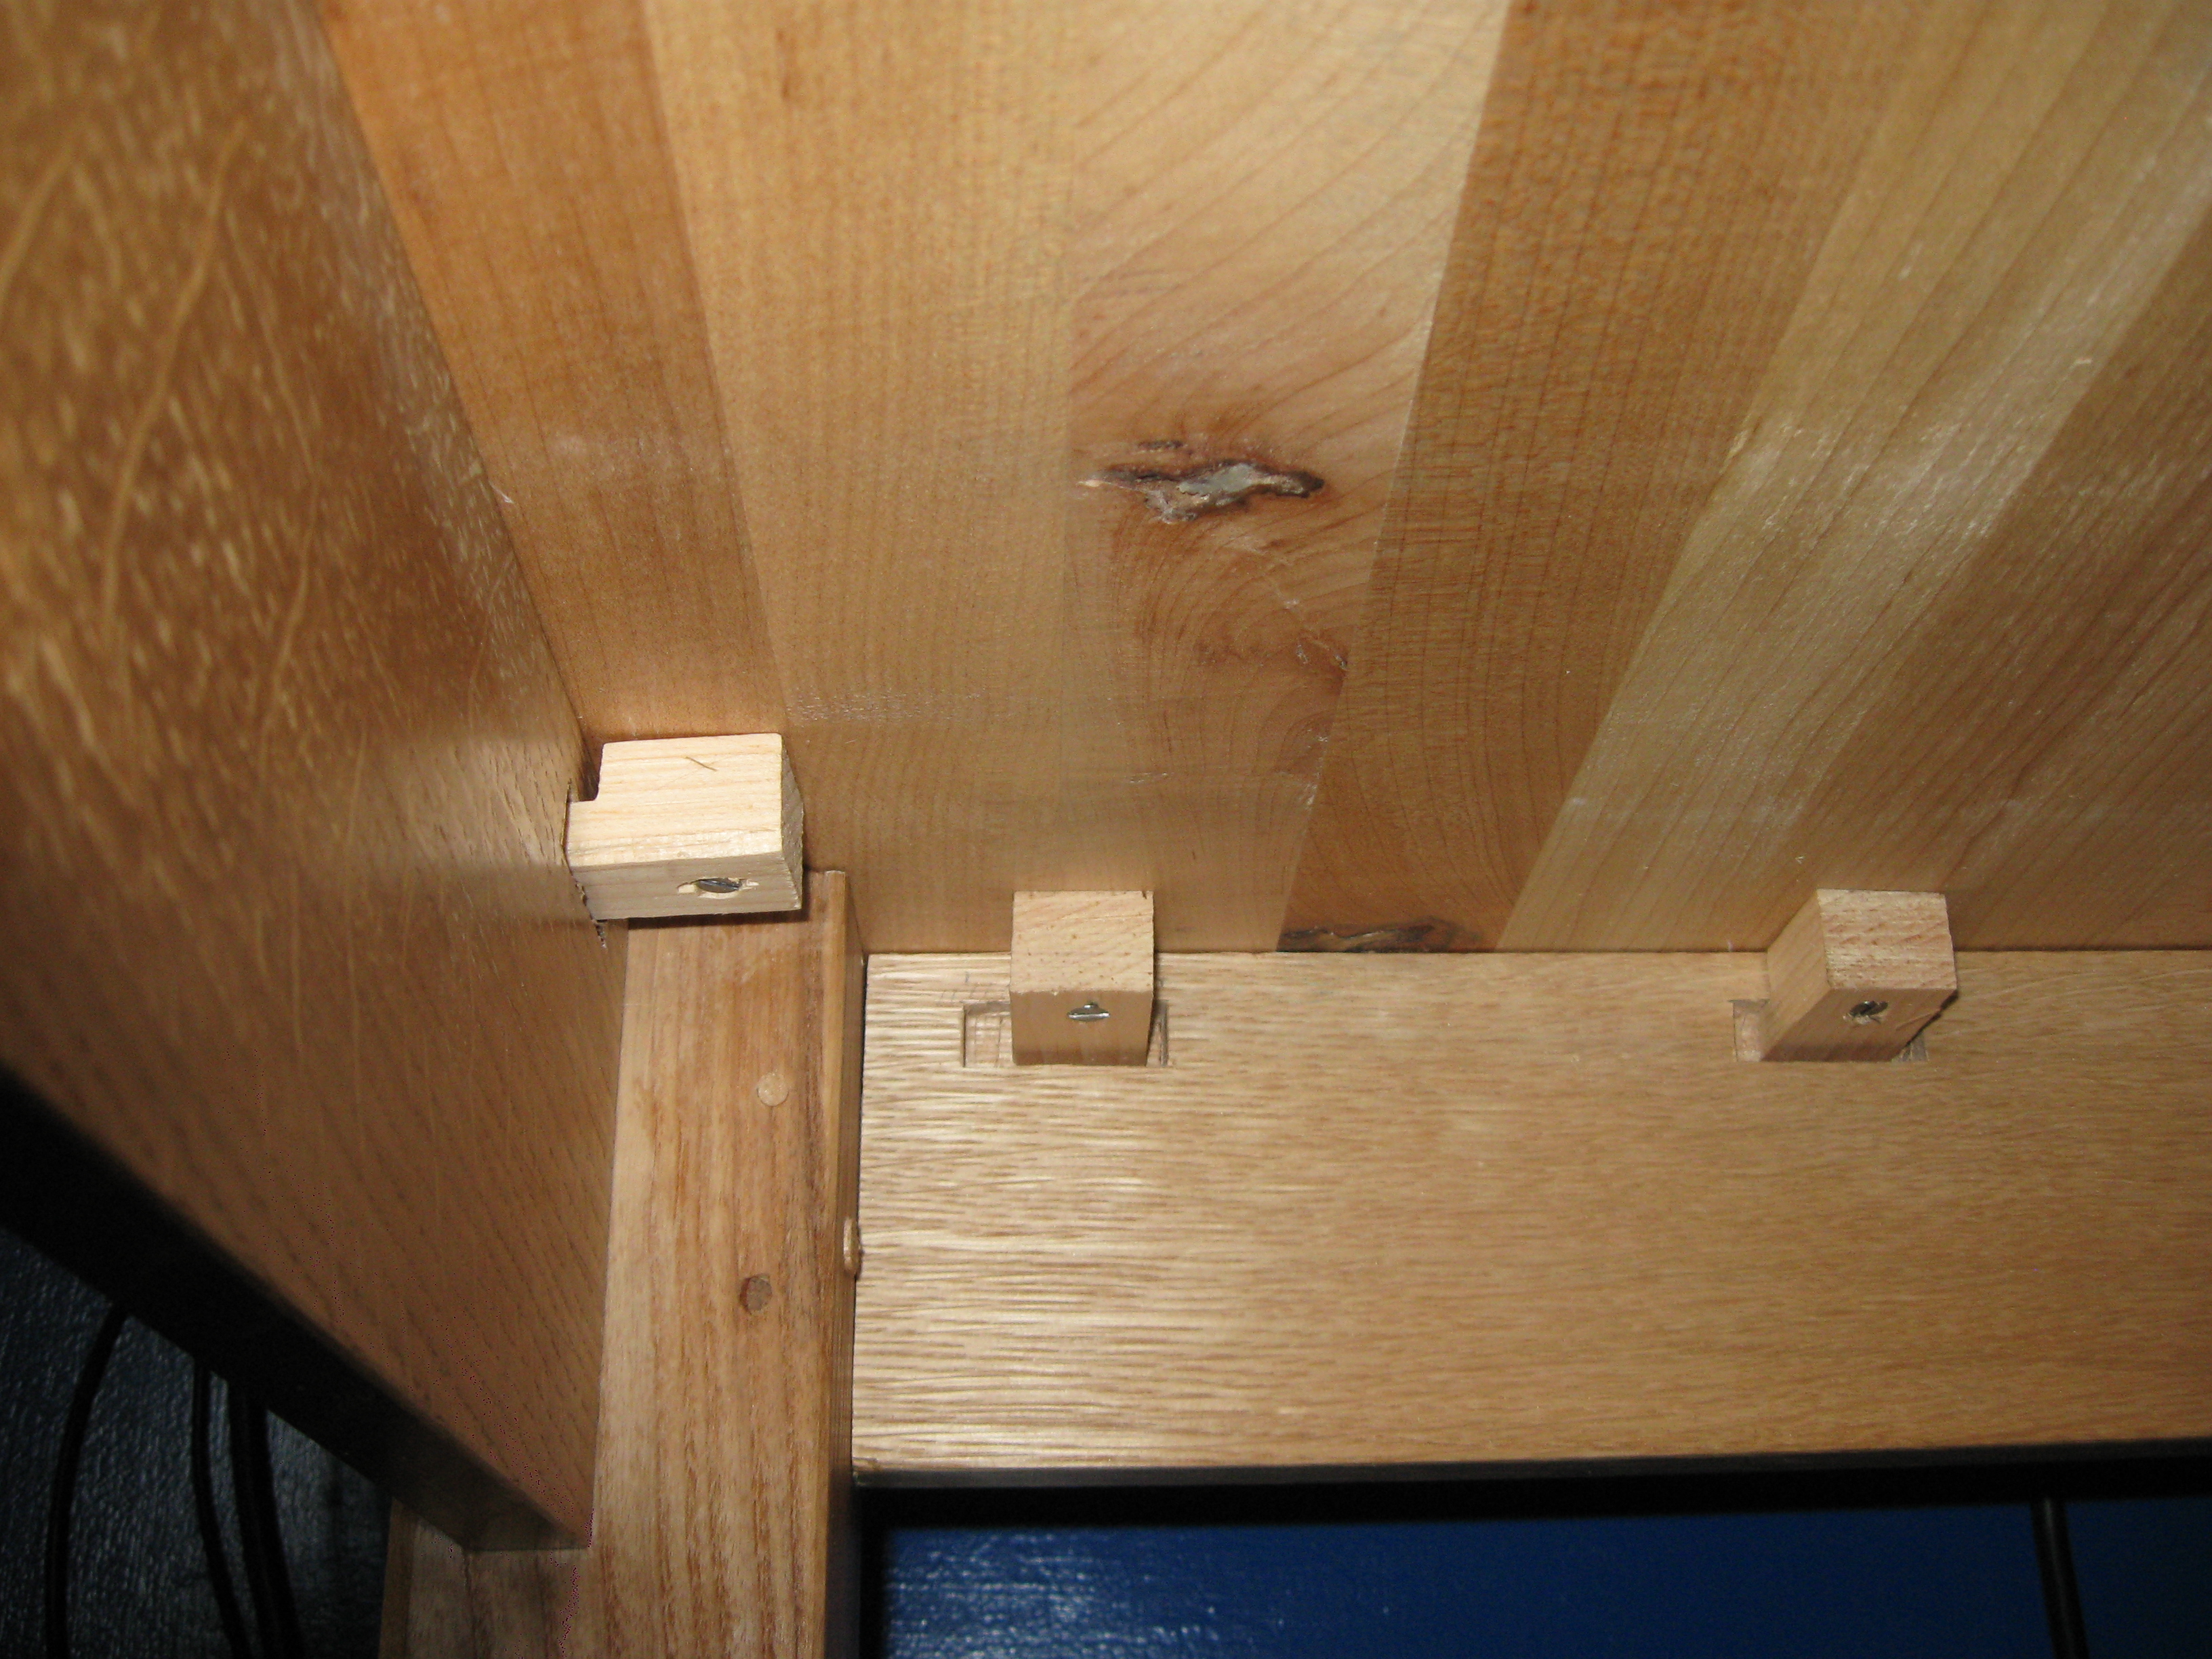
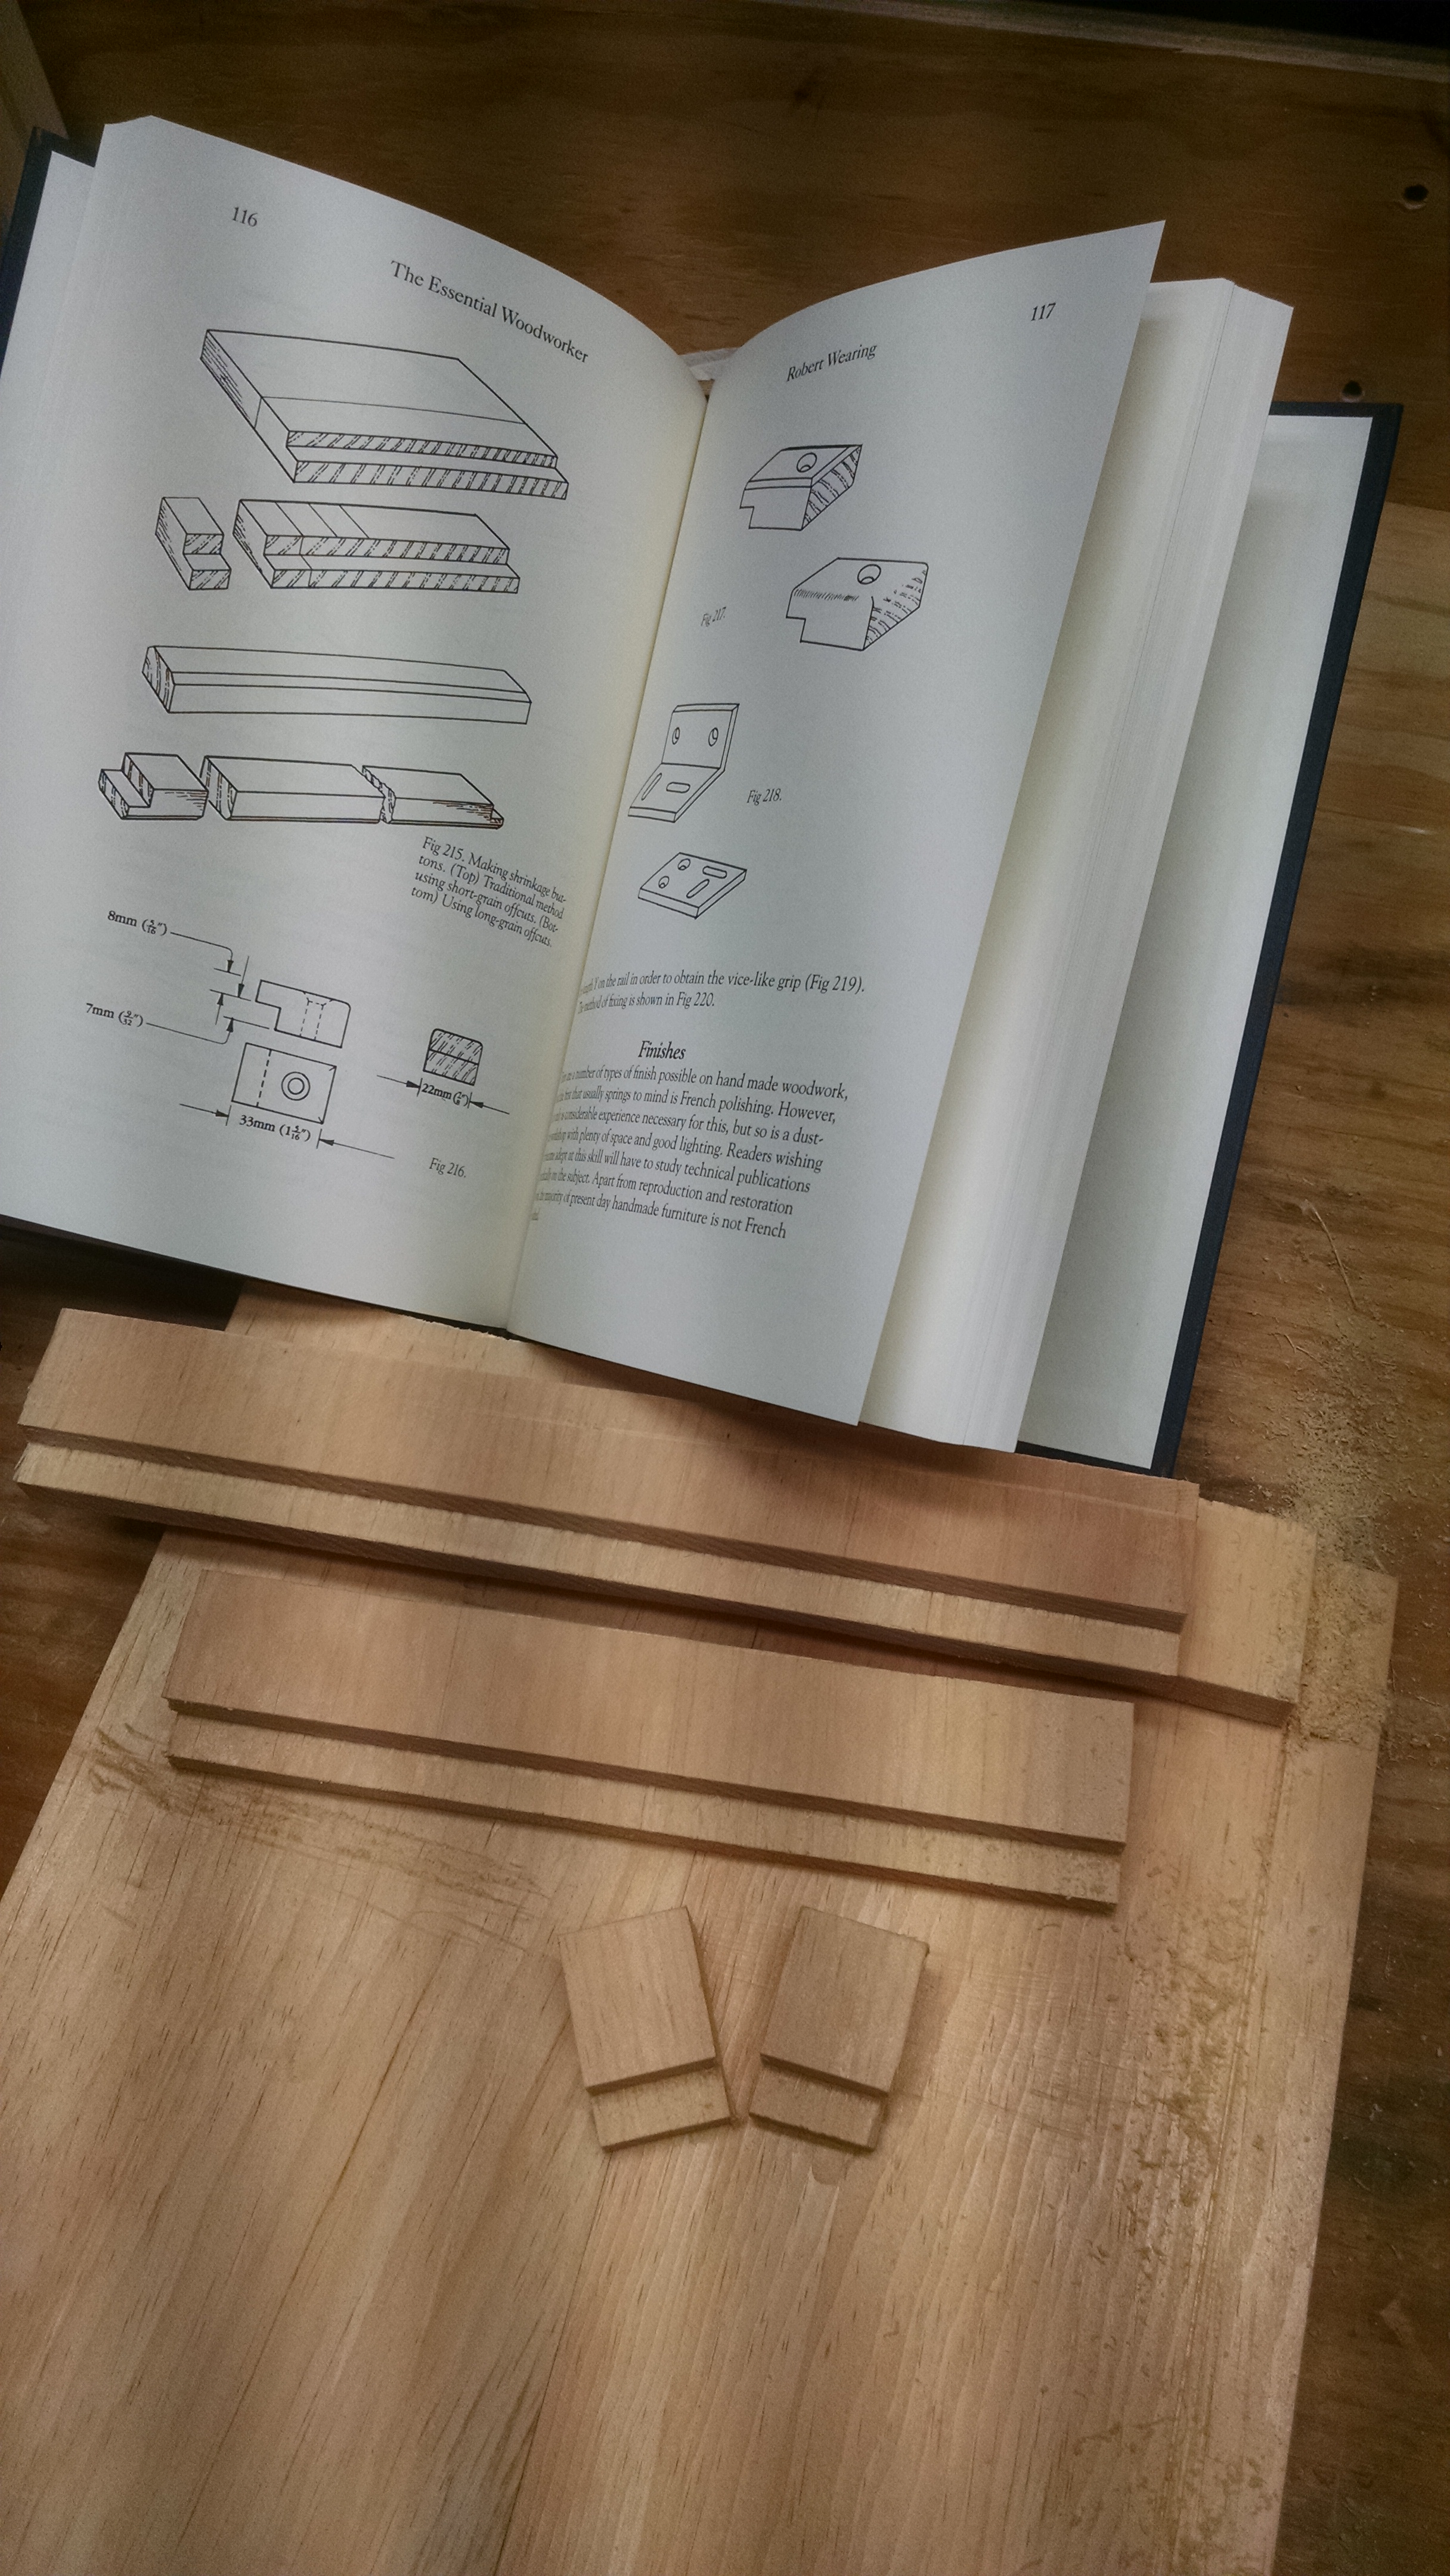
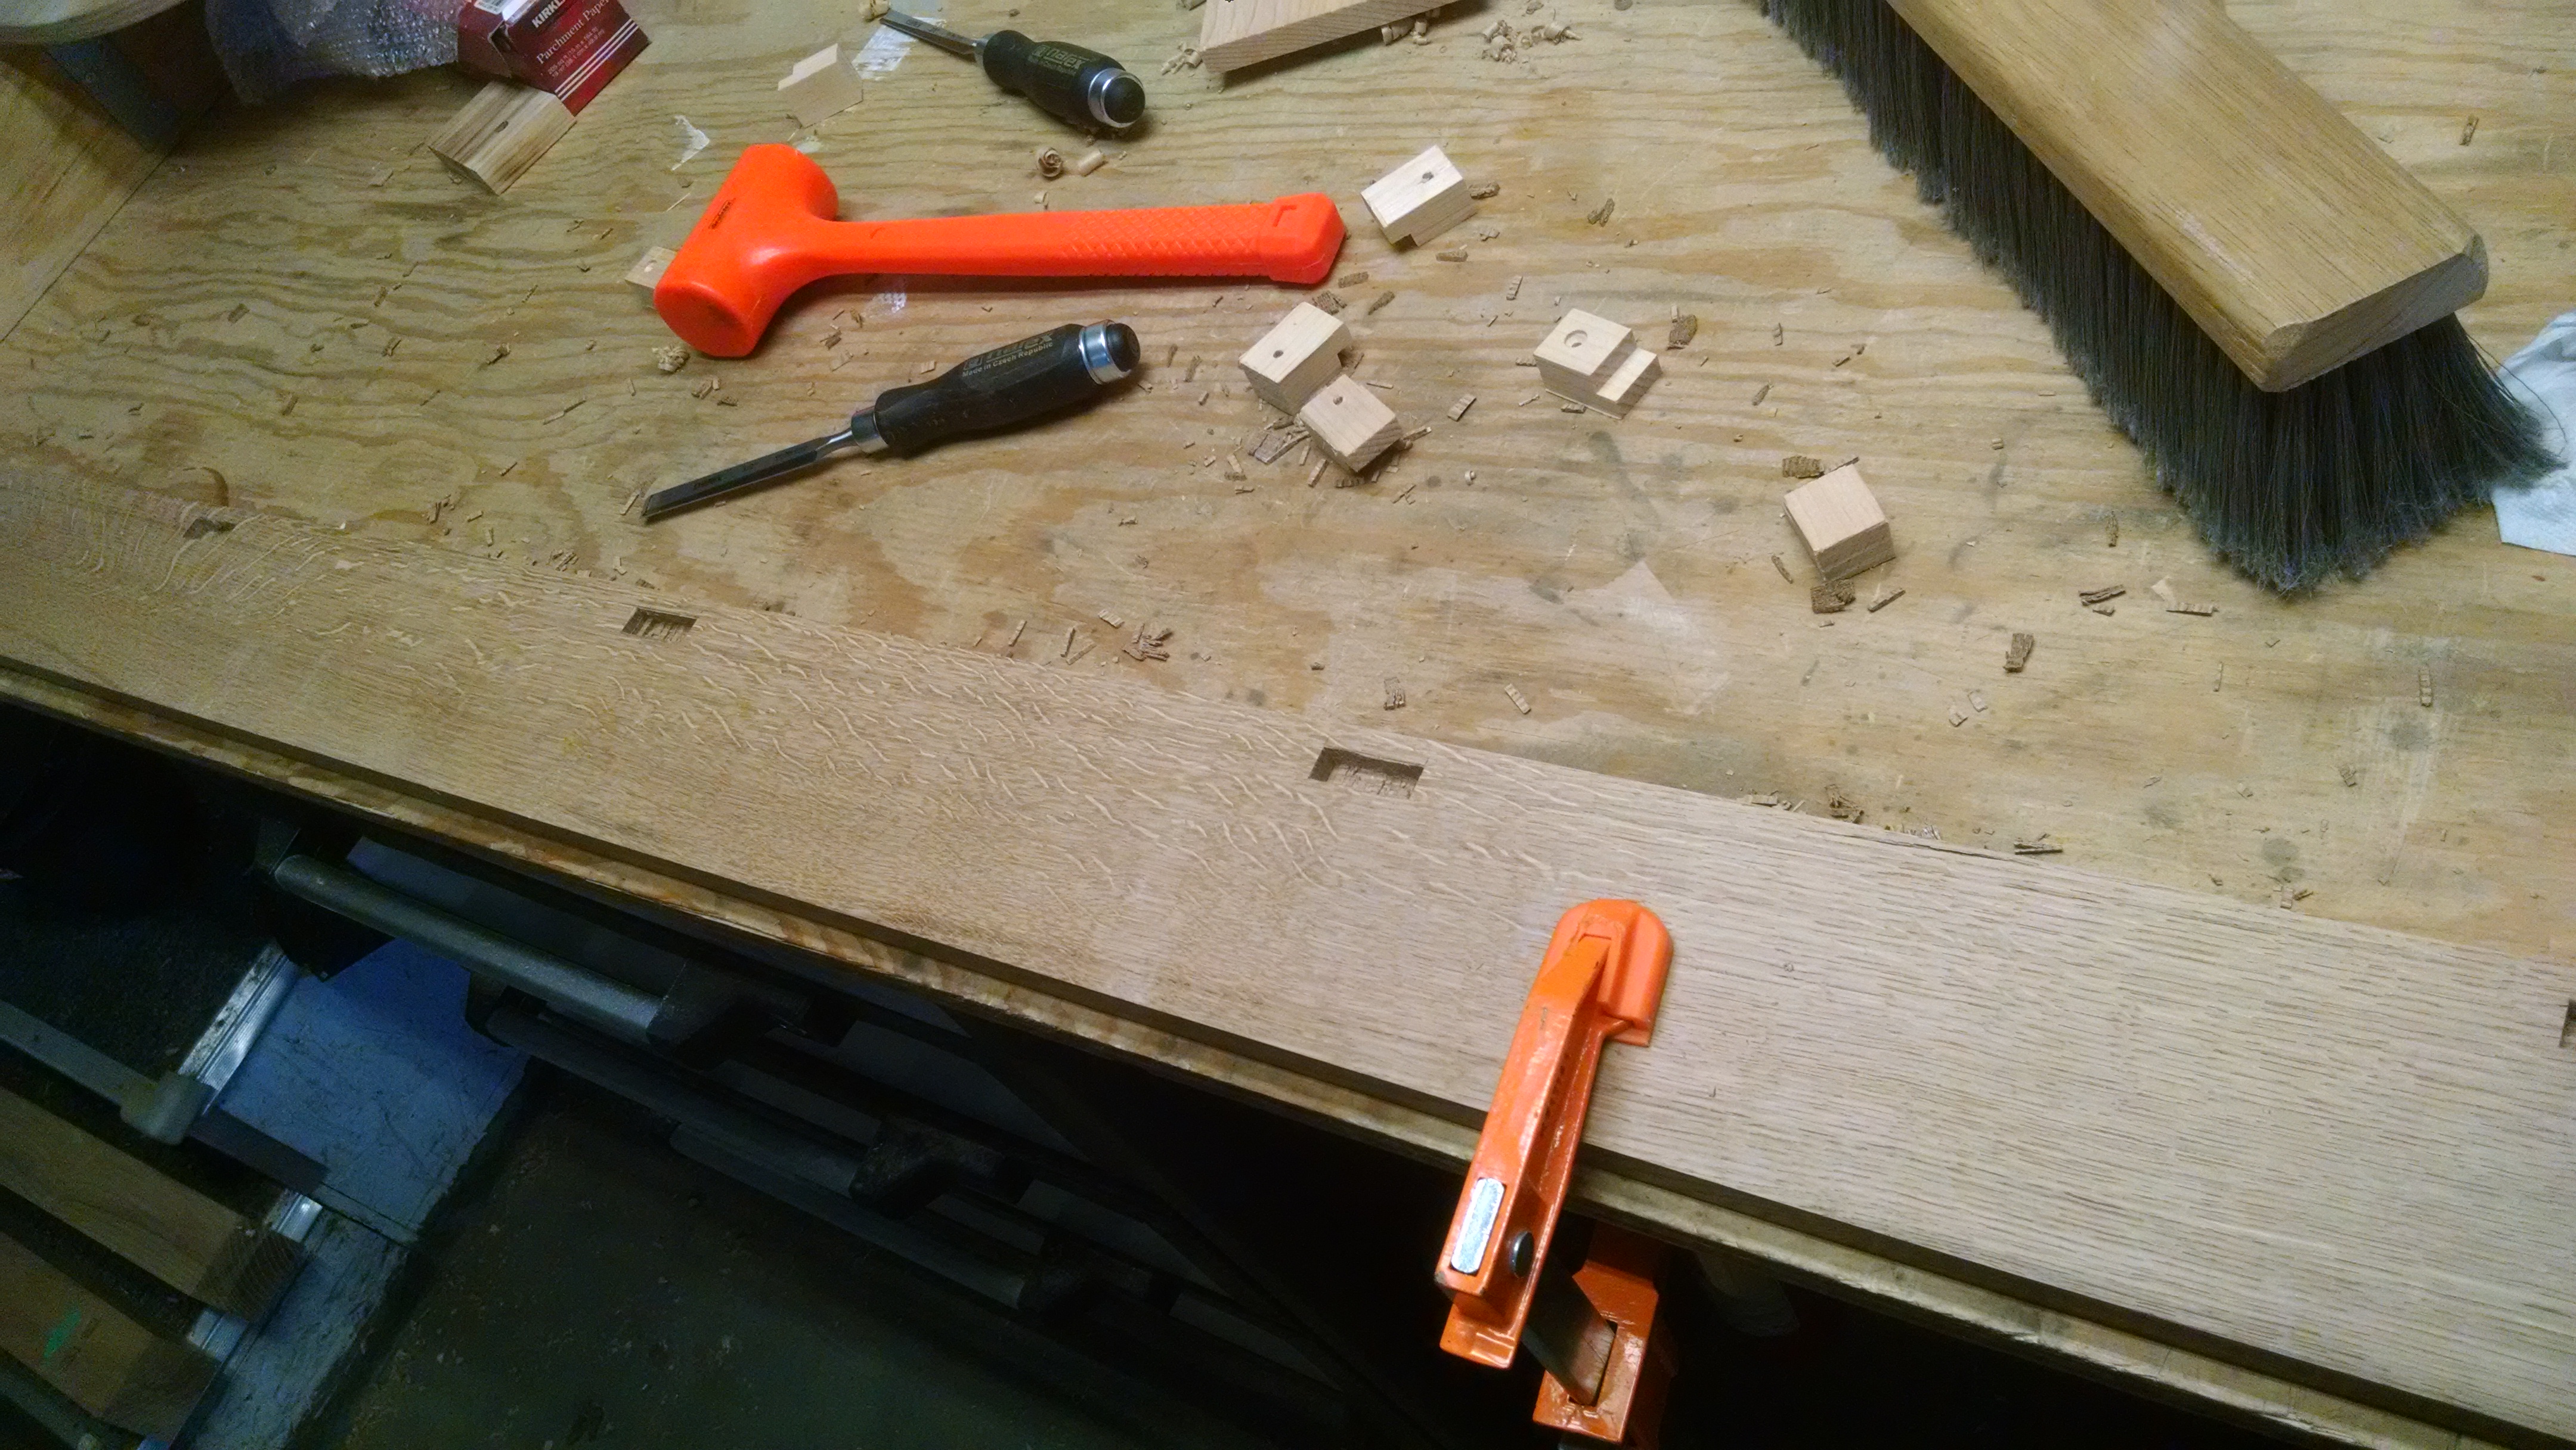
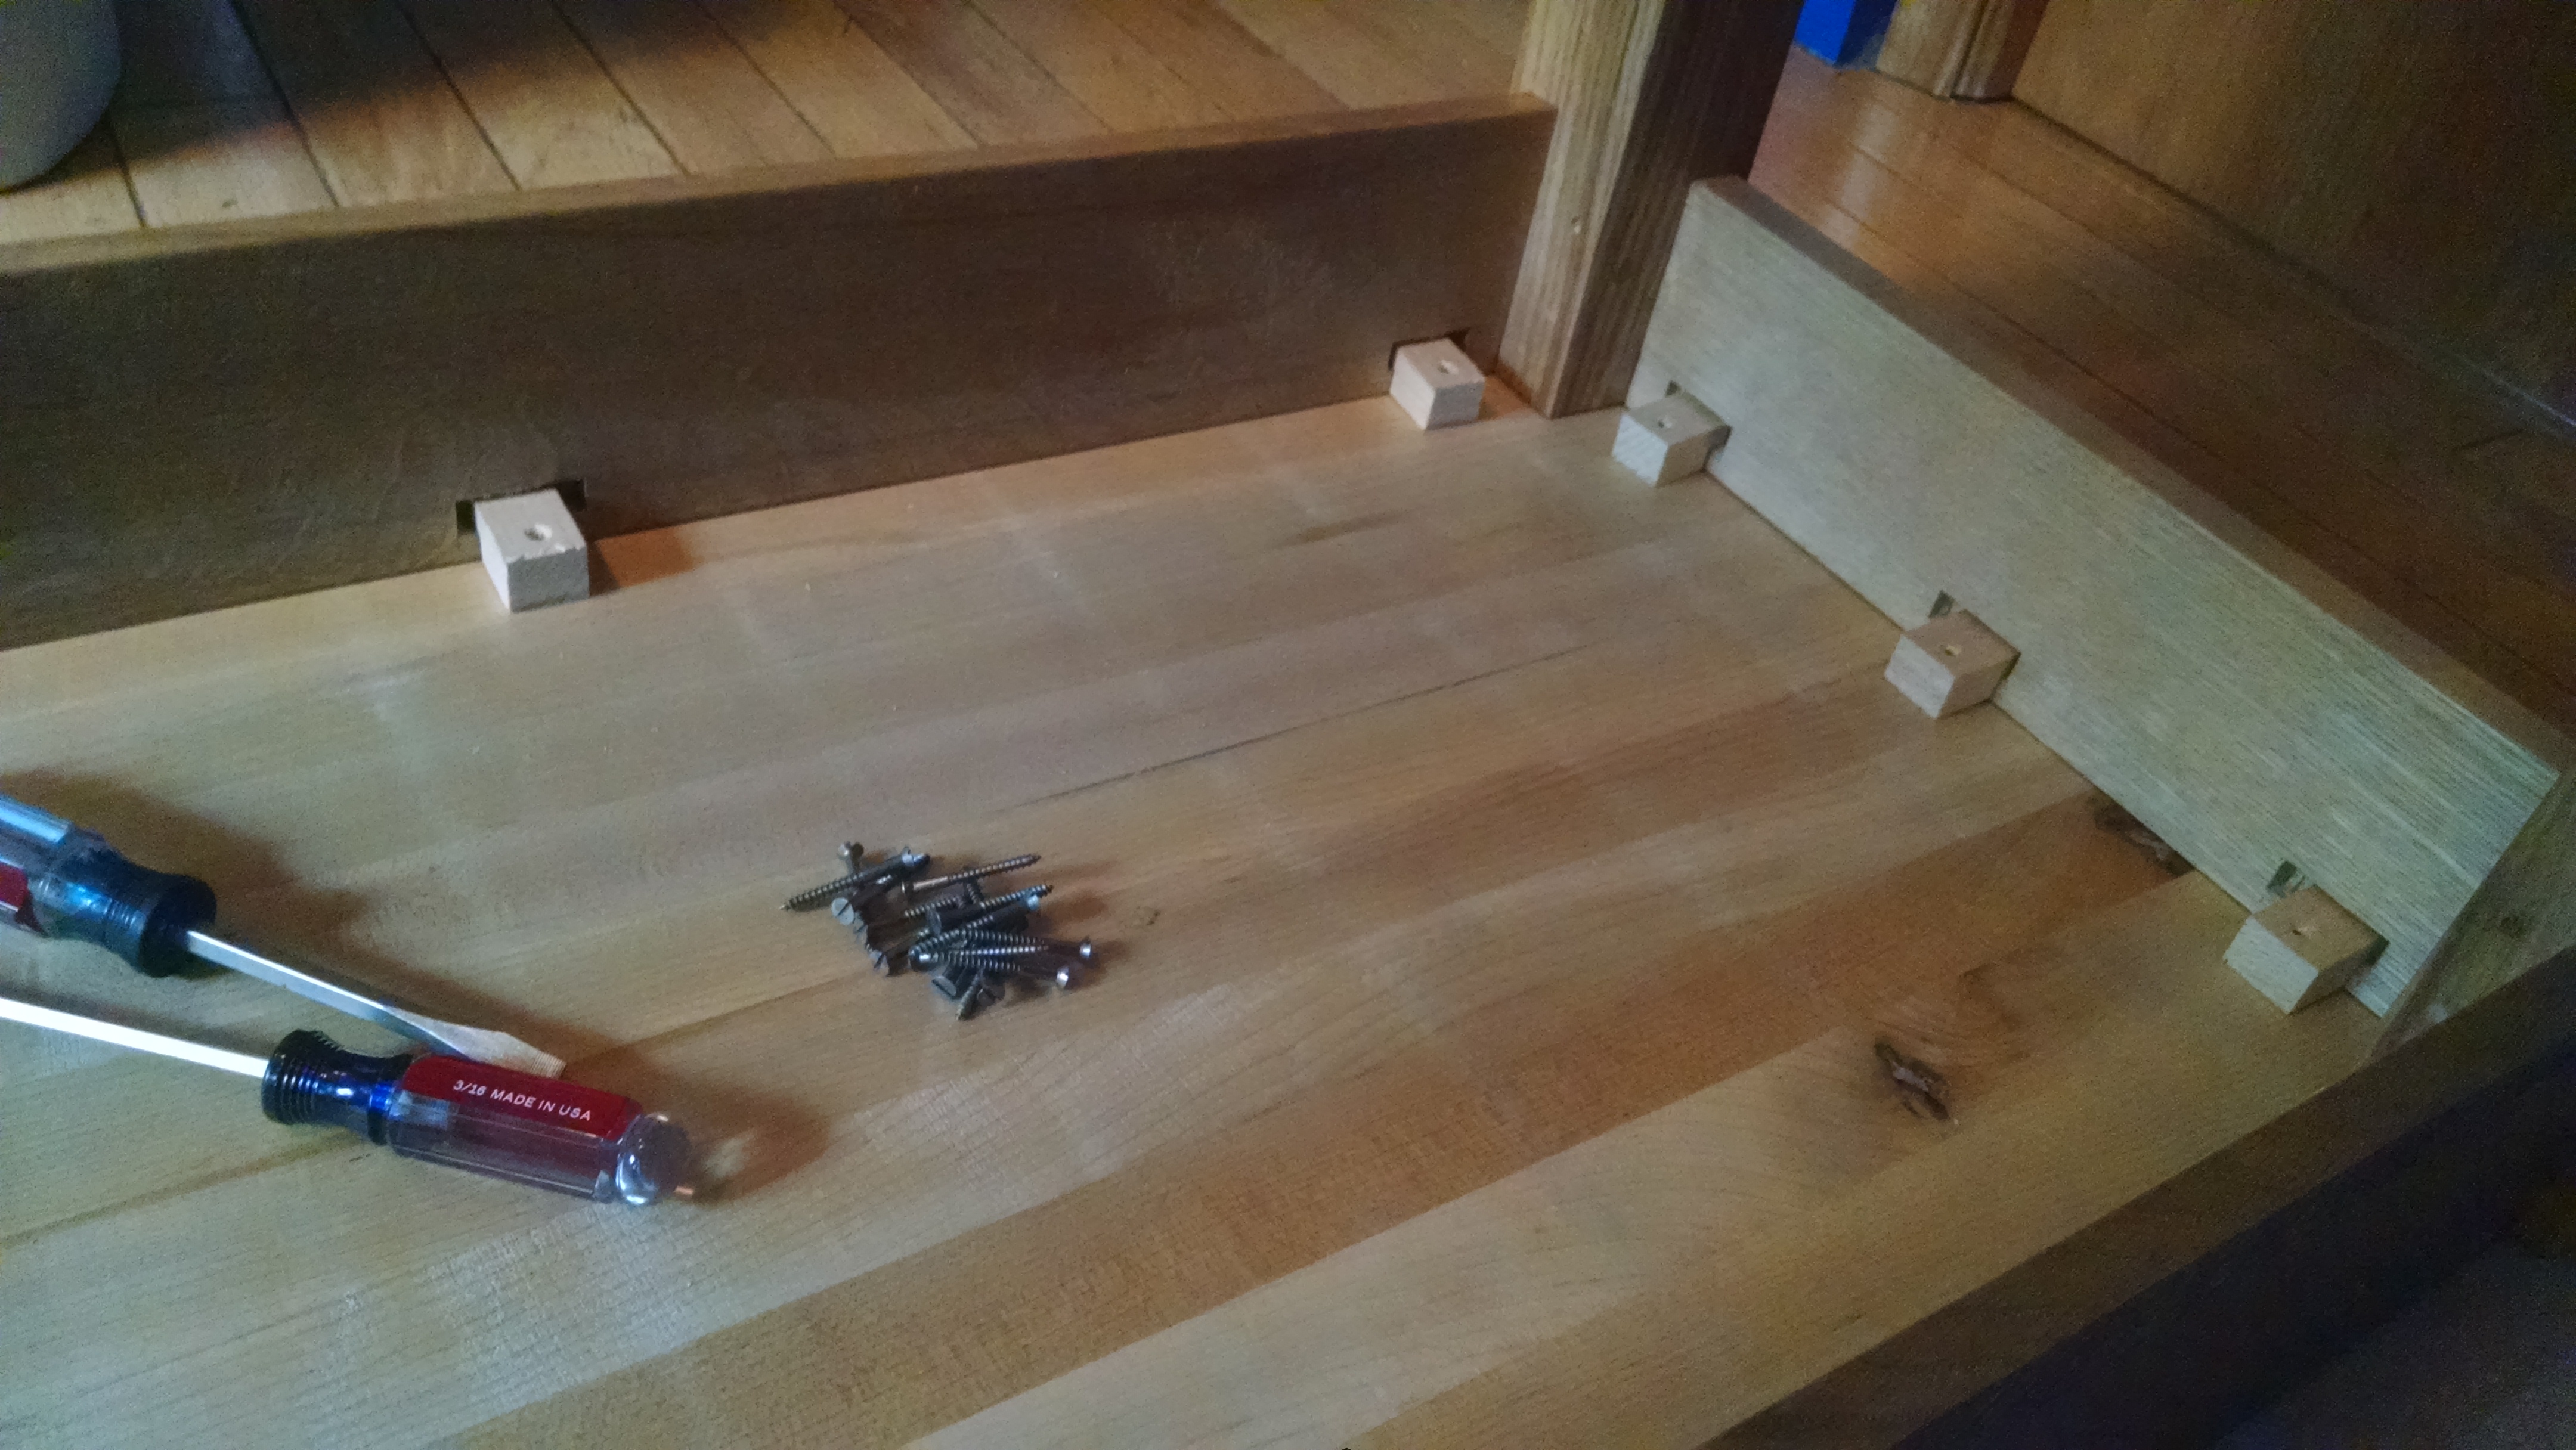
The top is attached with buttons made from some scrap pine. I followed the instructions from The Essential Woodworker to size and cut the buttons. The mortises in the rail were 1/2″ tall and about 3/8″ deep and chopped with a bench chisel.
I did hit one big “oops”. The drawbore offsets on the shelf were far too large. This ended up causing the bottom of one of the shelf stretchers to splinter while I was pounding the pegs in. I didn’t measure the offsets while drilling, I just eyeballed it, and it looks like my offsets were between 1/16″ and 1/8″. Far too large, as this made the offset in the 2nd stretcher almost 1/4″, hence the splintering. But it’s on the underside and isn’t visible from any reasonable angle, so it didn’t really impact the final project. Live and learn.

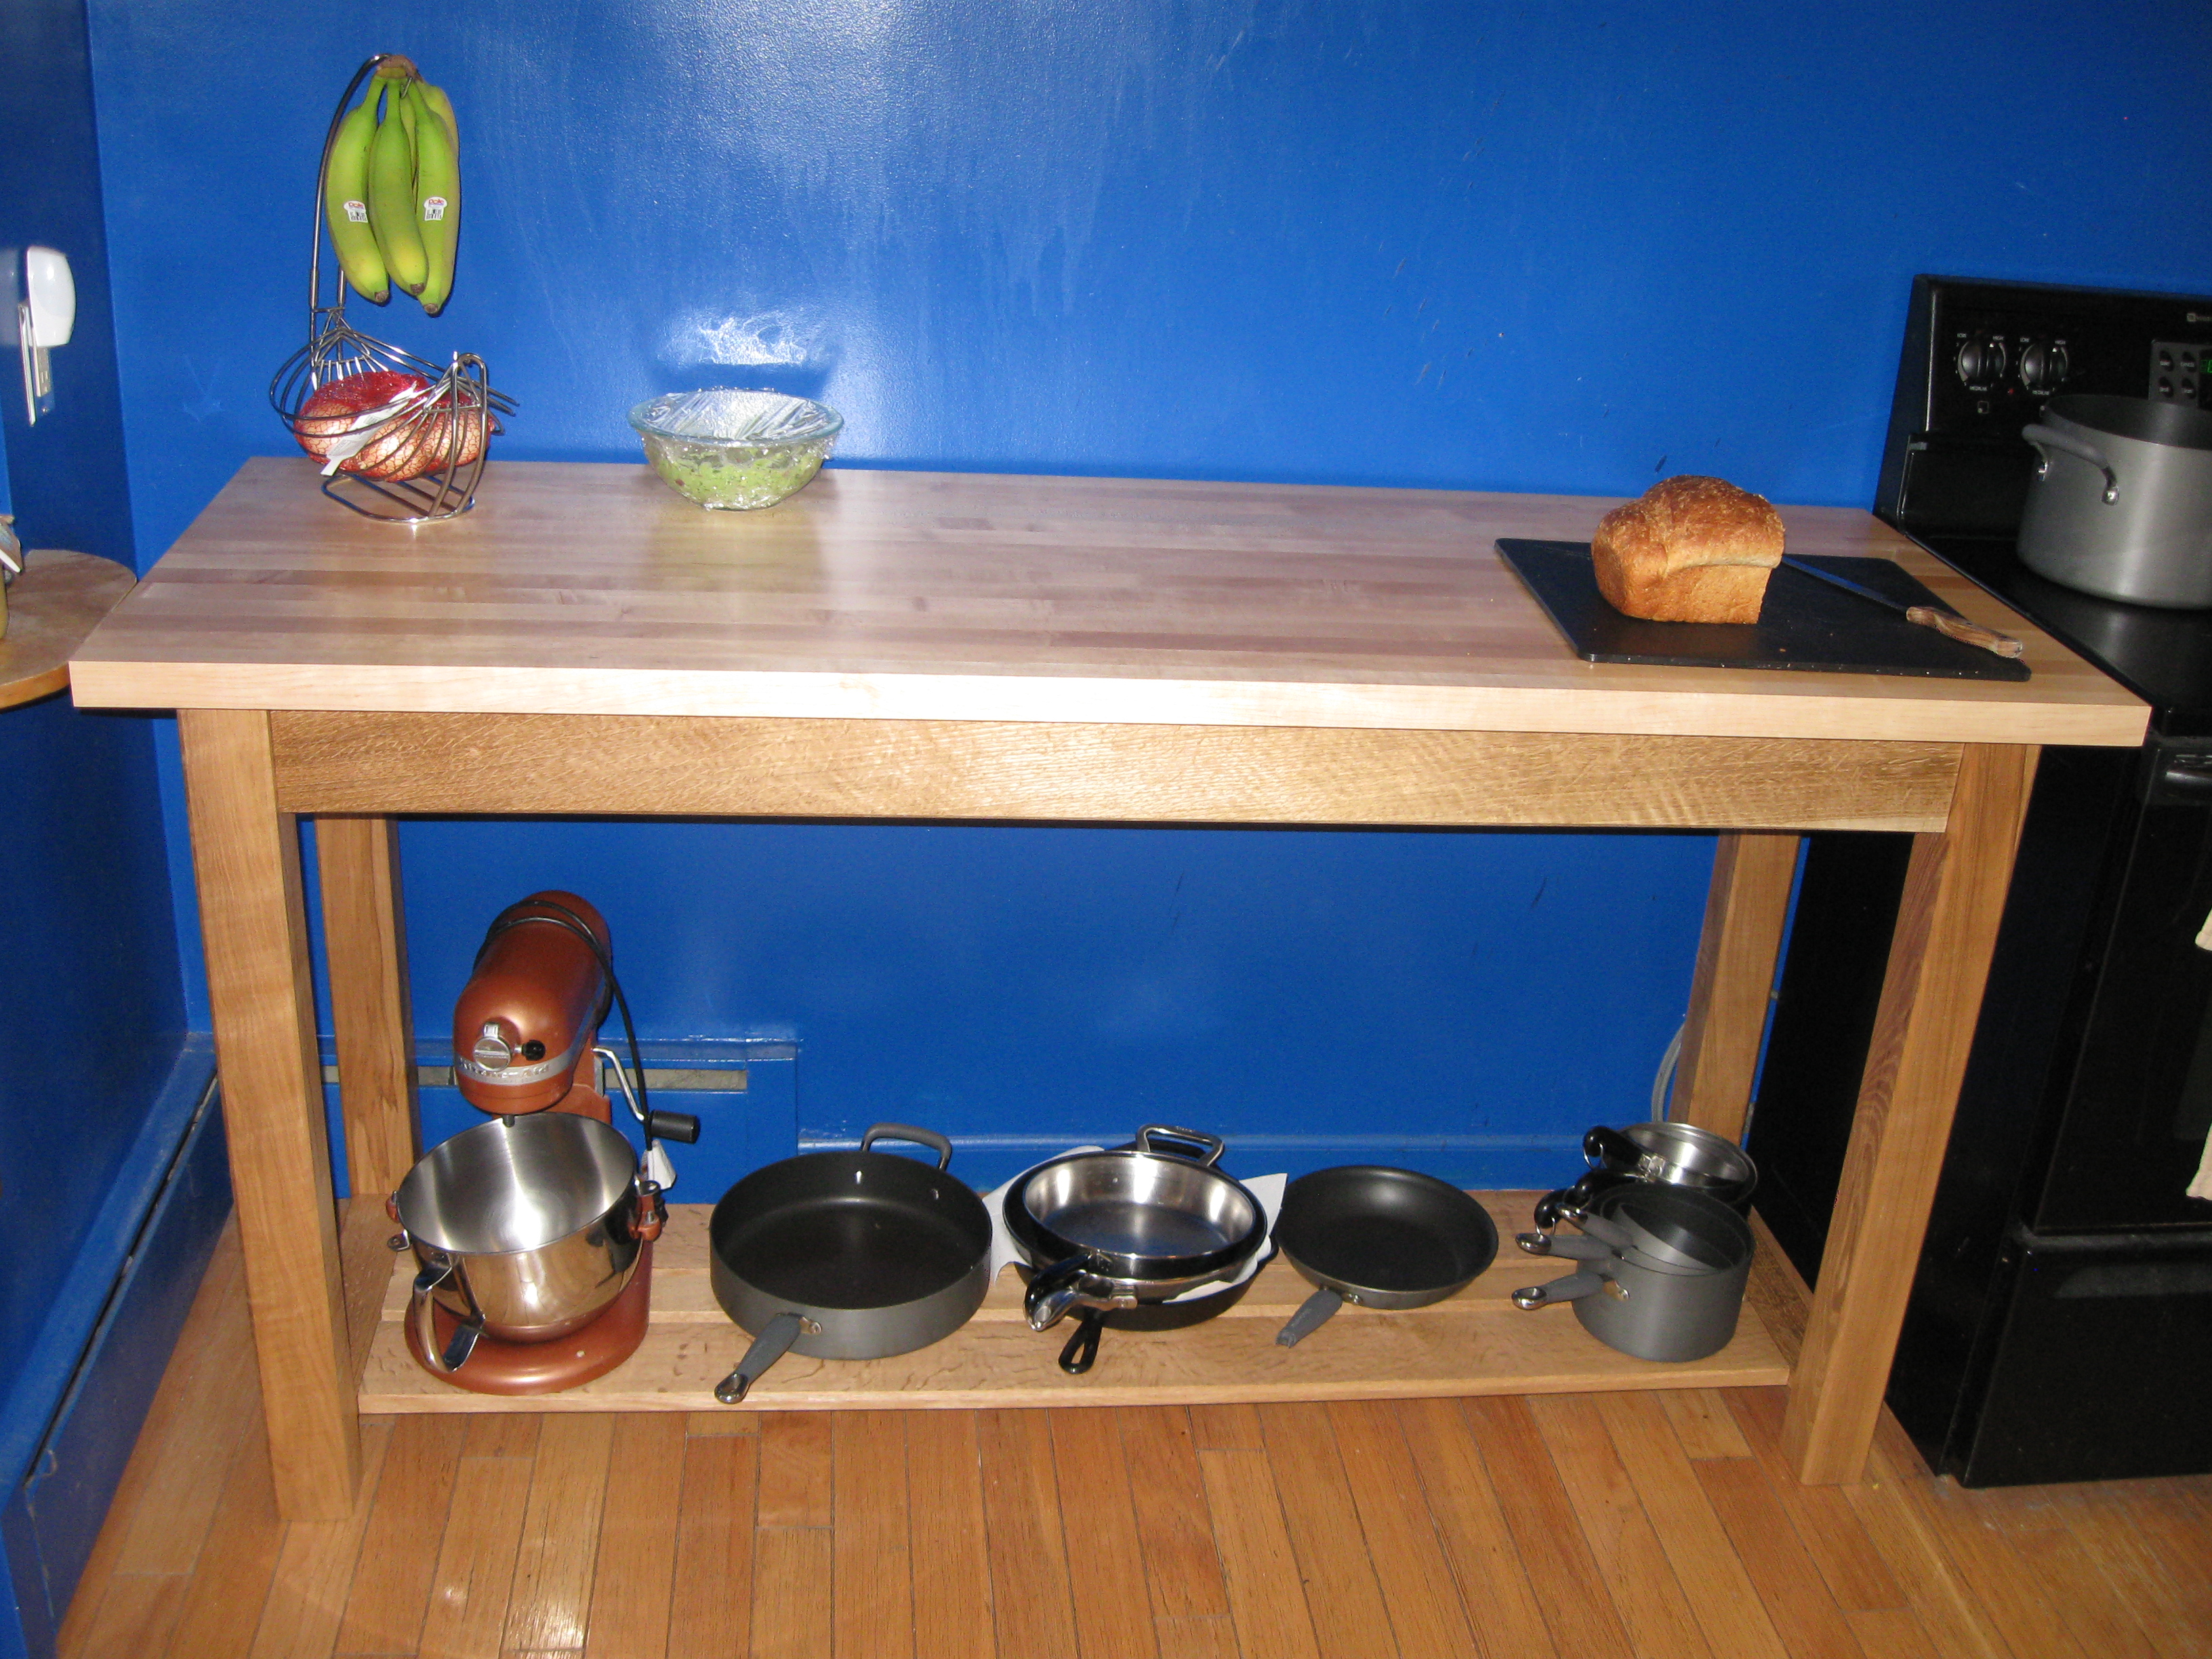
And that’s my kitchen counter table. Definitely my largest and most complex, and best executed, project to date.
Next up… a proper workbench.
You can get in-progress pictures of my projects by following me on Instagram or on Twitter.