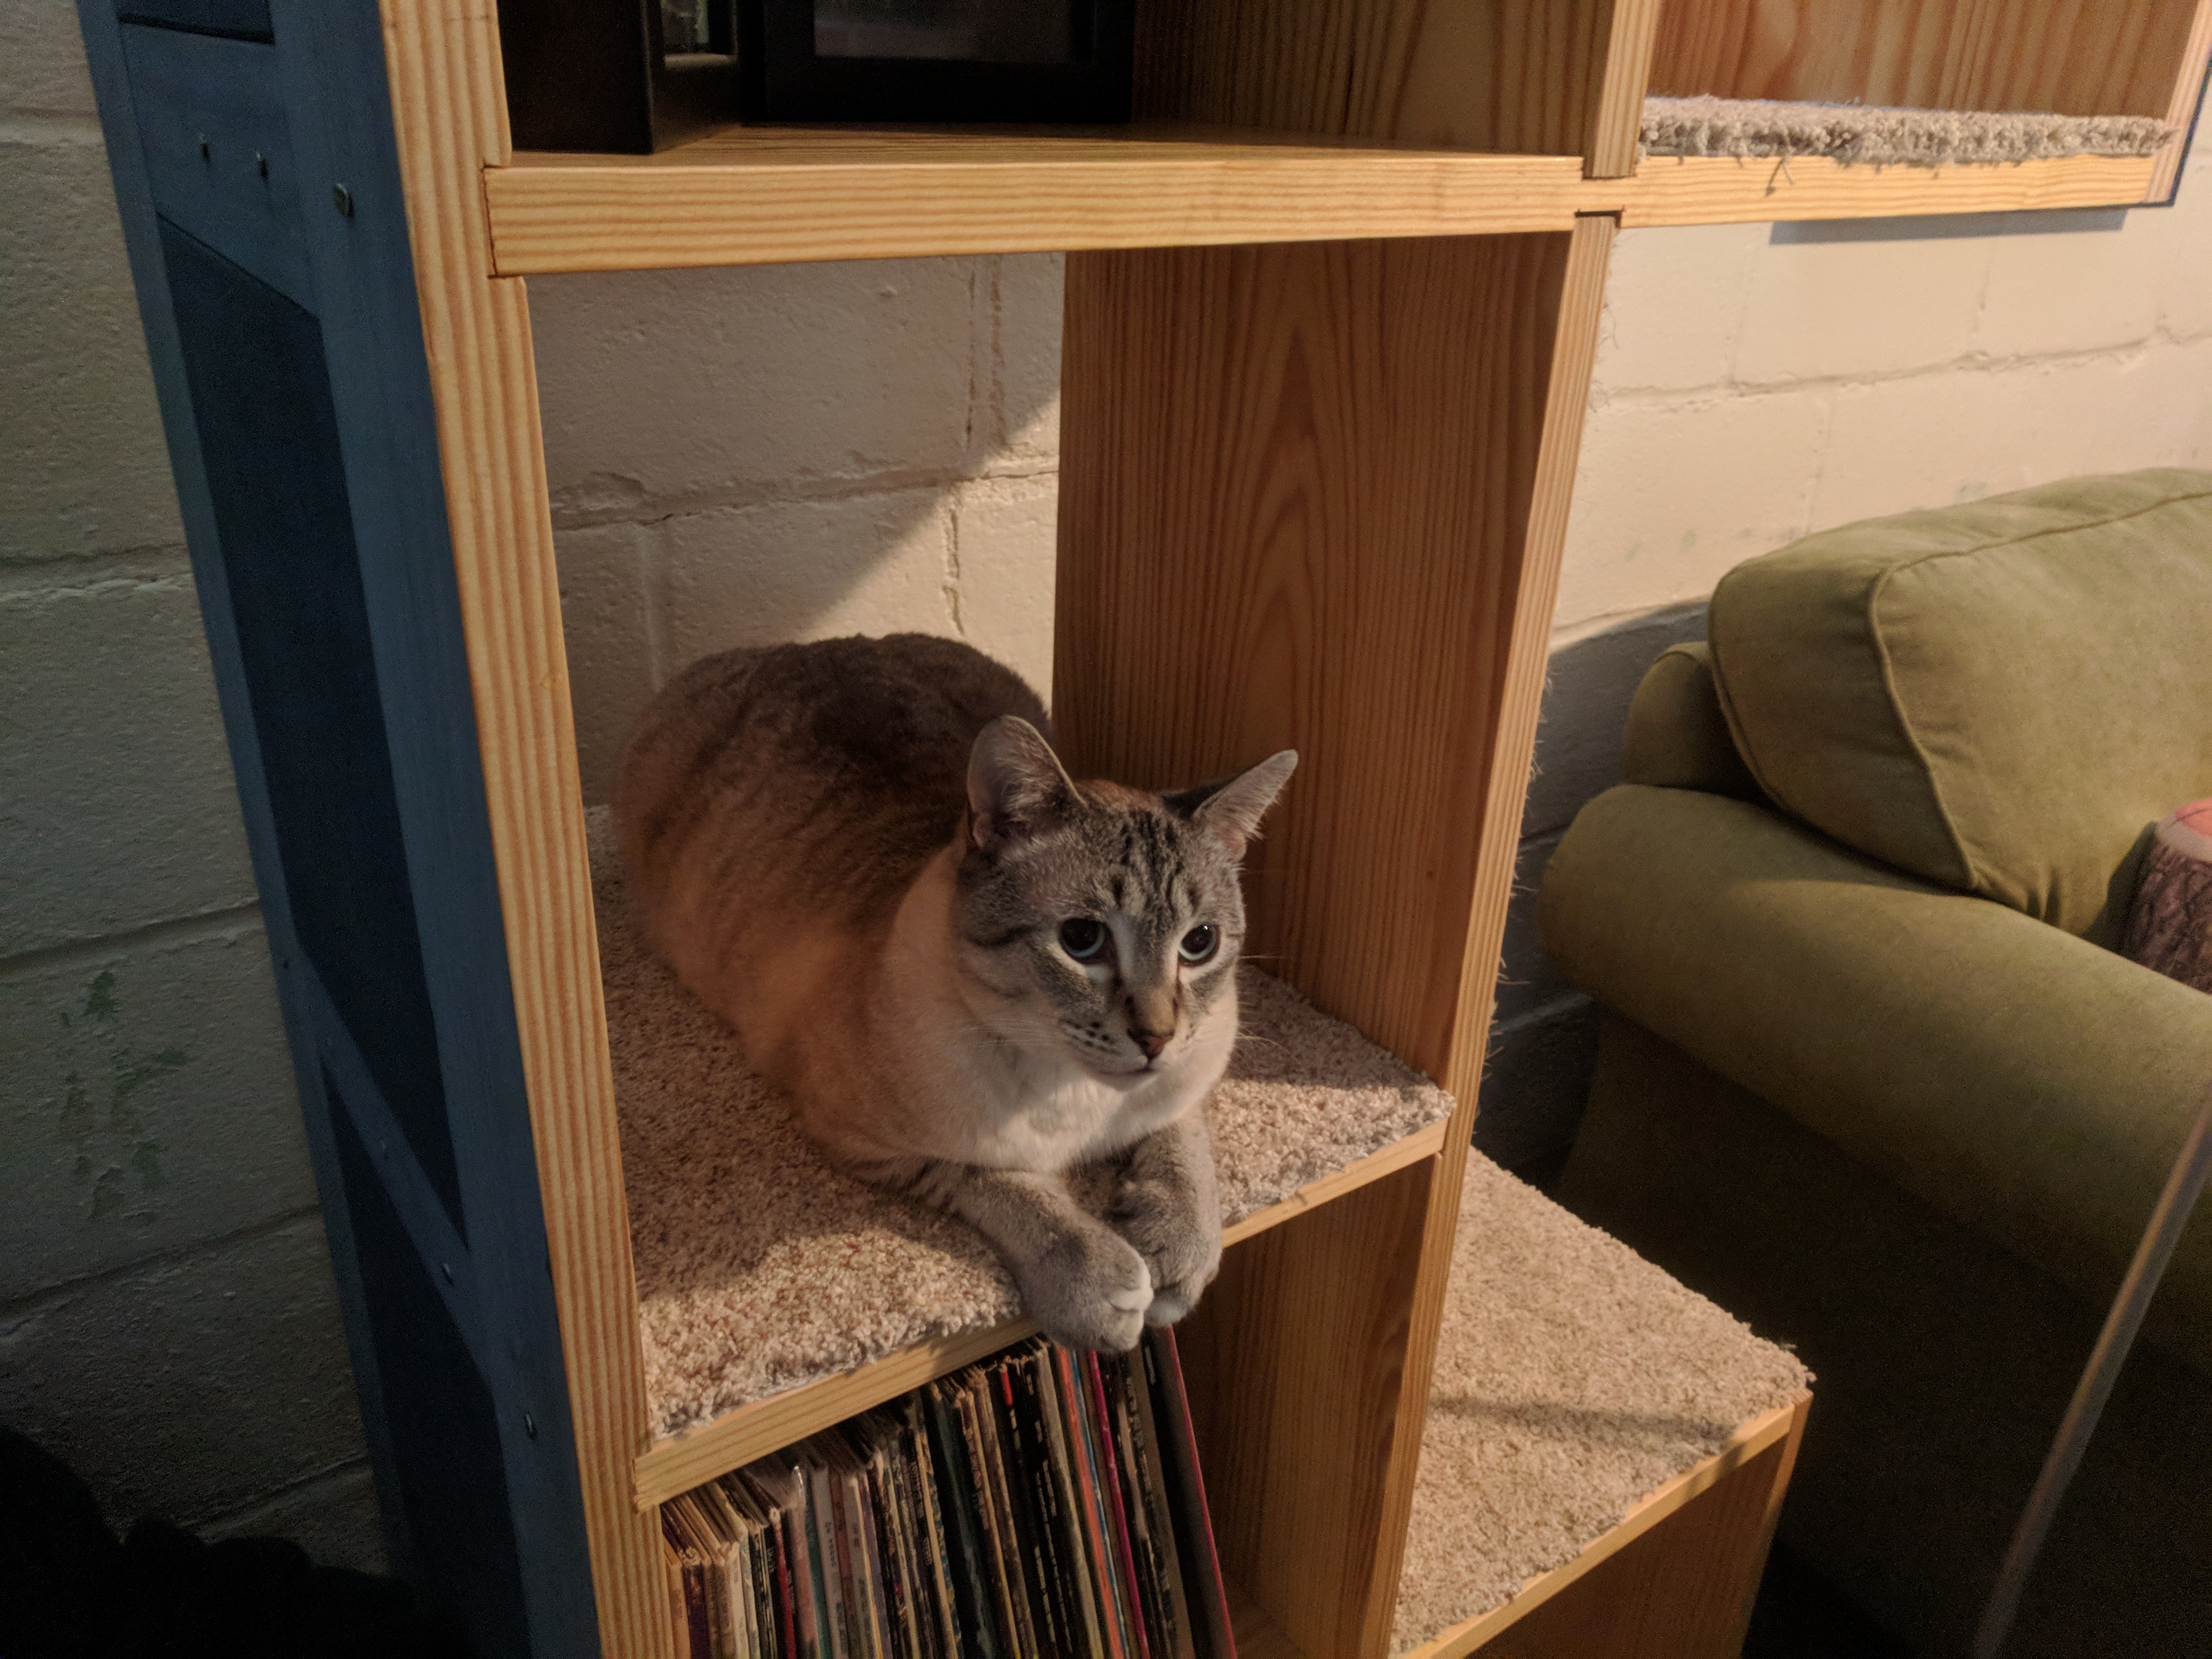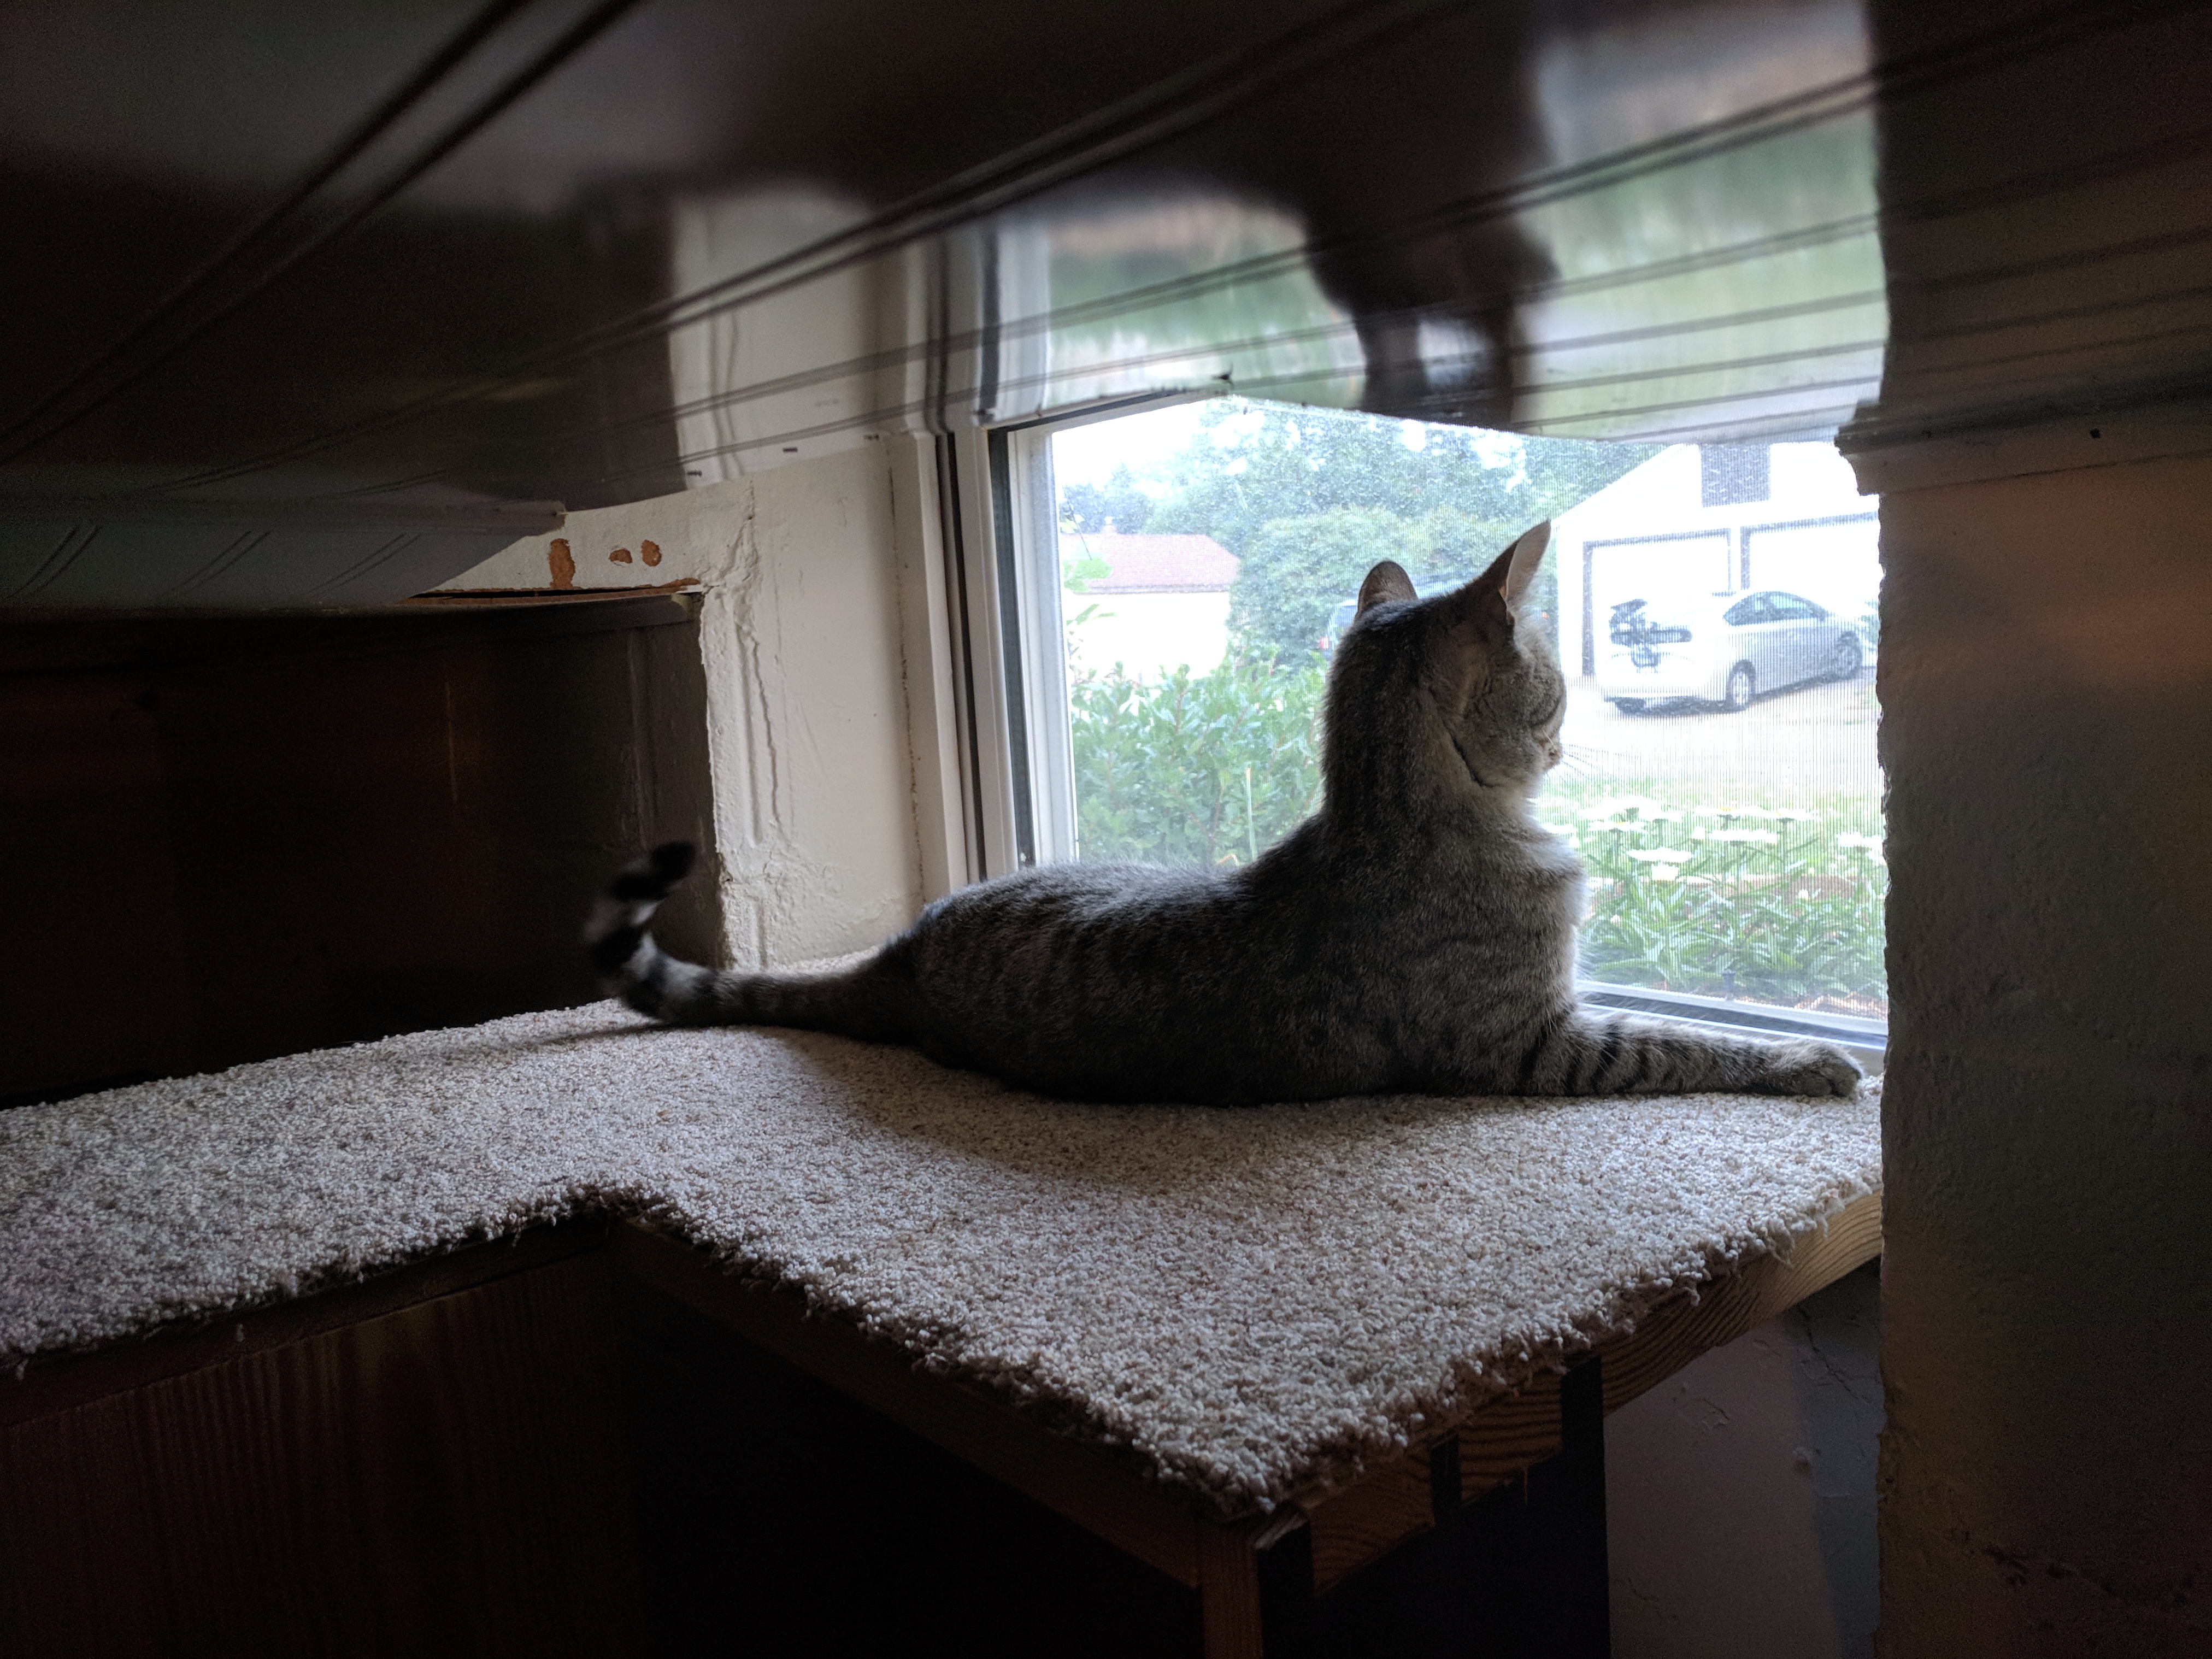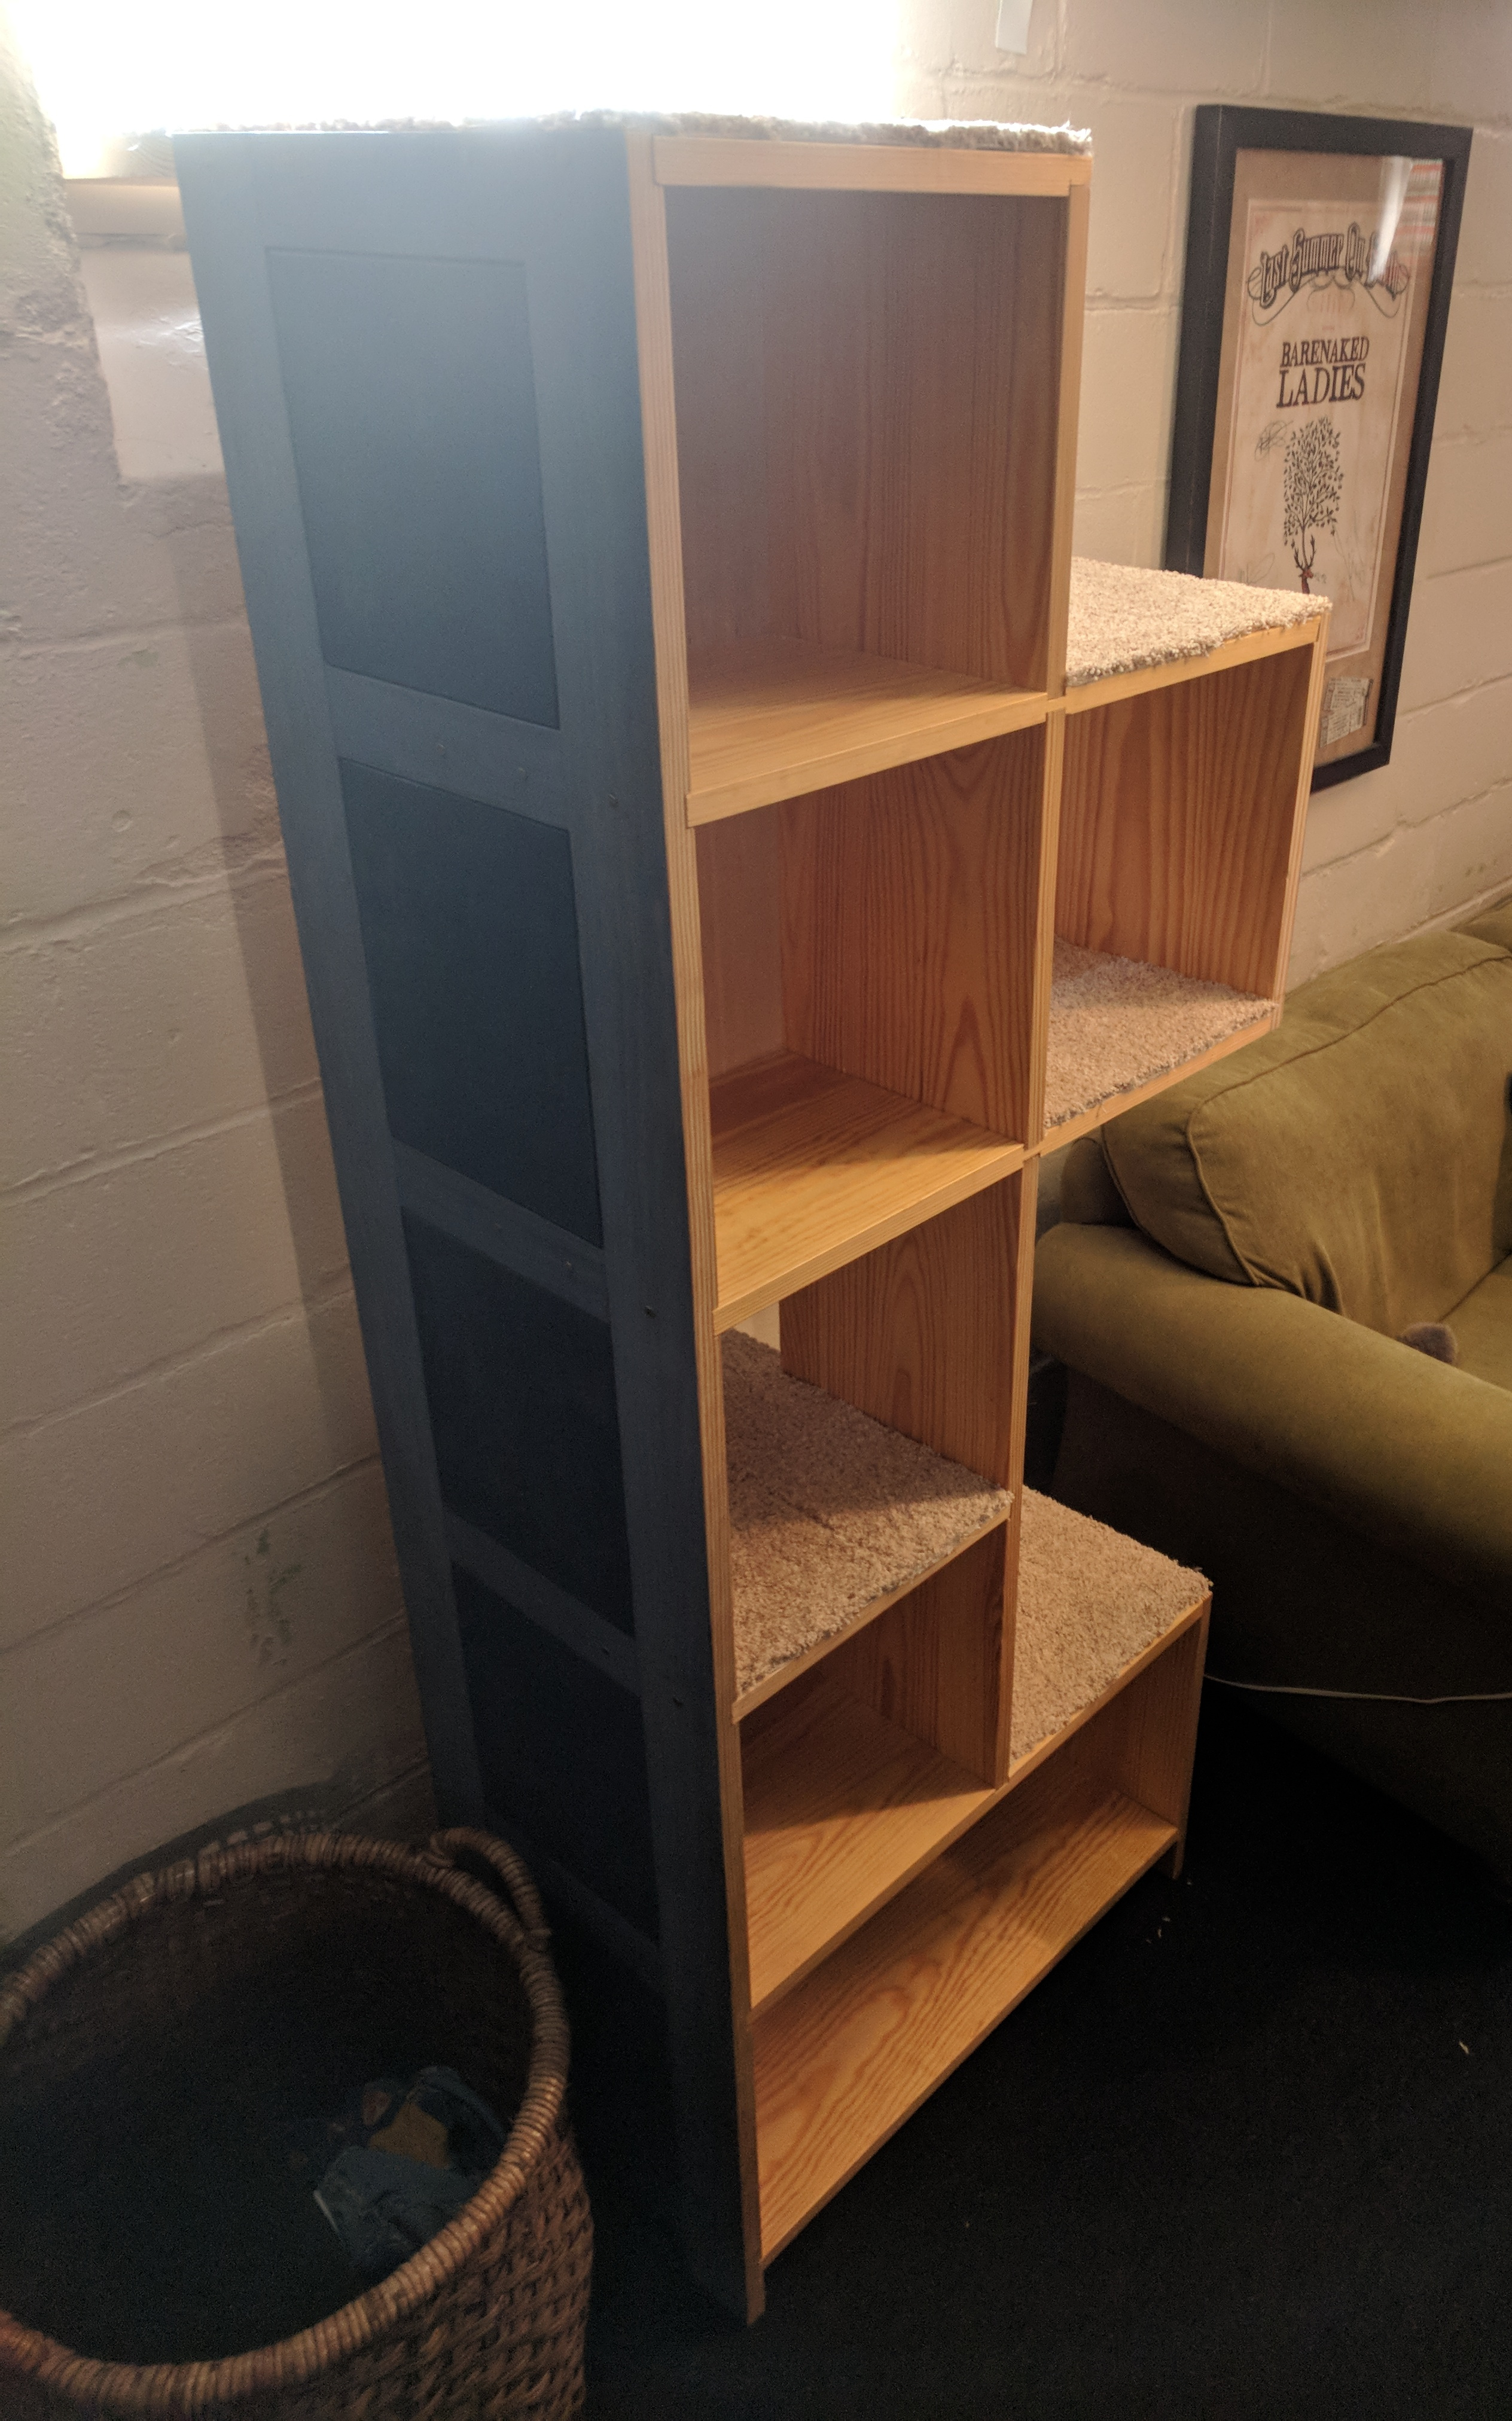
We have three cats. Of course, their favorite thing to do is look out of our windows. Since we moved into our house, we had planned on having some way of giving them a platform to reach the ceiling windows in our basement, putting them at eye level with the wildlife in our yard. After completing my workbench last summer, I decided to start on a cat tree/bookshelf that would let them climb up to the basement windows.
I intended the project to be relatively quick (ha!), with mostly simple joinery but a few twists to challenge myself. You can see my first design below on the left, done in SketchUp. Initially I had the cats climbing a kind of back-and-forth design along the front. The awkward cutout on the left was intended to open up the design a little bit, as it looked like too much of a closed box if that simply extended the full depth of the base. However, the big, long, wide boards on the sides concerned me in regards to warping. None of the joinery would help prevent those boards from twisting. You can also see I was struggling to figure out the joinery for the shelves. Stopped dadoes are a pain with hand tools, so I was trying to avoid those. In terms of design, I think it’s quite ugly and repetitive. It’s a series of the same boxes over and over, the shelves protrude and just stop in thin air, and the non-cat shelving is too shallow to be useful. I wasn’t at all happy with the design, so I started over.

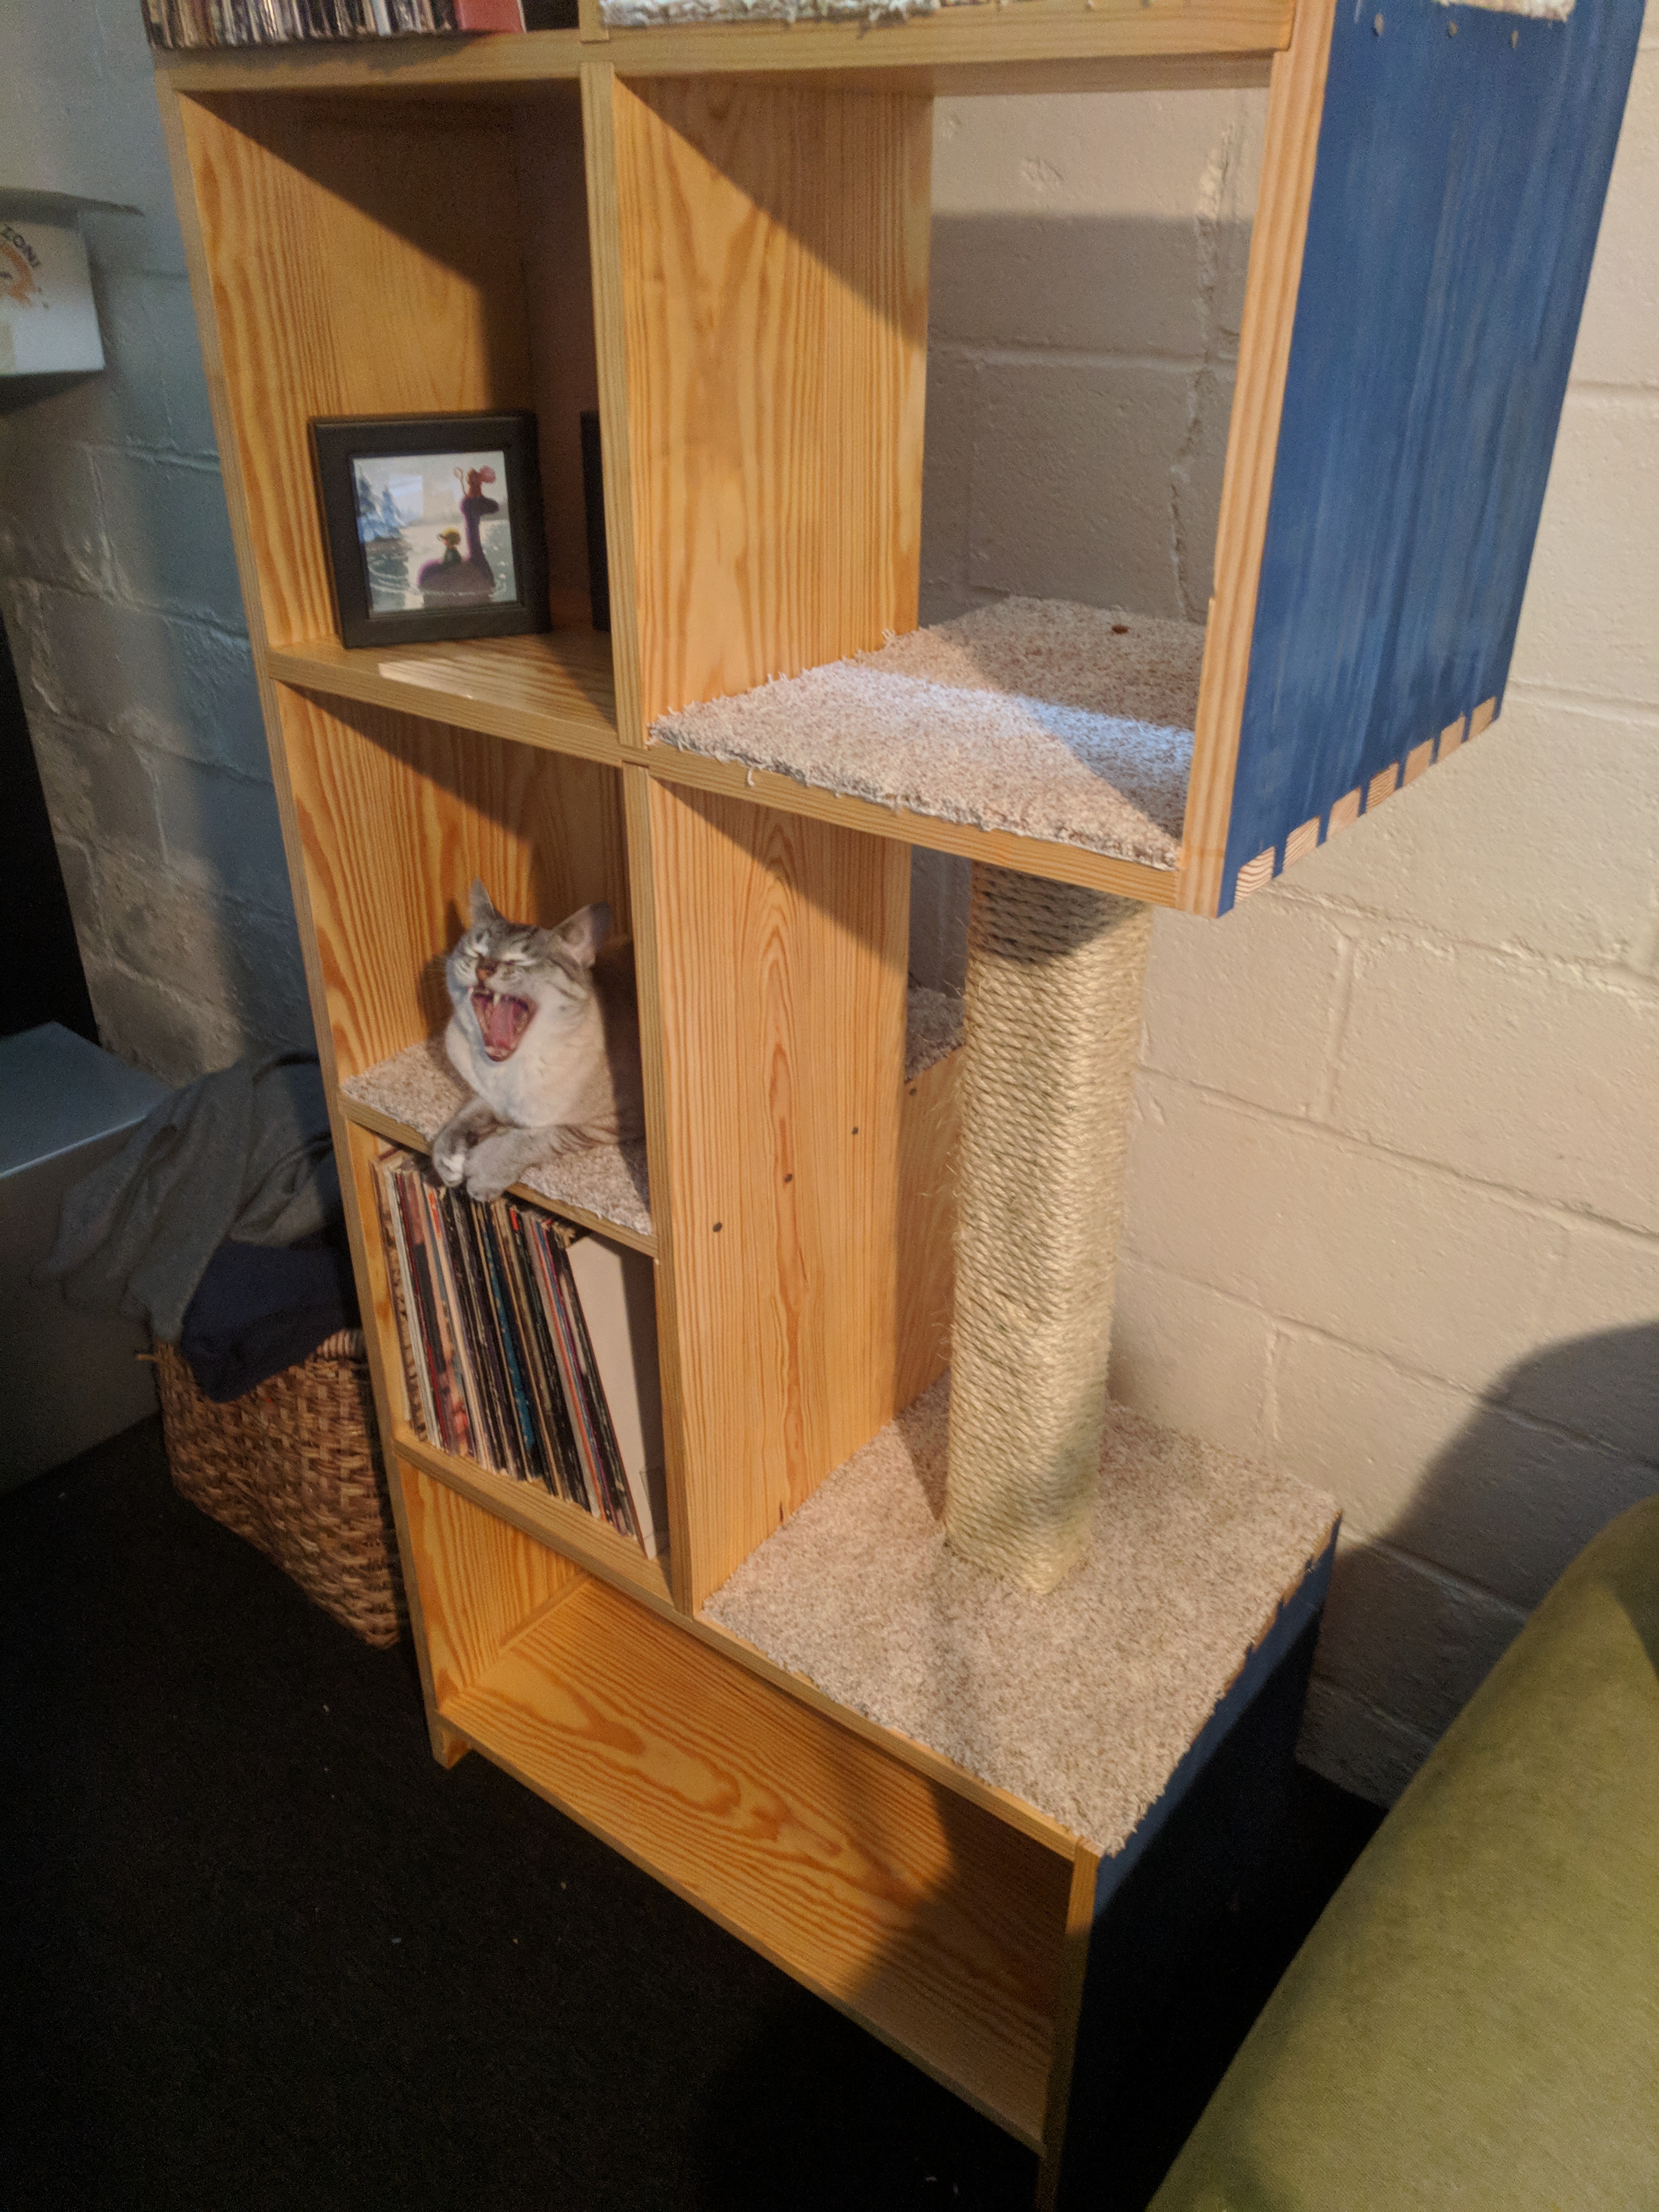
On the right was my second attempt and the final design. I think this is much better. You can still see the path for the cats to get up along the back, but it no longer dictates the form of the box. The front is a single plane, avoiding the issue of the shelves floating in air. The scratching post and open upper-right corner open up the design, remove the rigid symmetry, and remove one of the huge blank panels. The frame-and-panel design on the left provides something to look at and addresses the other large, blank panel. The joinery also becomes more sane. You can see where to put typical case dovetails and bookshelf dadoes. The details for the shelf joinery was taken from Chris Schwarz’s bookshelf from The Anarchist’s Design Book. Overall it looks more playful to me. I envisioned it having bold colors, which fits with our other basement furniture. I went ahead and made my shopping list and headed to the lumber yard.
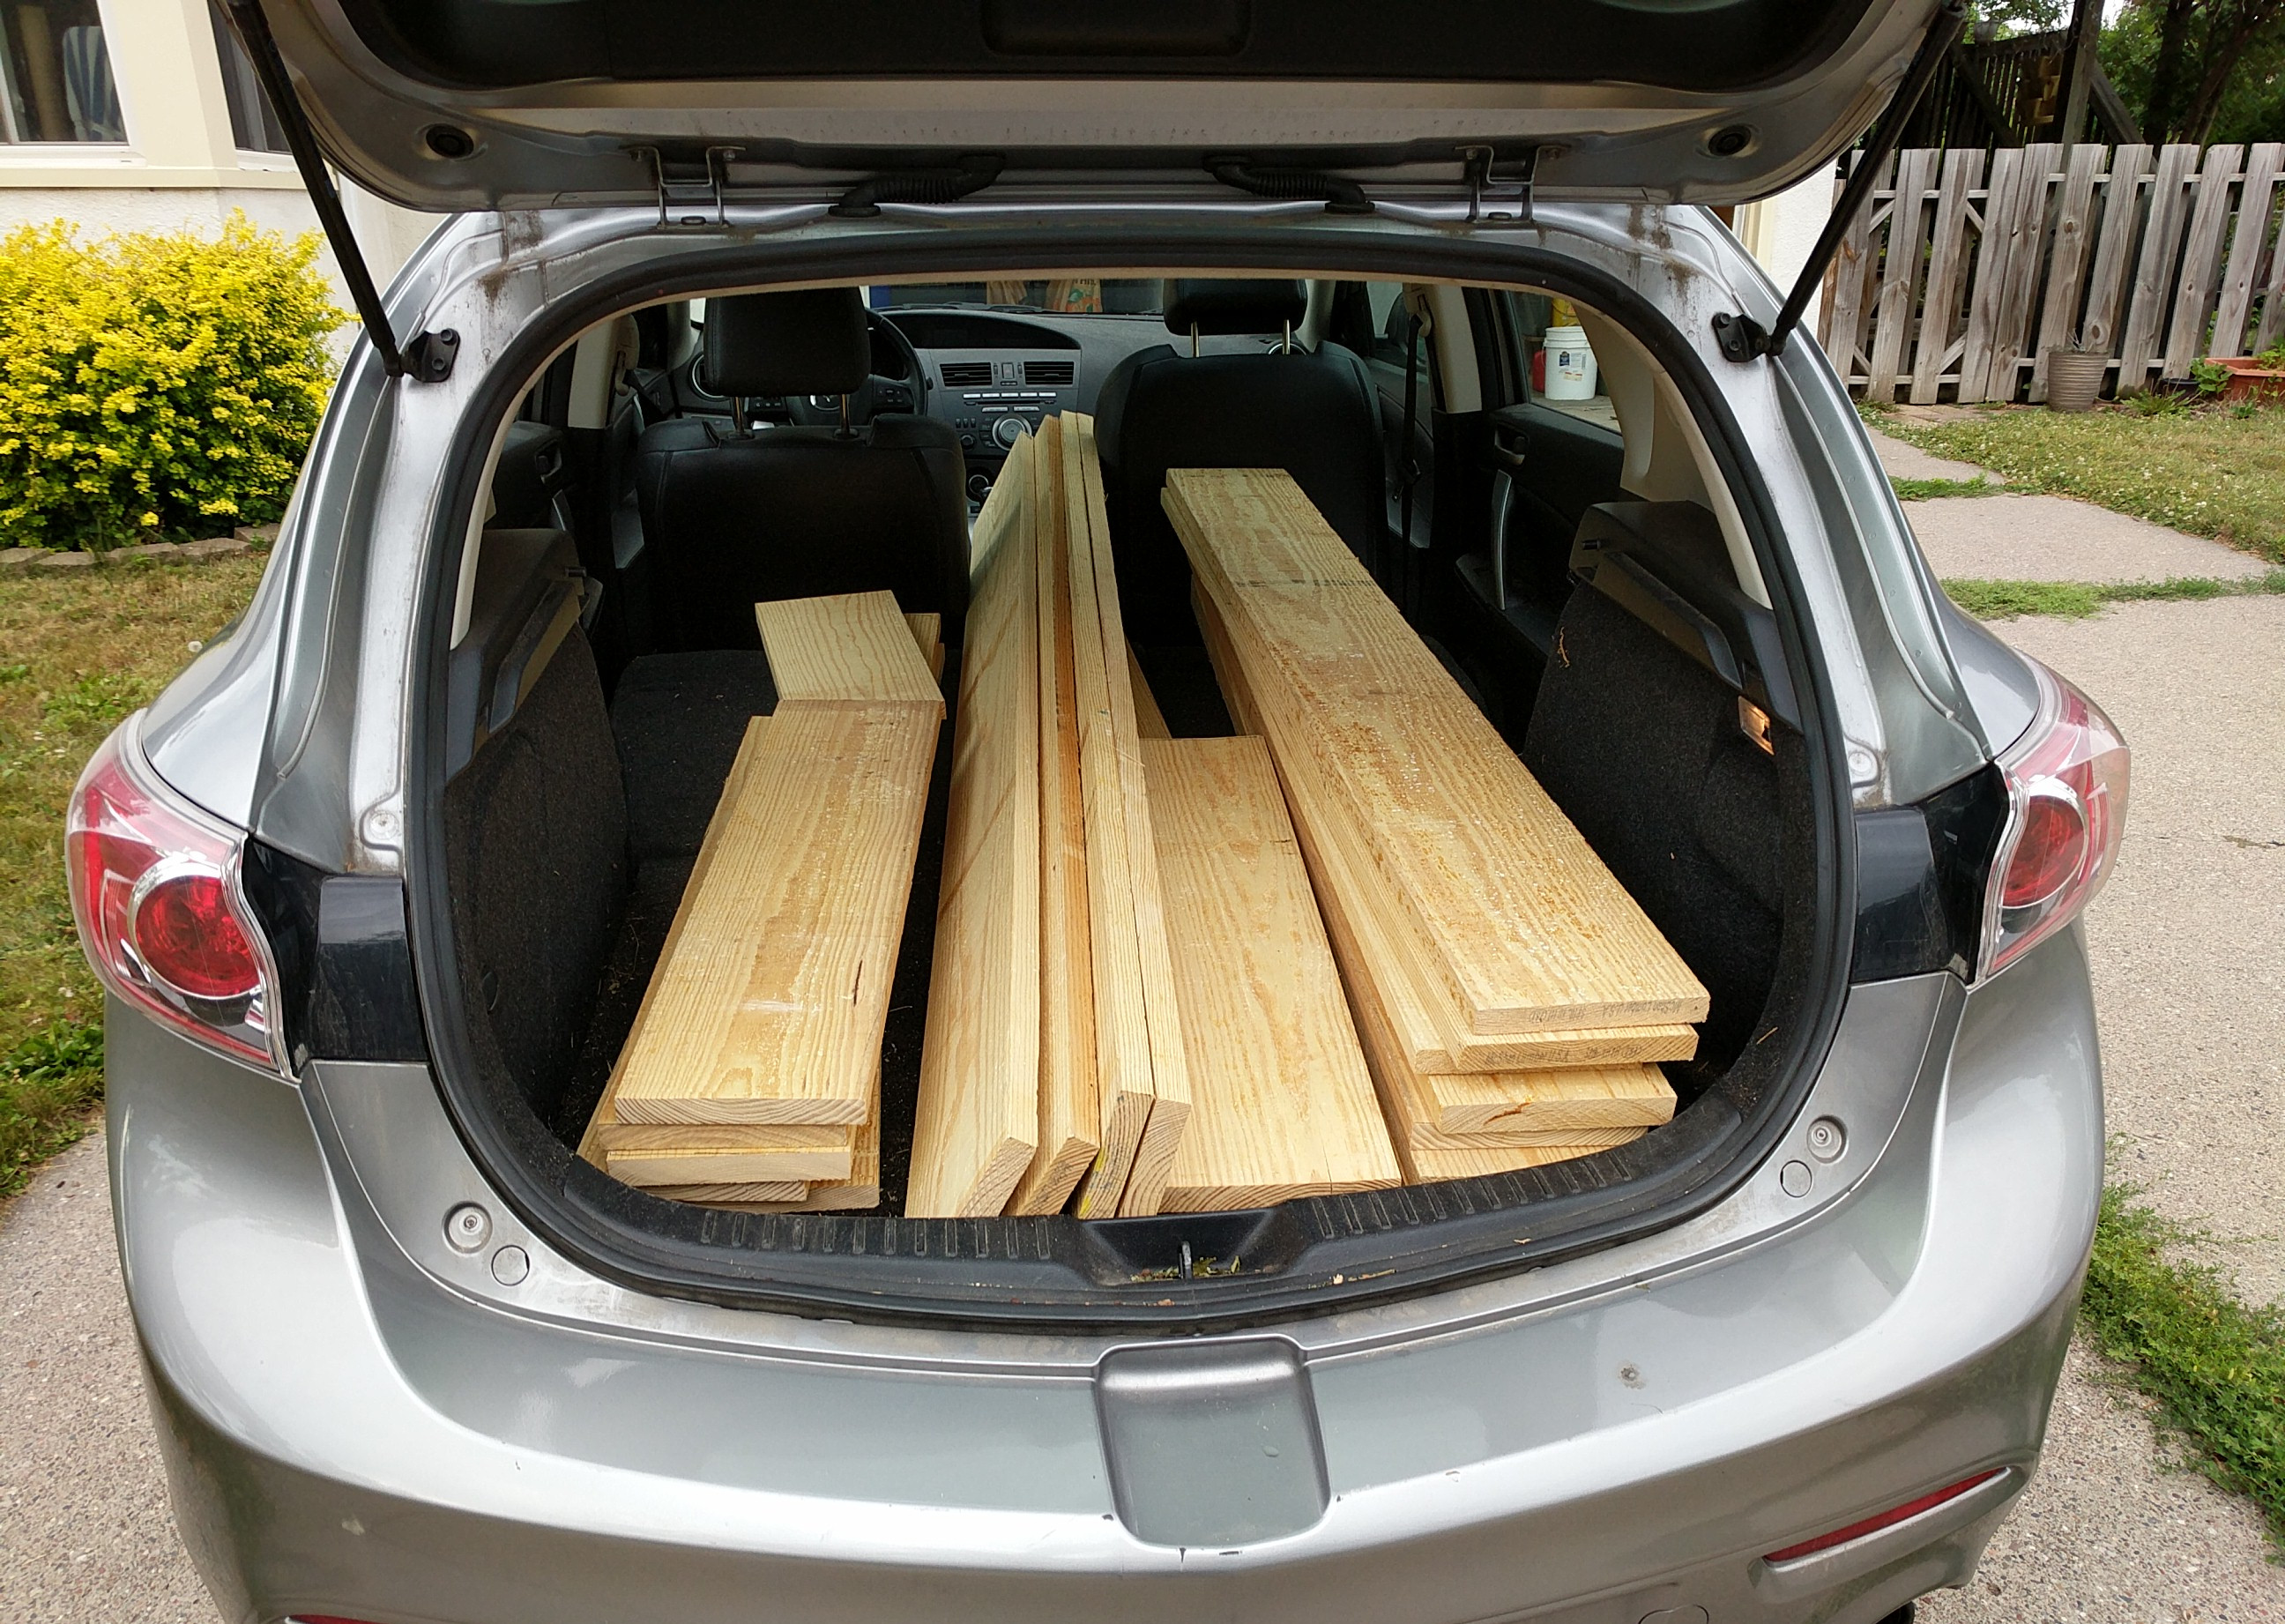
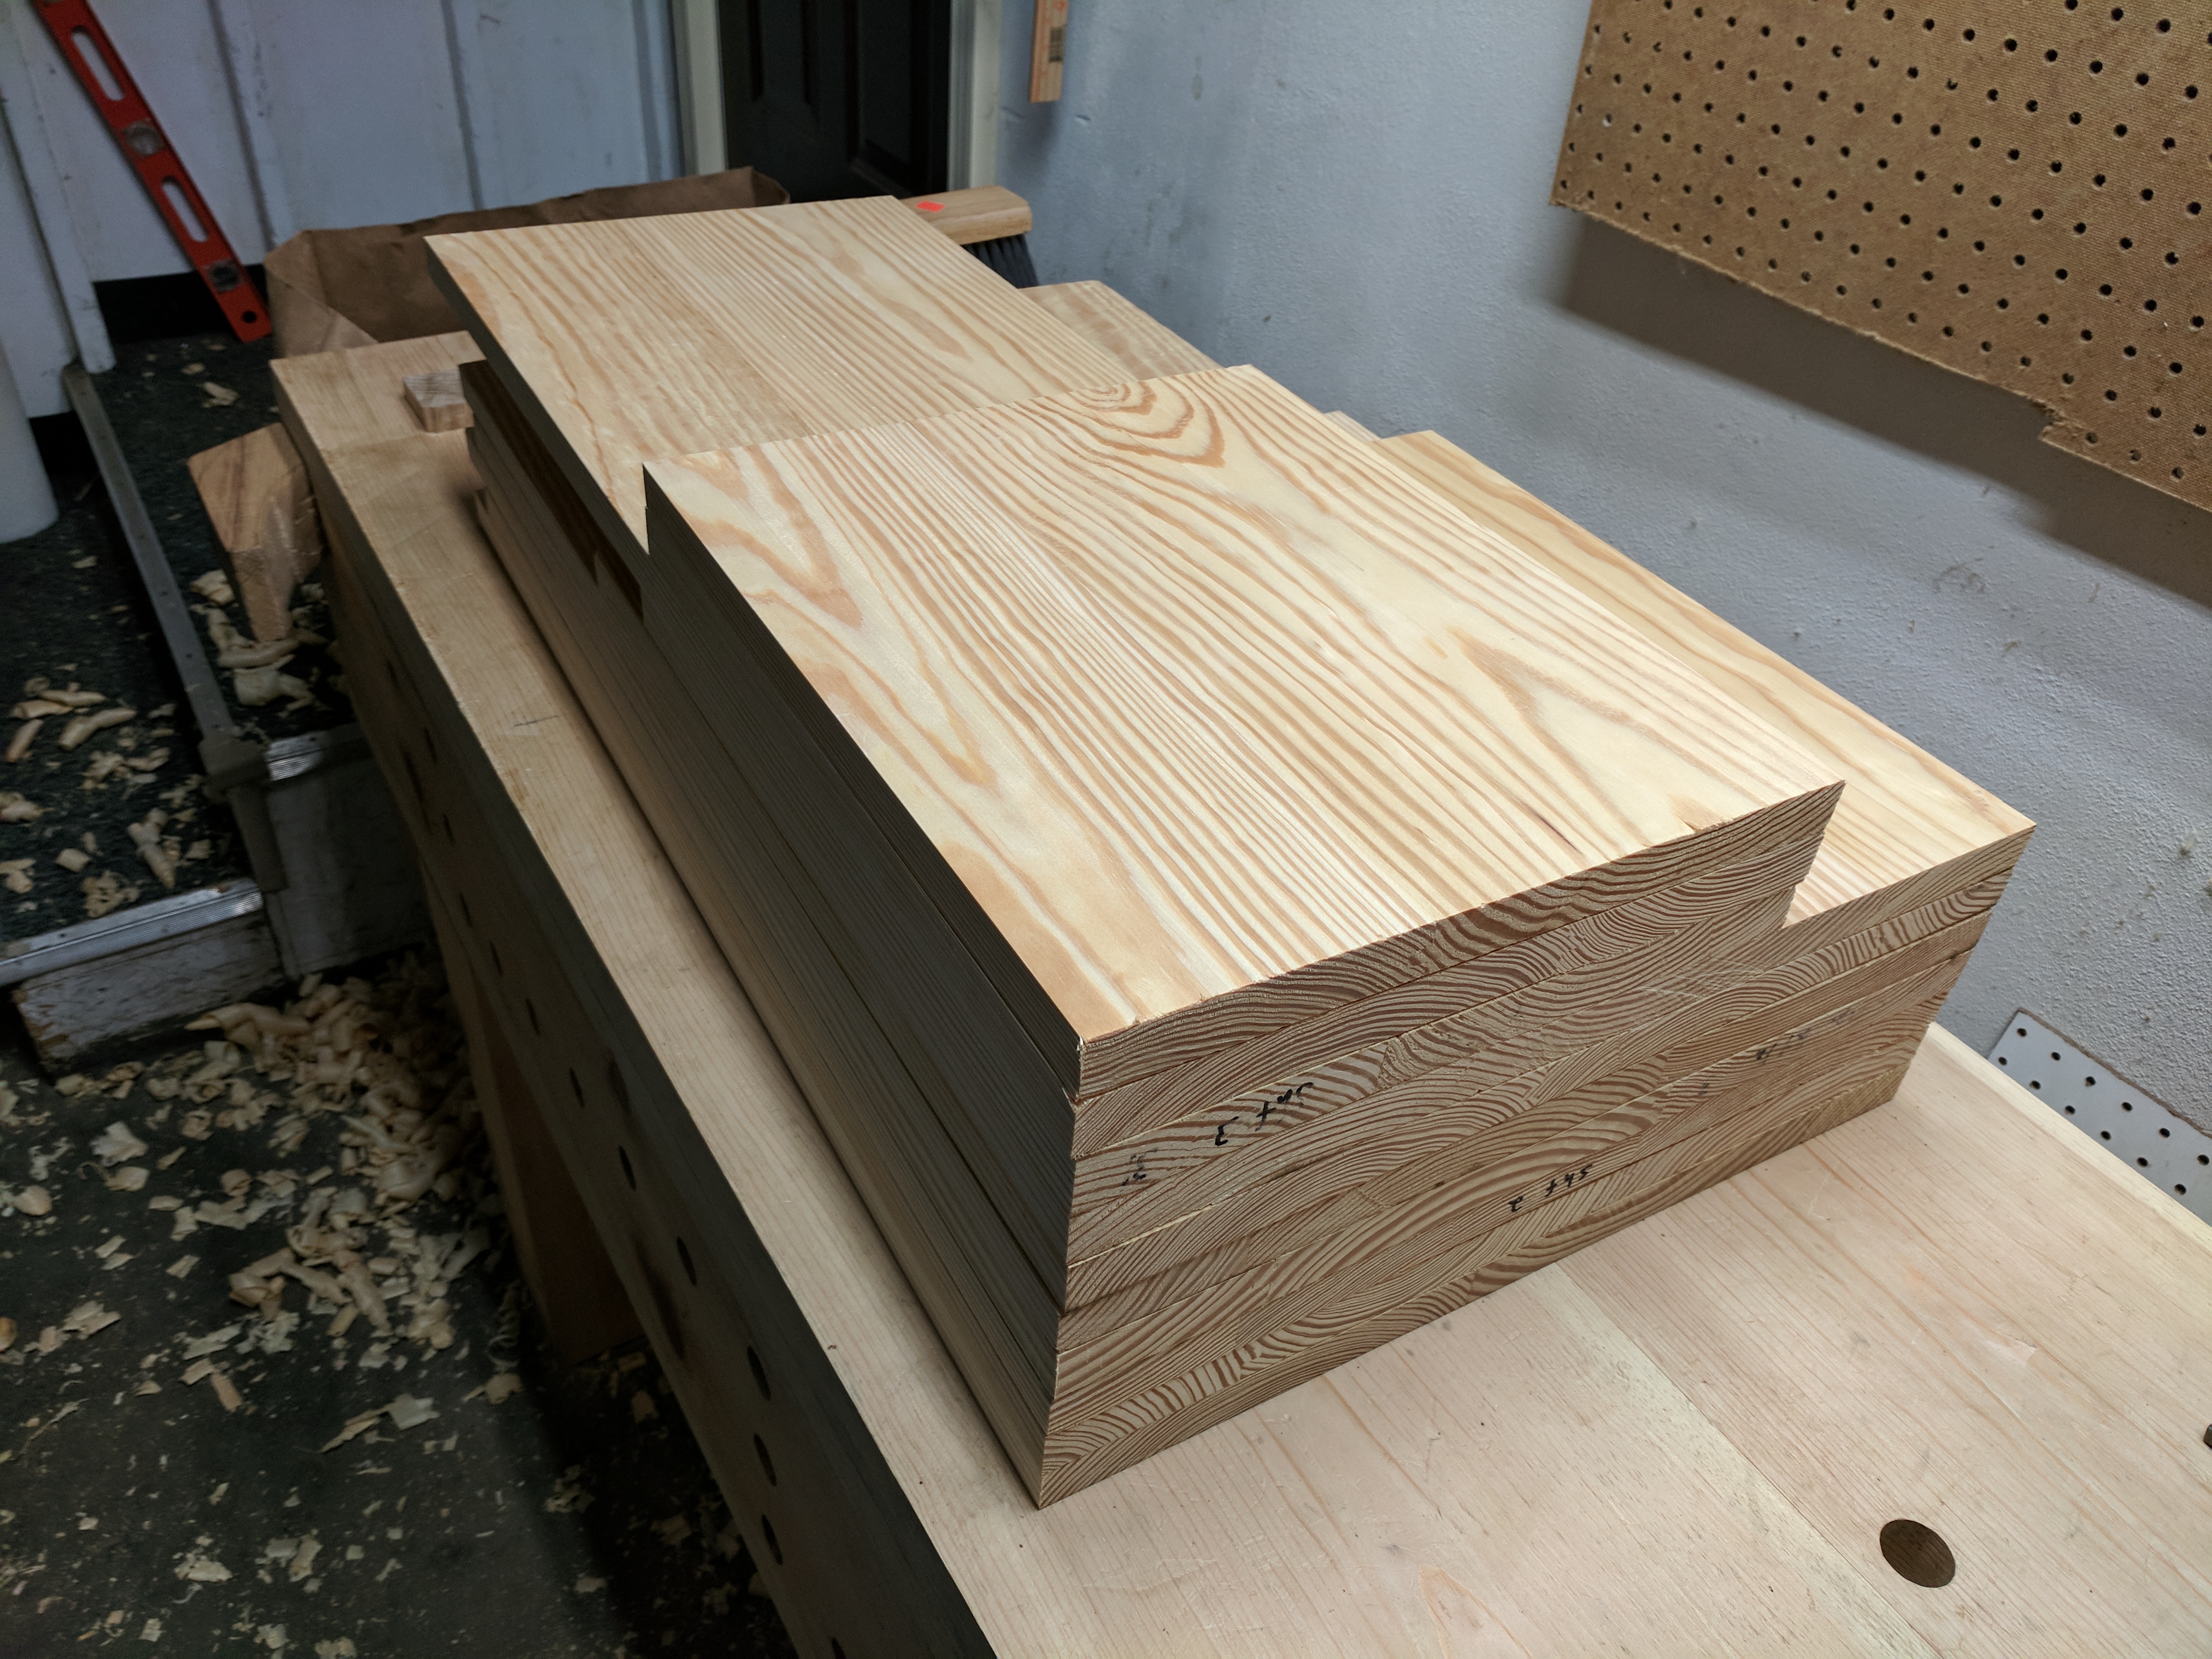
I picked up about 100 linear feet of southern yellow pine, mostly in about 8″ widths. I was going to use pine regardless, but the lumber yard had a big shipment of SYP just come in. I’d heard about SYP online and in books. I had just finished my workbench, and Chris Schwarz recommends it often for workbenches and talks about using it for other furniture. So I thought perfect, a good chance to try the wood on a low-stakes project.
Boy, this wood sucks. I mean it’s fine, it’s workable, I got the project done, but the wood does fight you. Shawn Graham has an article at Popular Woodworking on SYP that I wish I had read before I started. The difference between early wood and late wood really factors in. When chiseling out the dovetails the hardness of the late wood caused loads of crushed grain in the early wood beneath. Meanwhile the early wood scratches and dents easily when moving things around in the shop and on the bench. Knifing cut lines was difficult as the knife would require lots of pressure in the late wood, and then would jump off line as the pressure was too much for the early wood. Chiseling out dadoes basically meant chiseling out the late wood and taking out huge chunks of the early wood. Ugh.
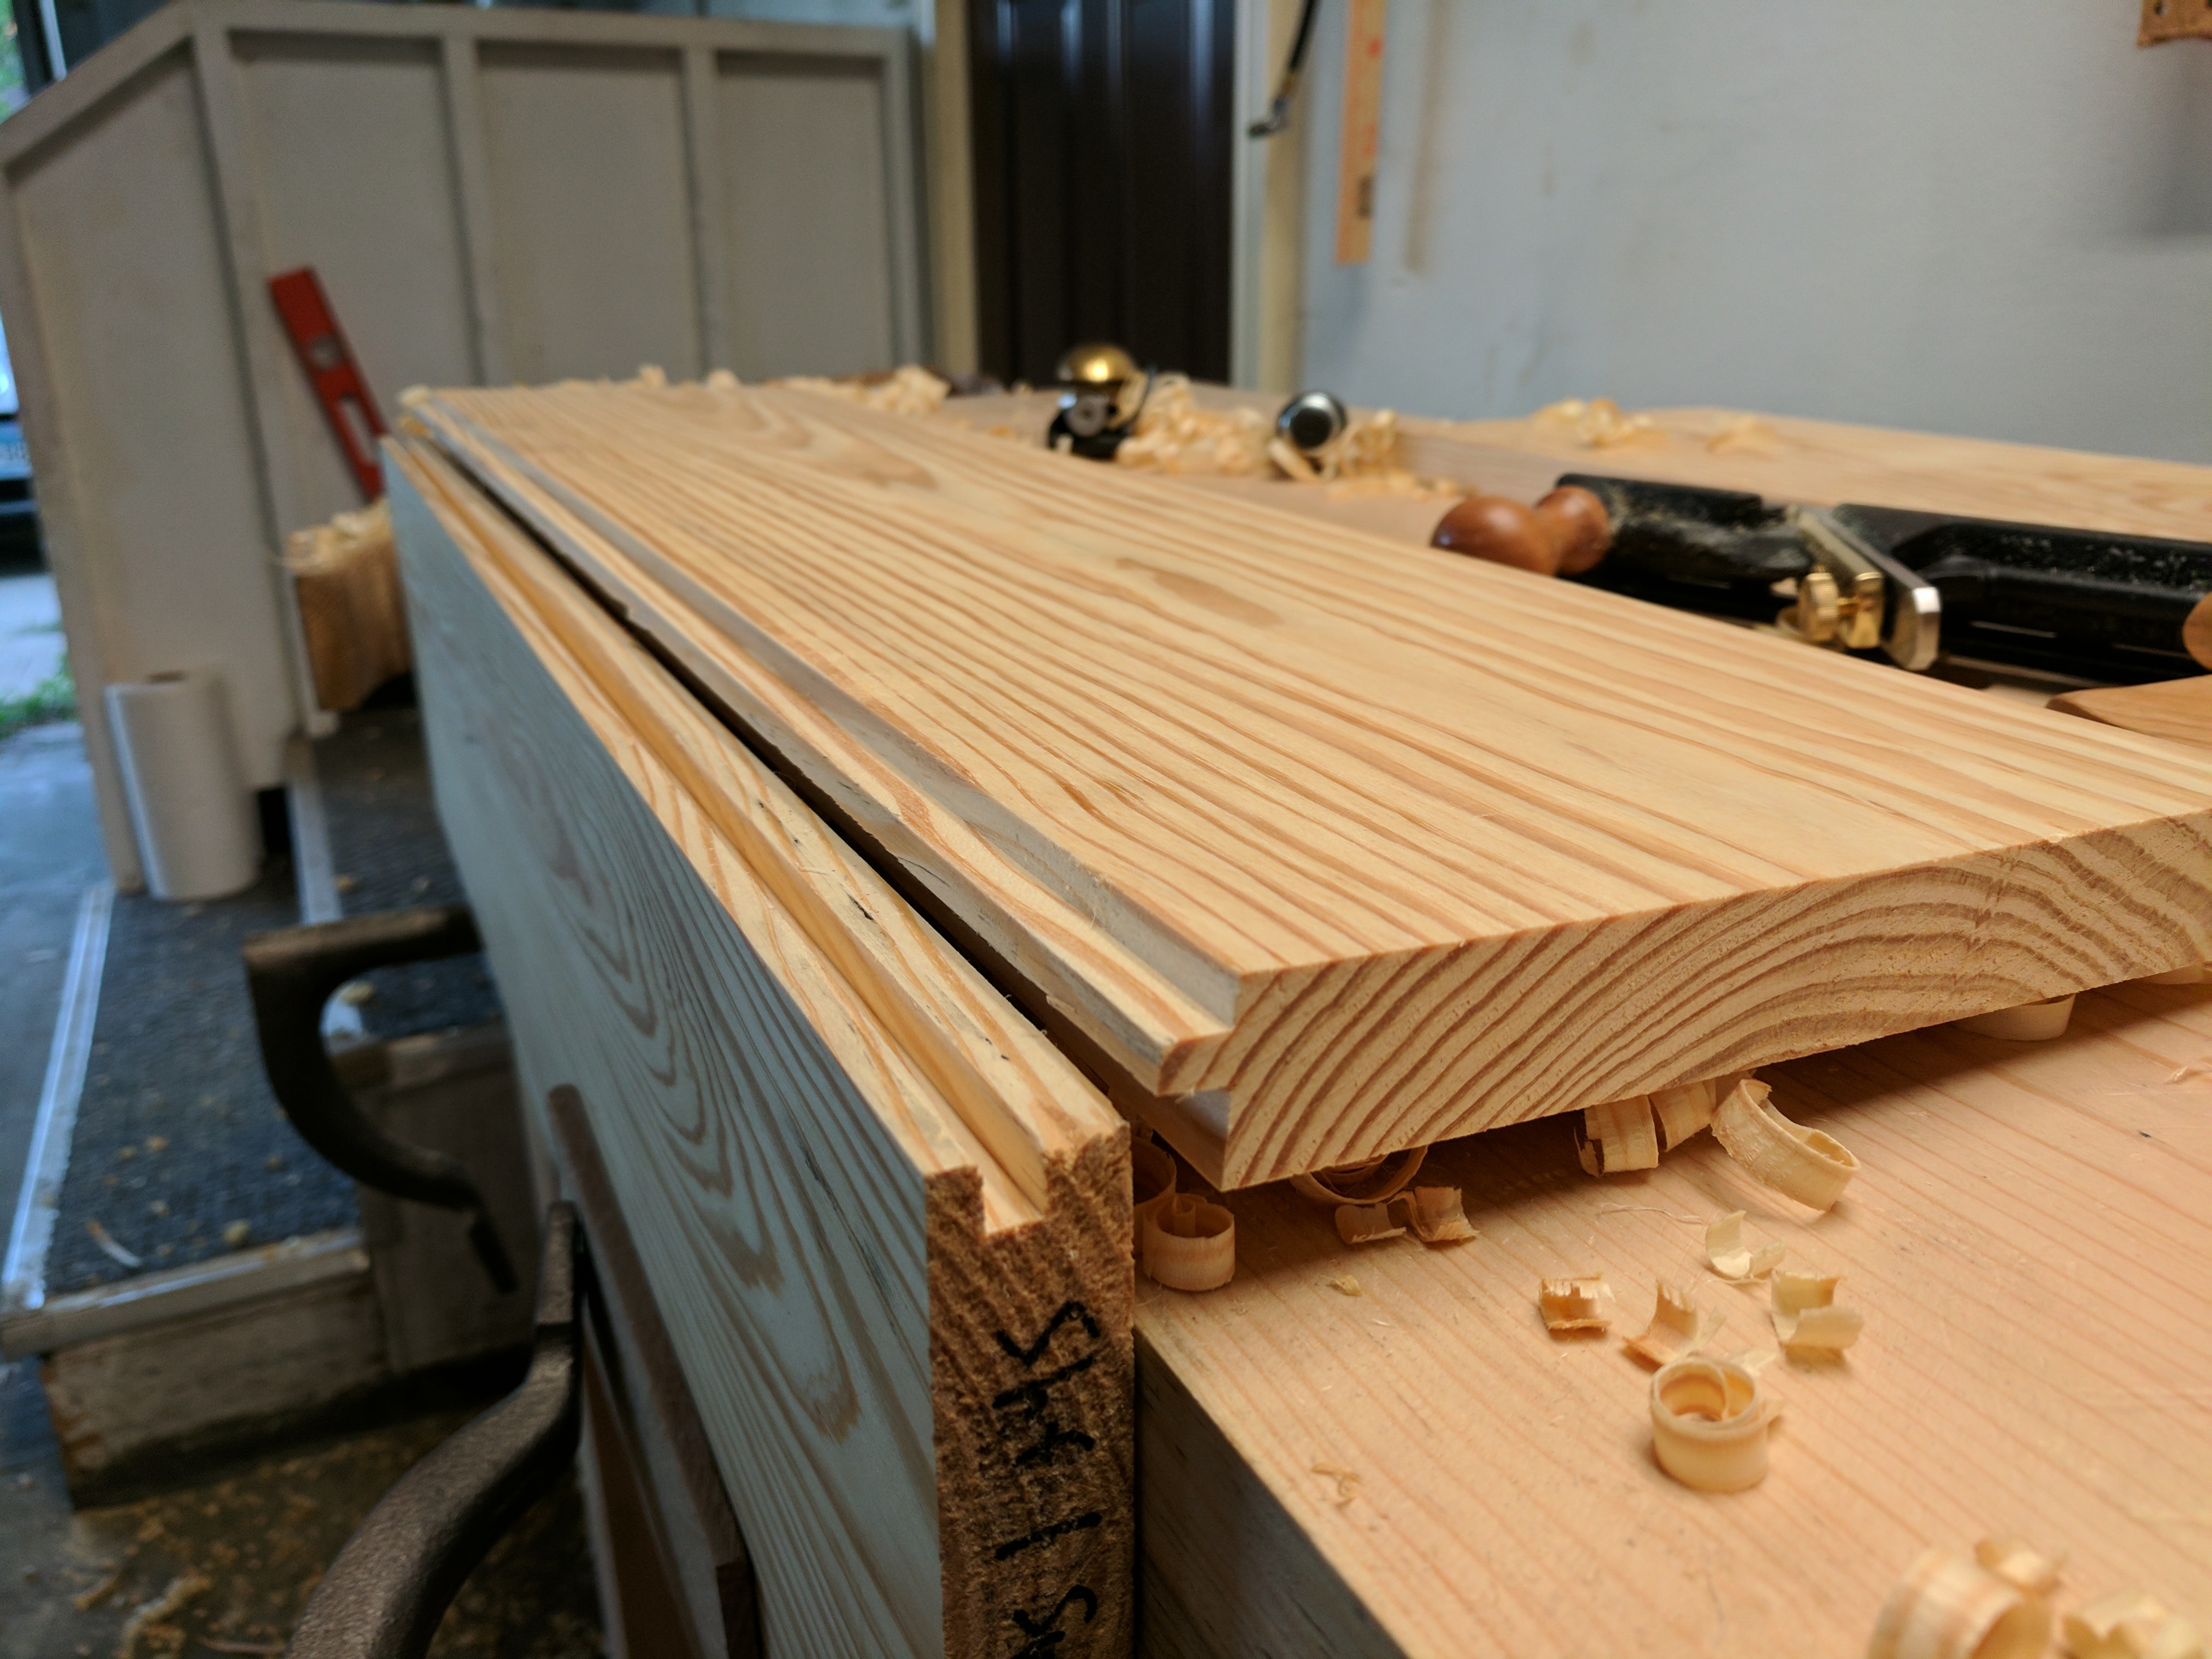
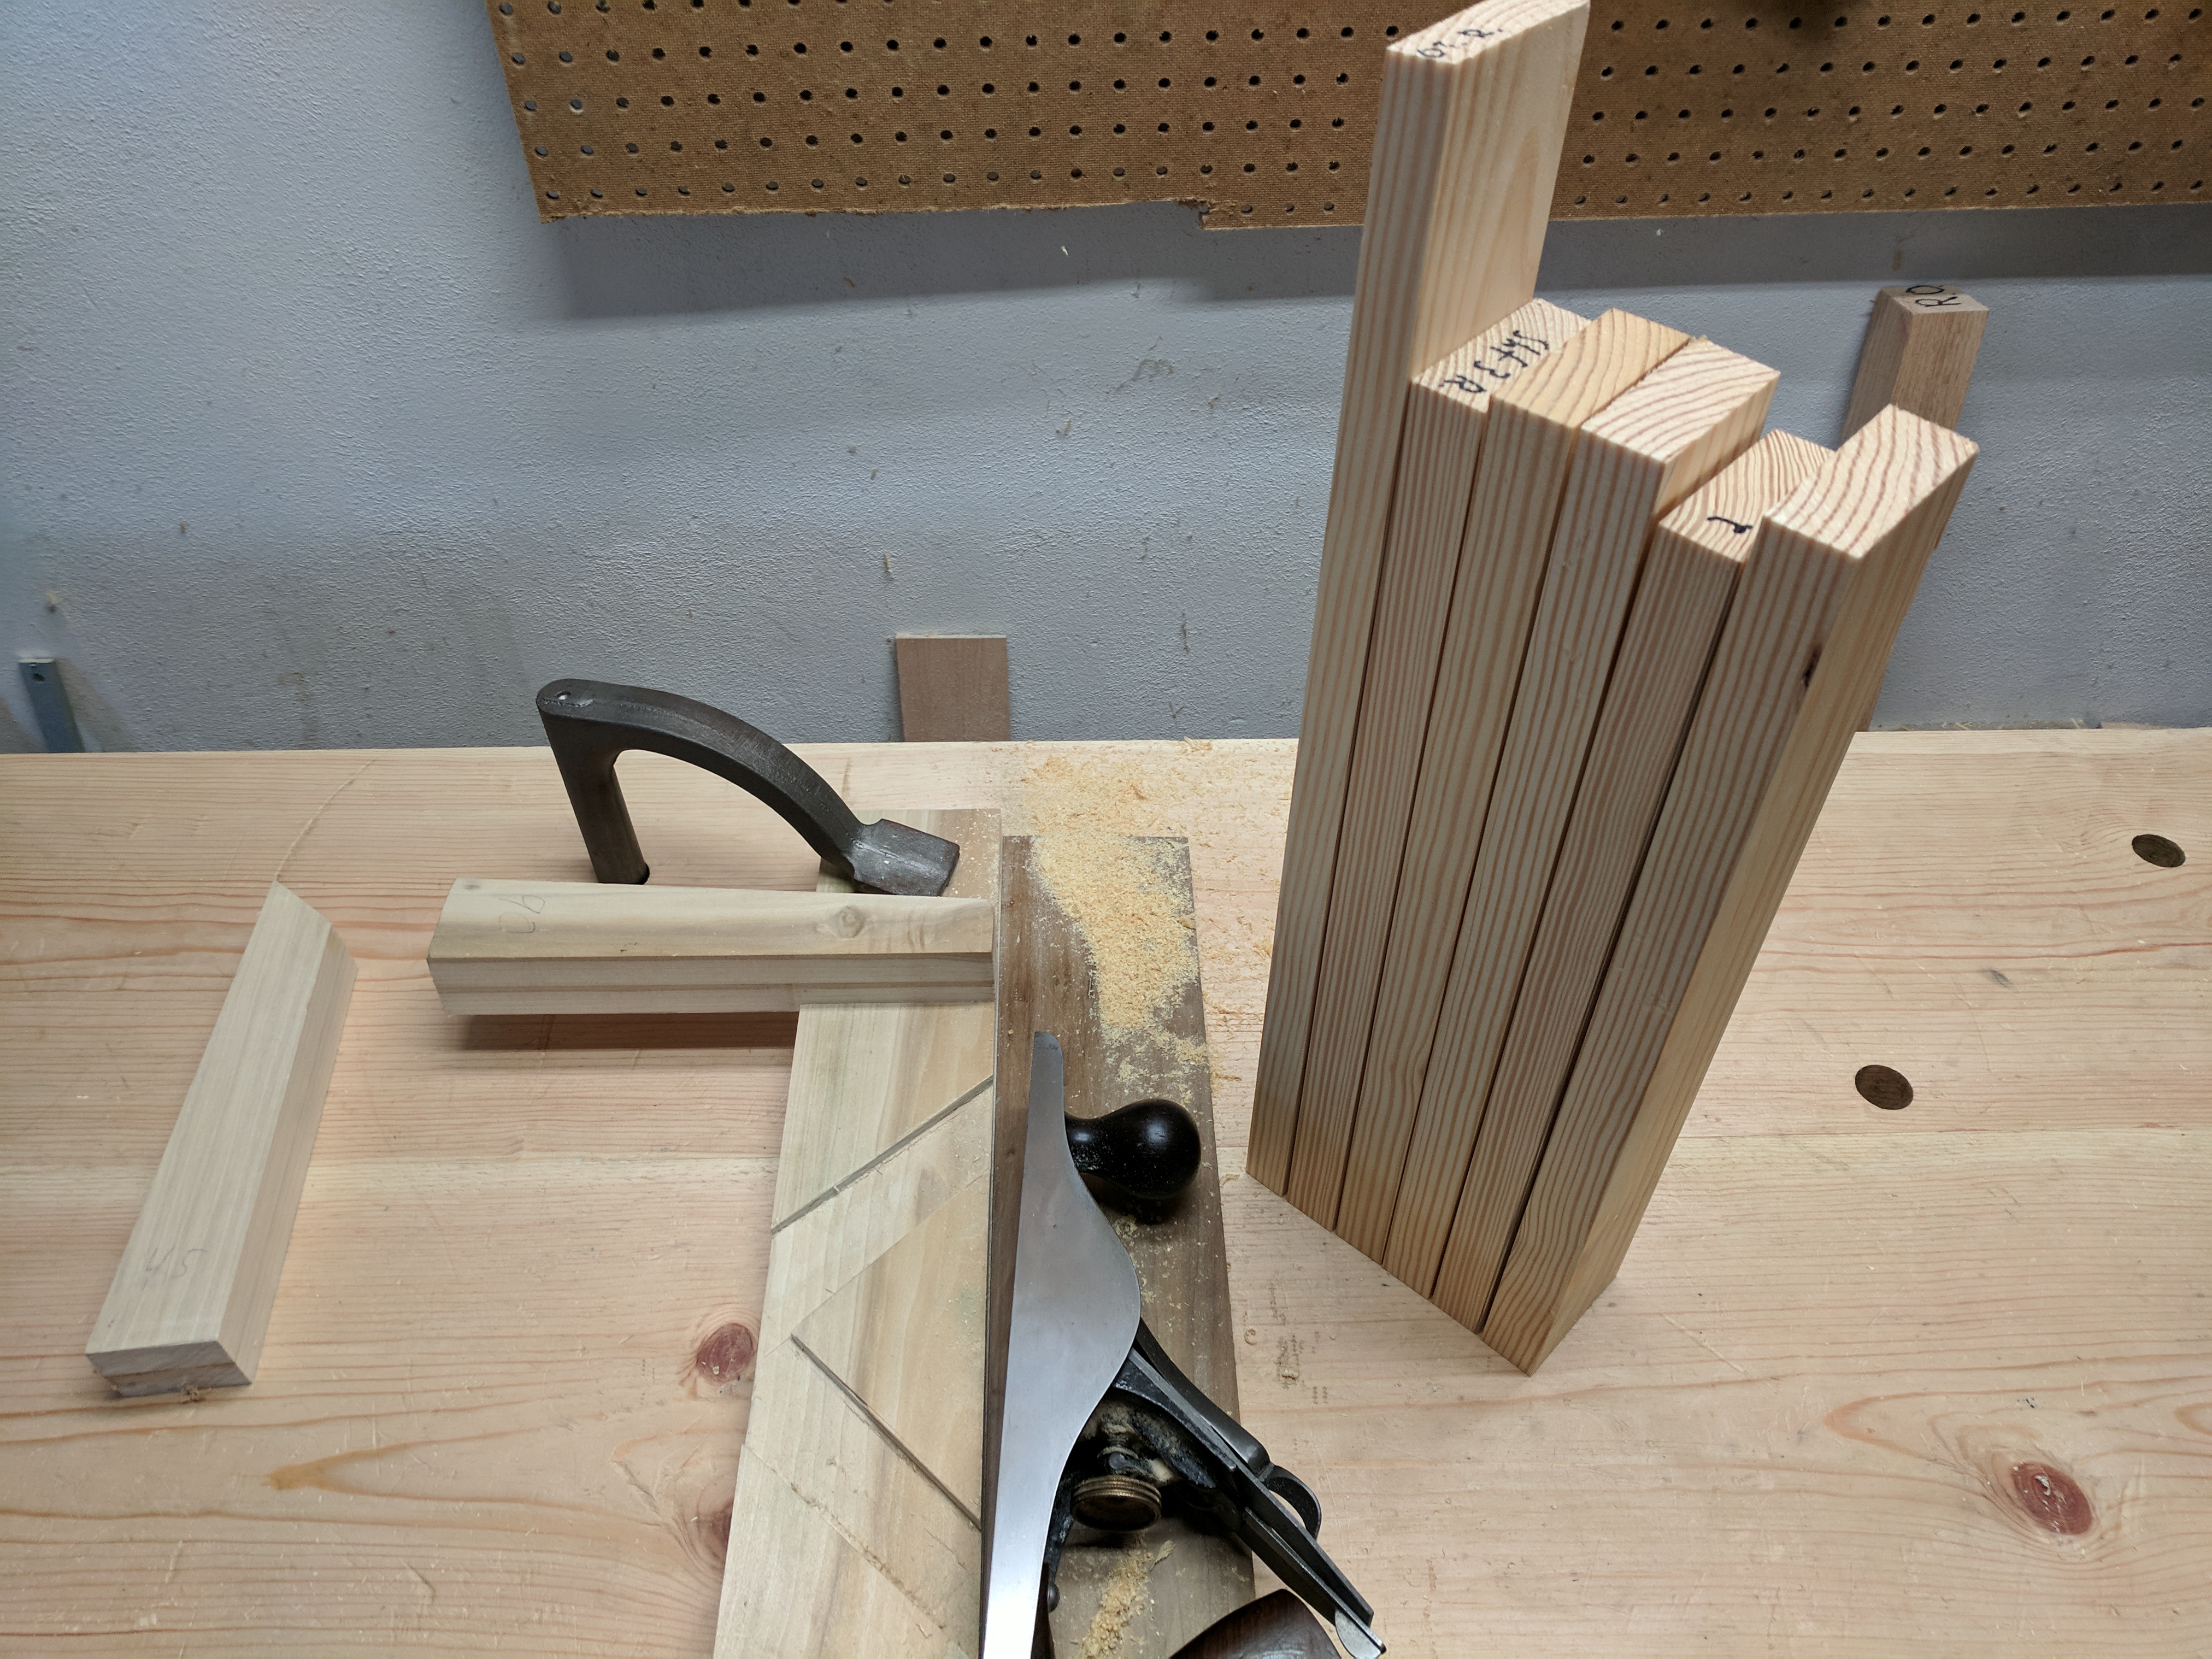
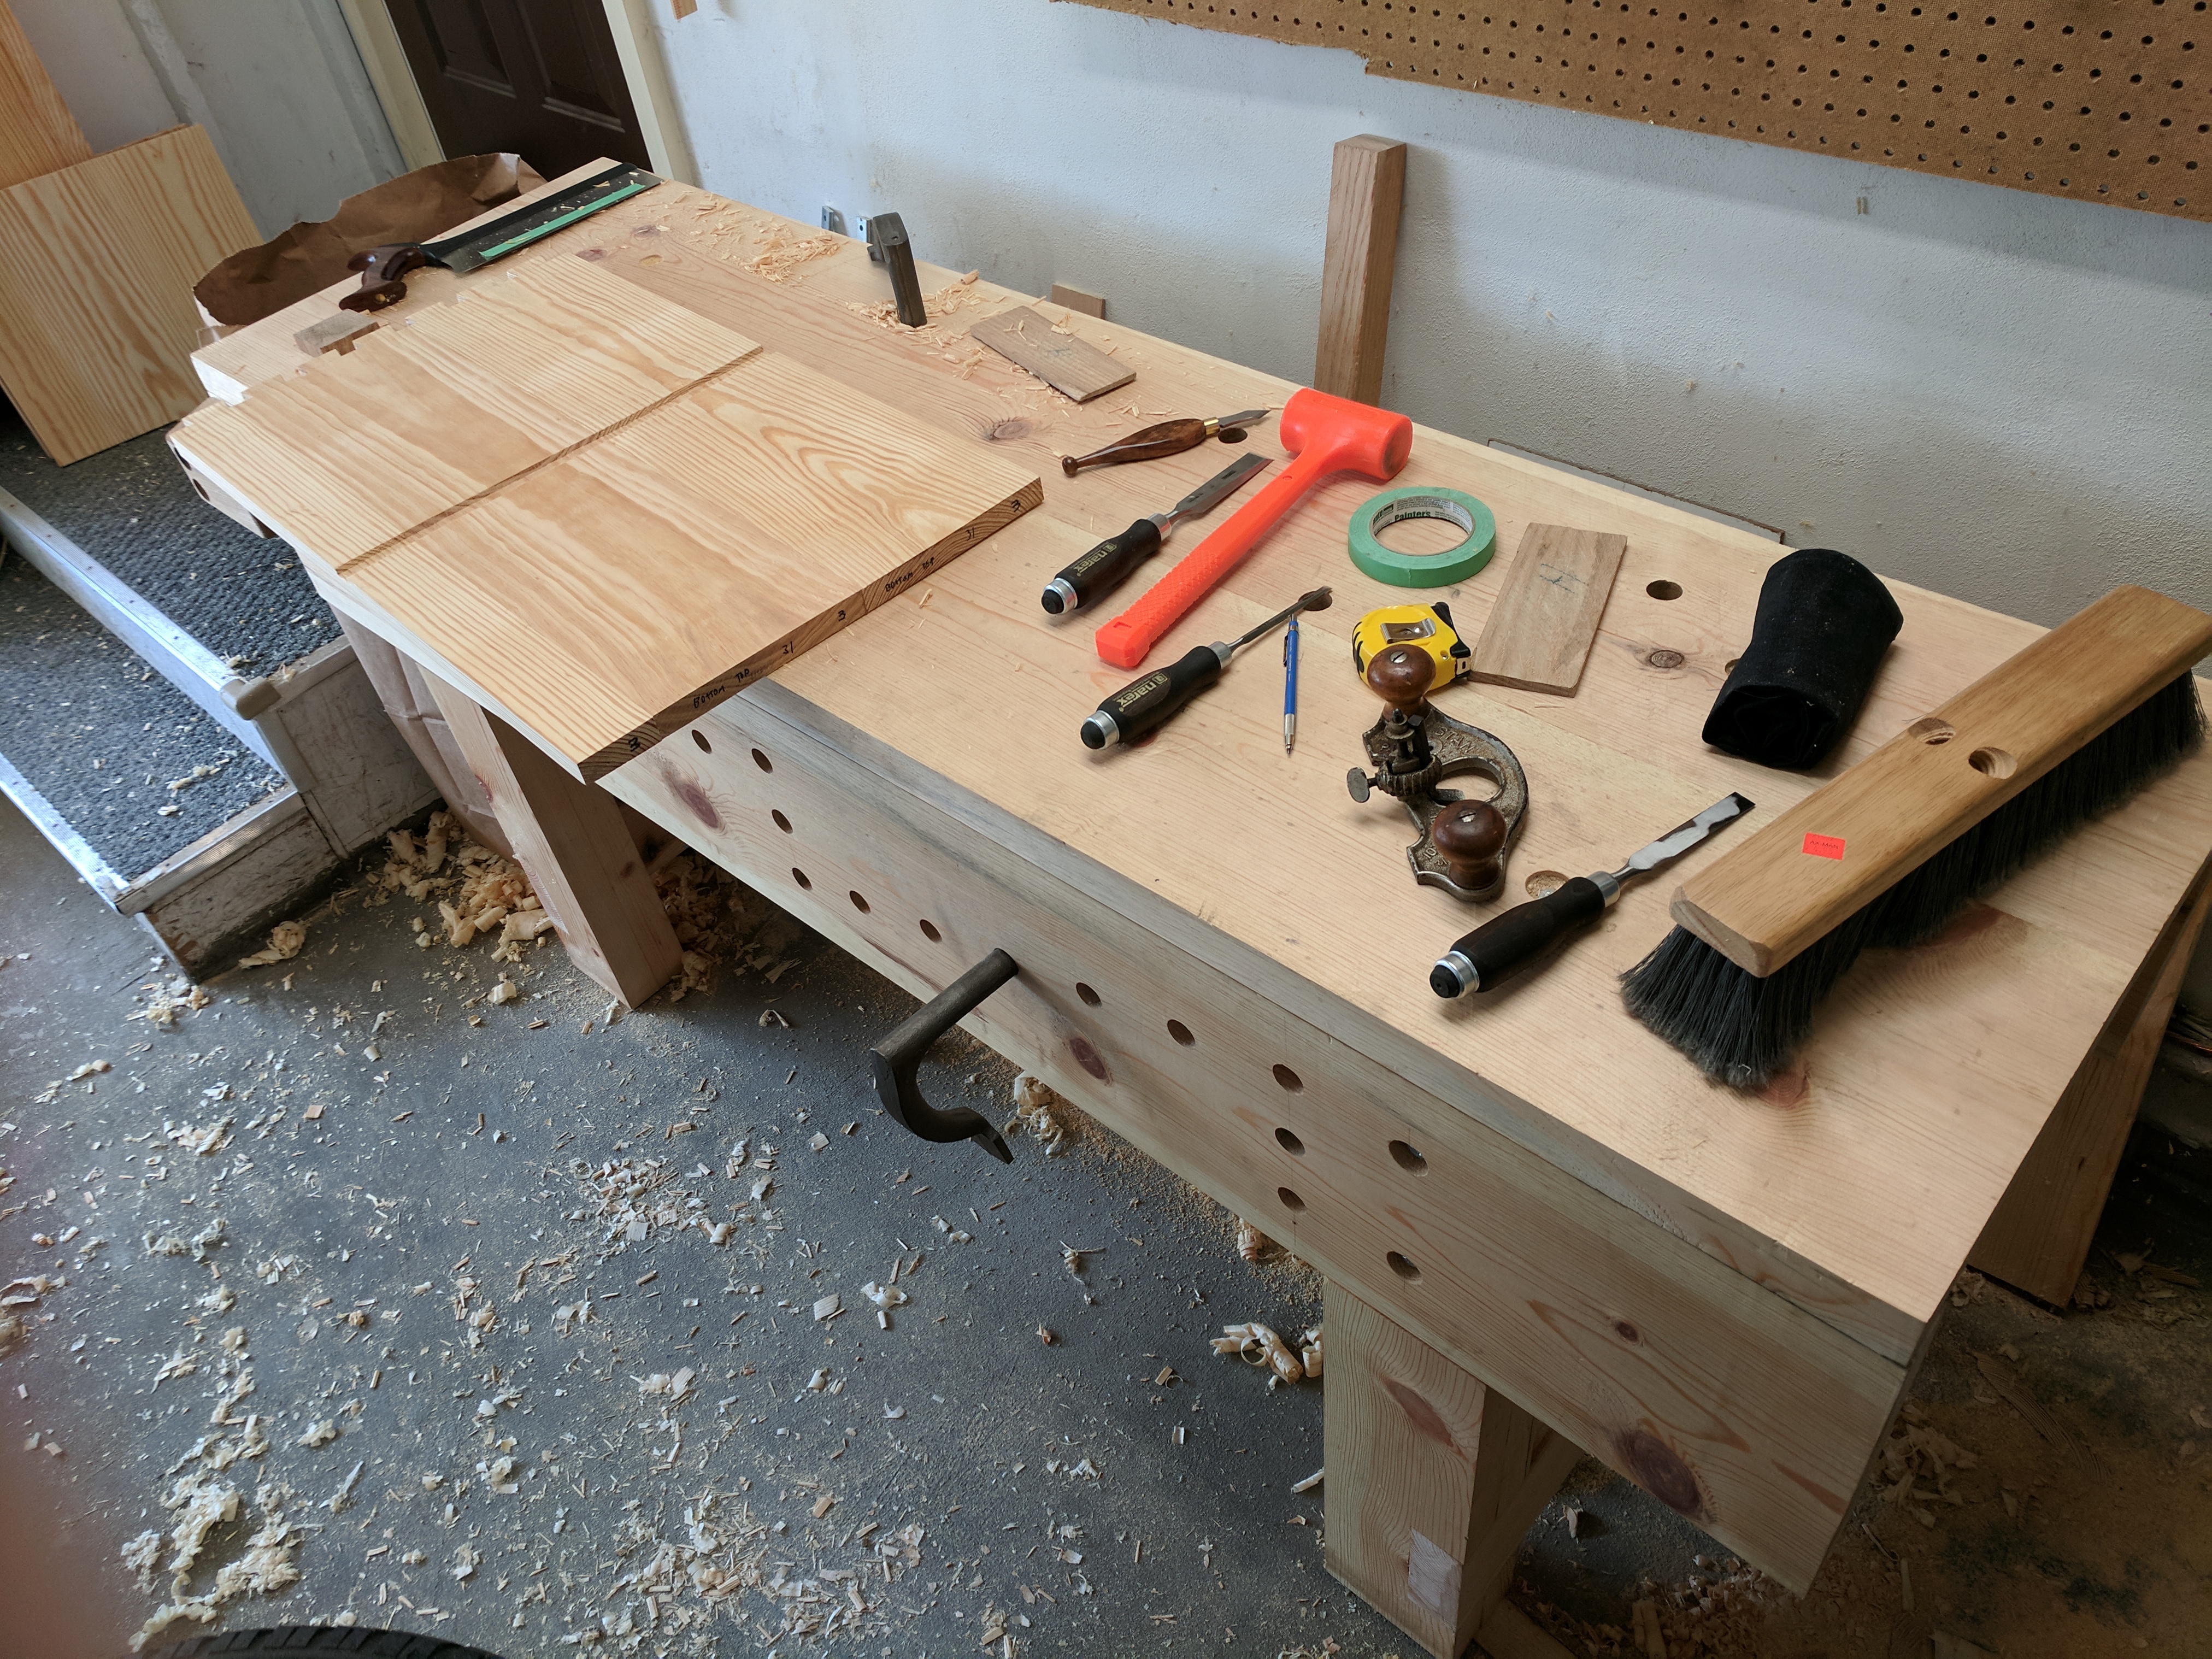
But enough griping. I broke down the lumber to rough length, and then flattened all of the boards by hand for some reason. Then I broke out my new Lie-Nielsen Large Tongue and Groove plane for the first time. This thing is a pleasure to use, and allowed me to at least have one face perfectly aligned after panel glue-up.
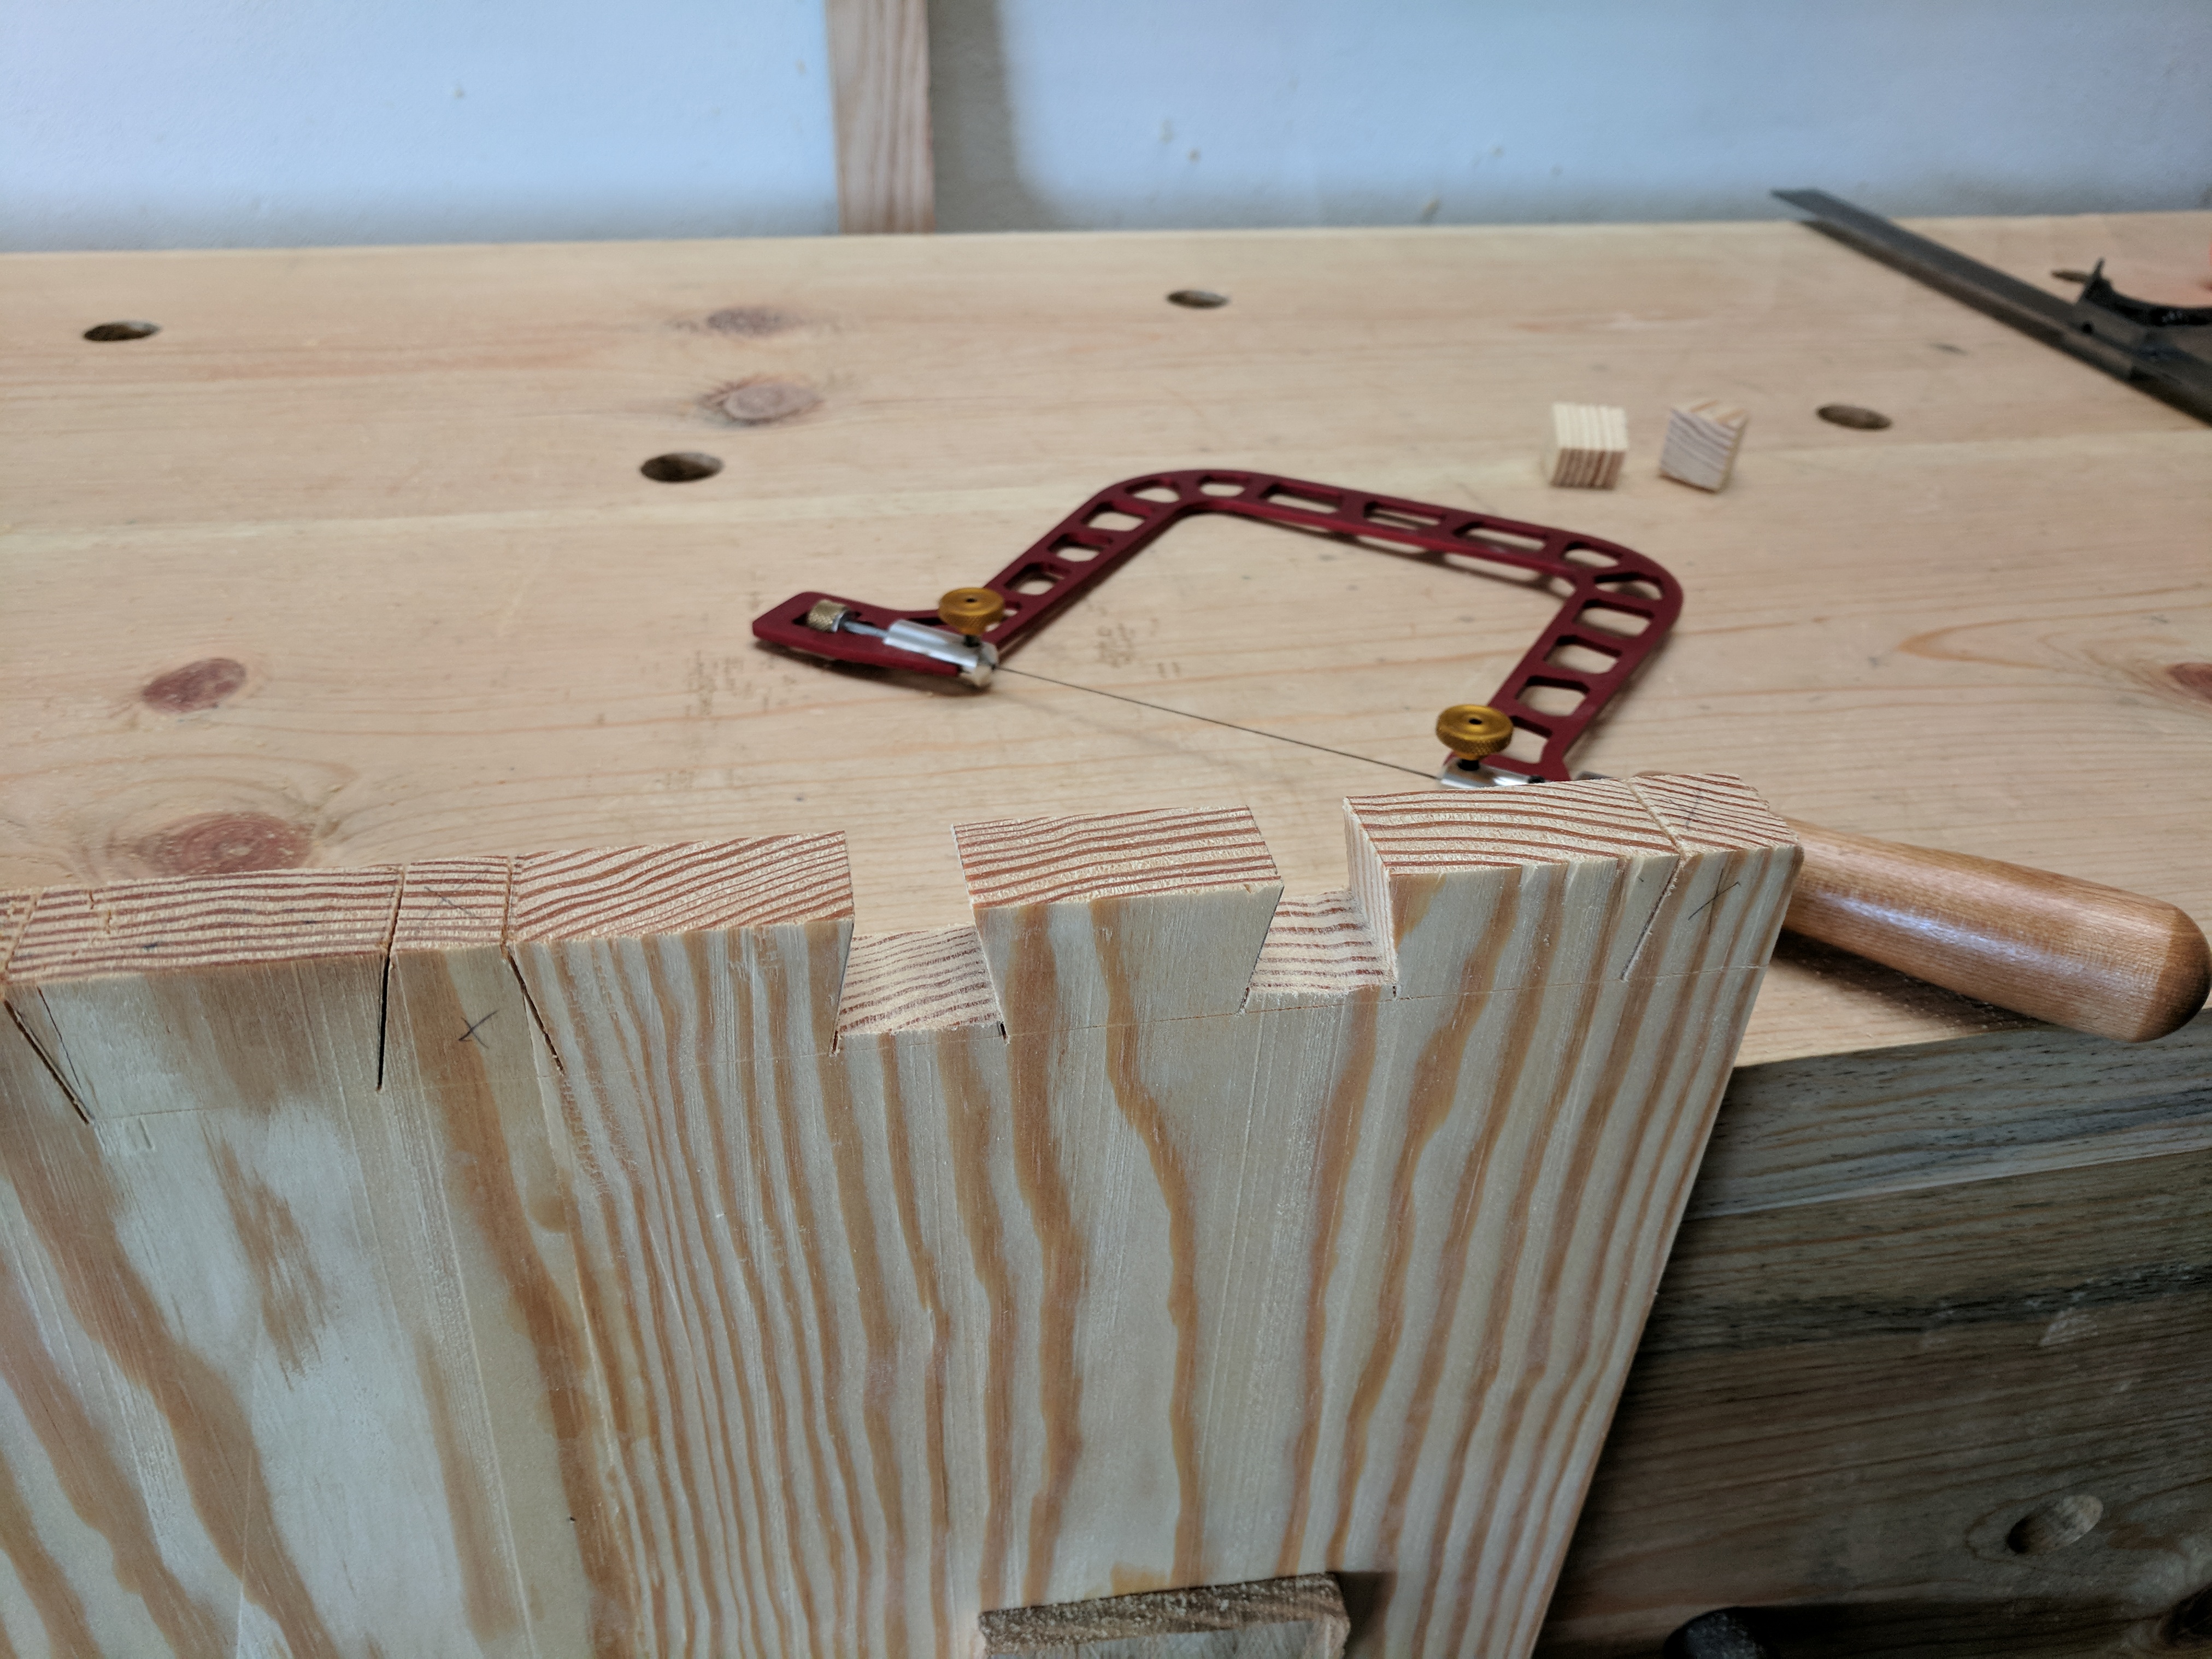
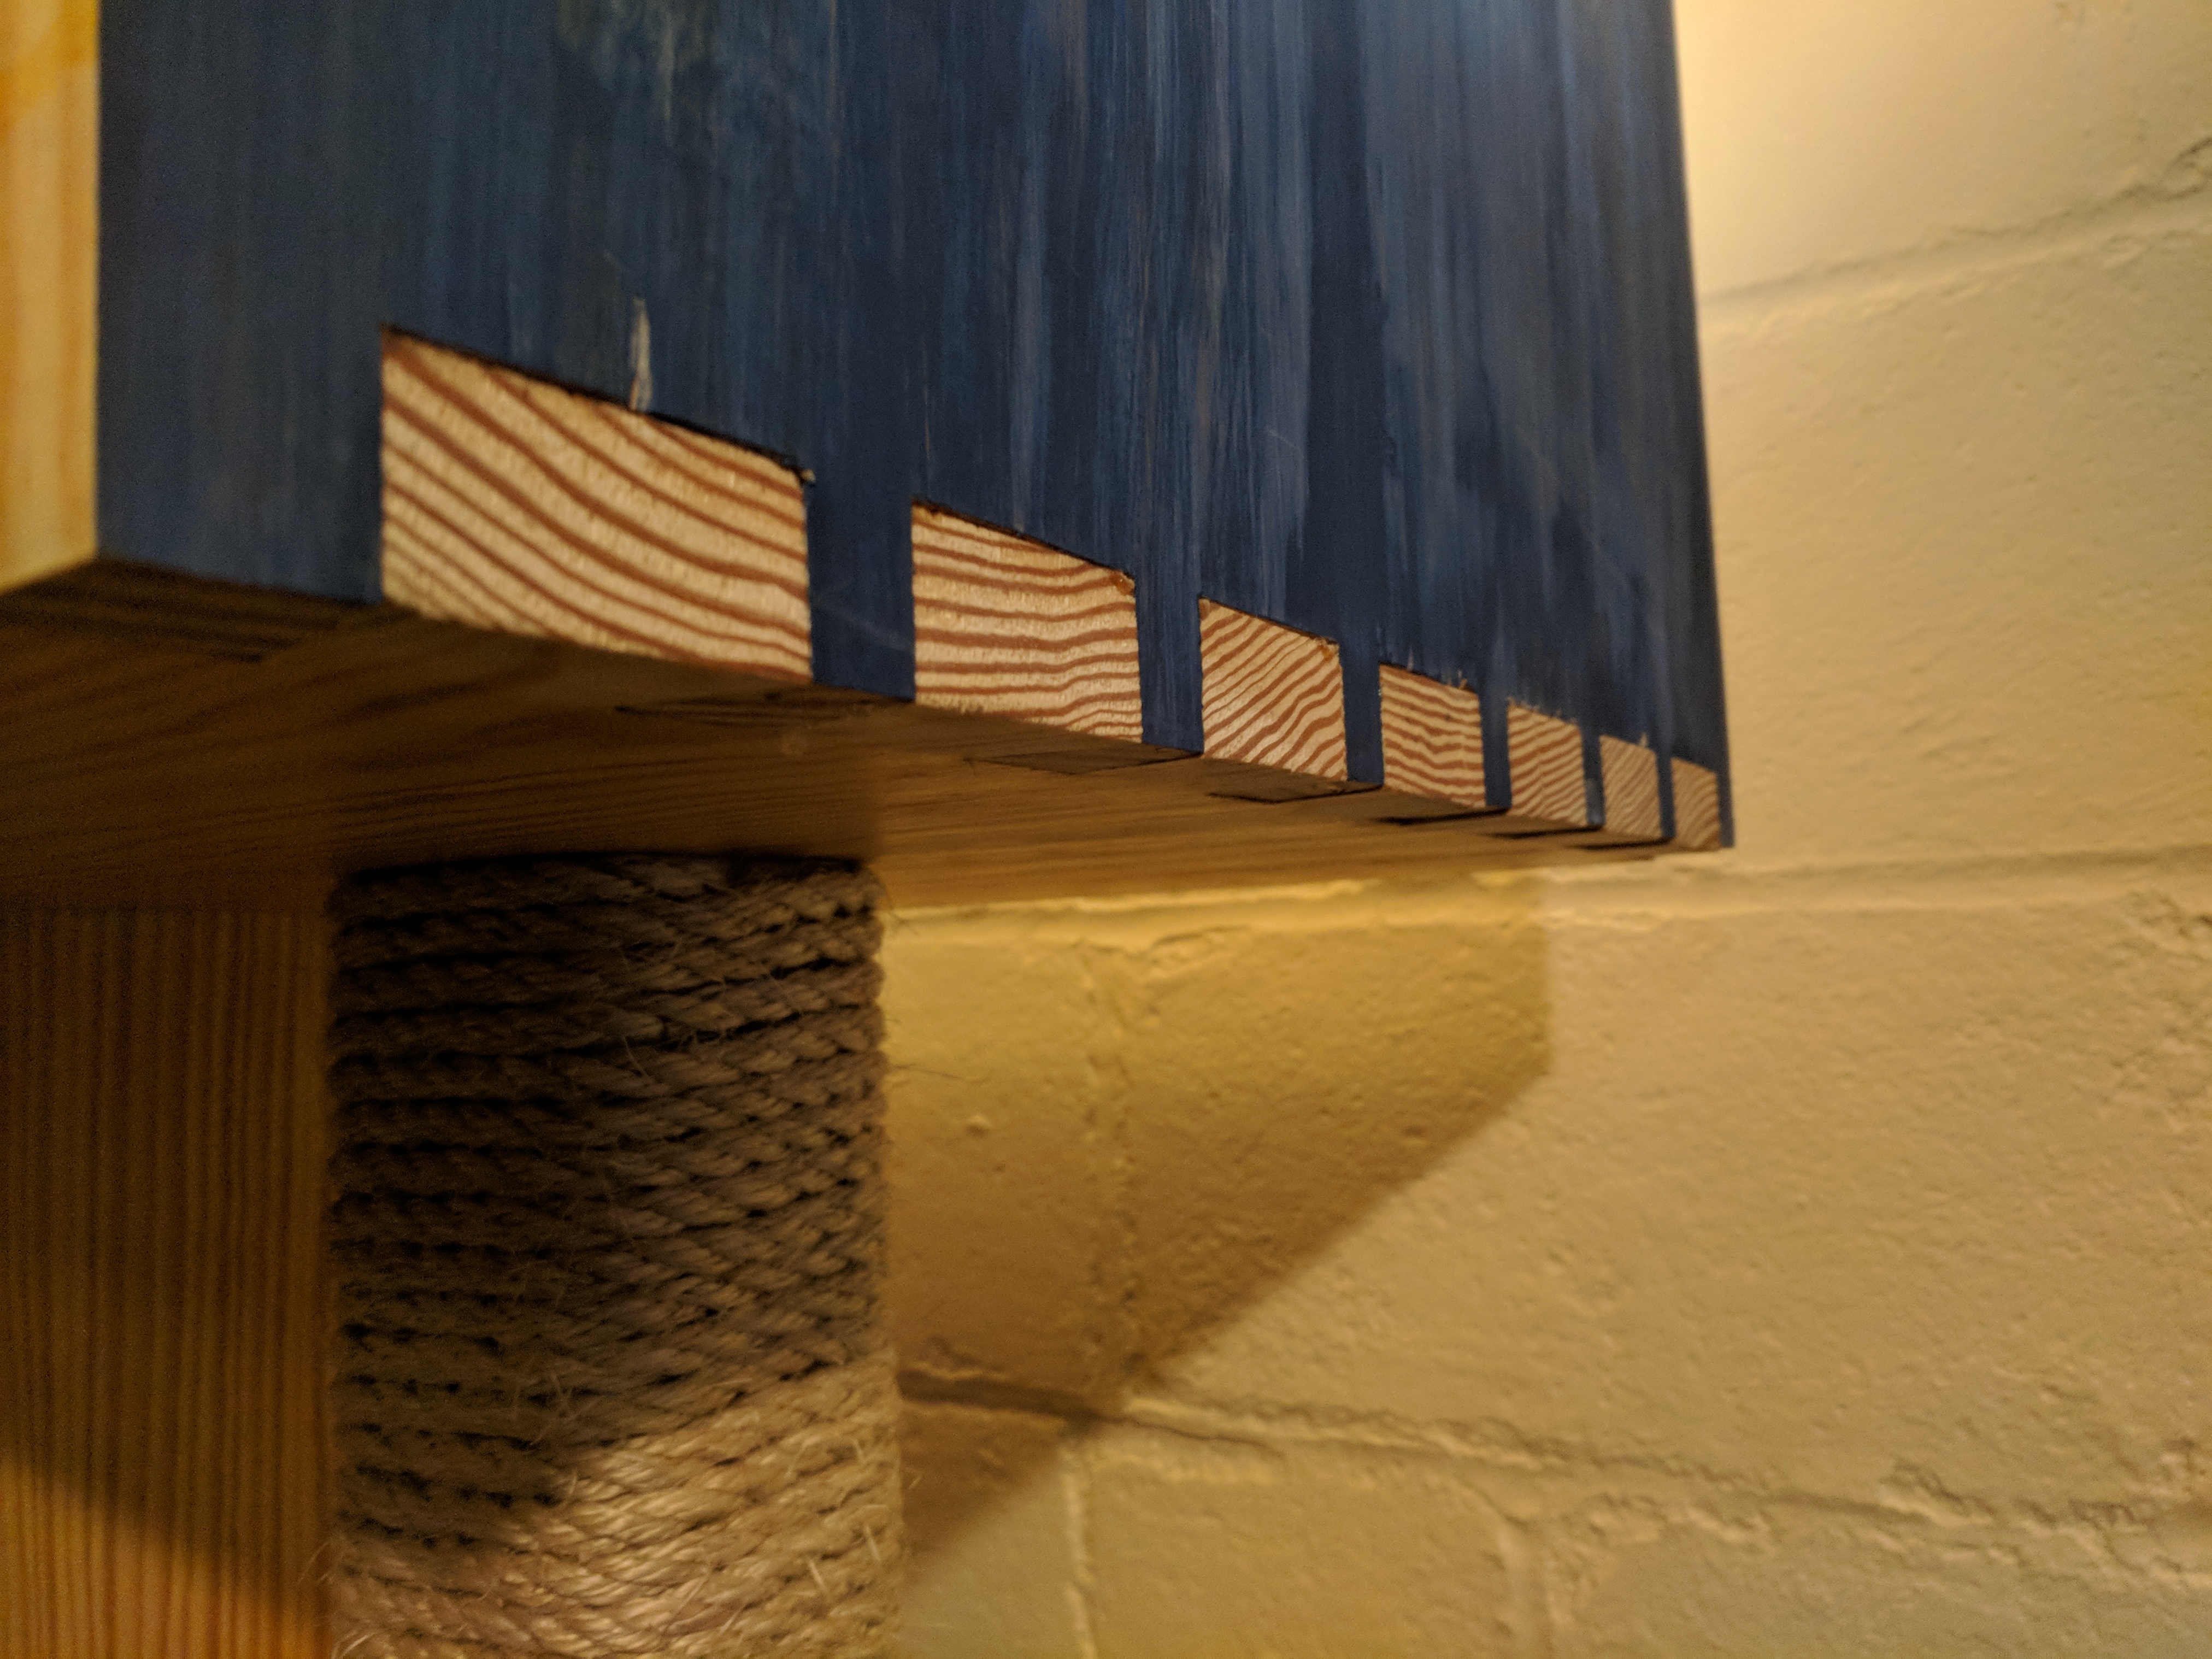
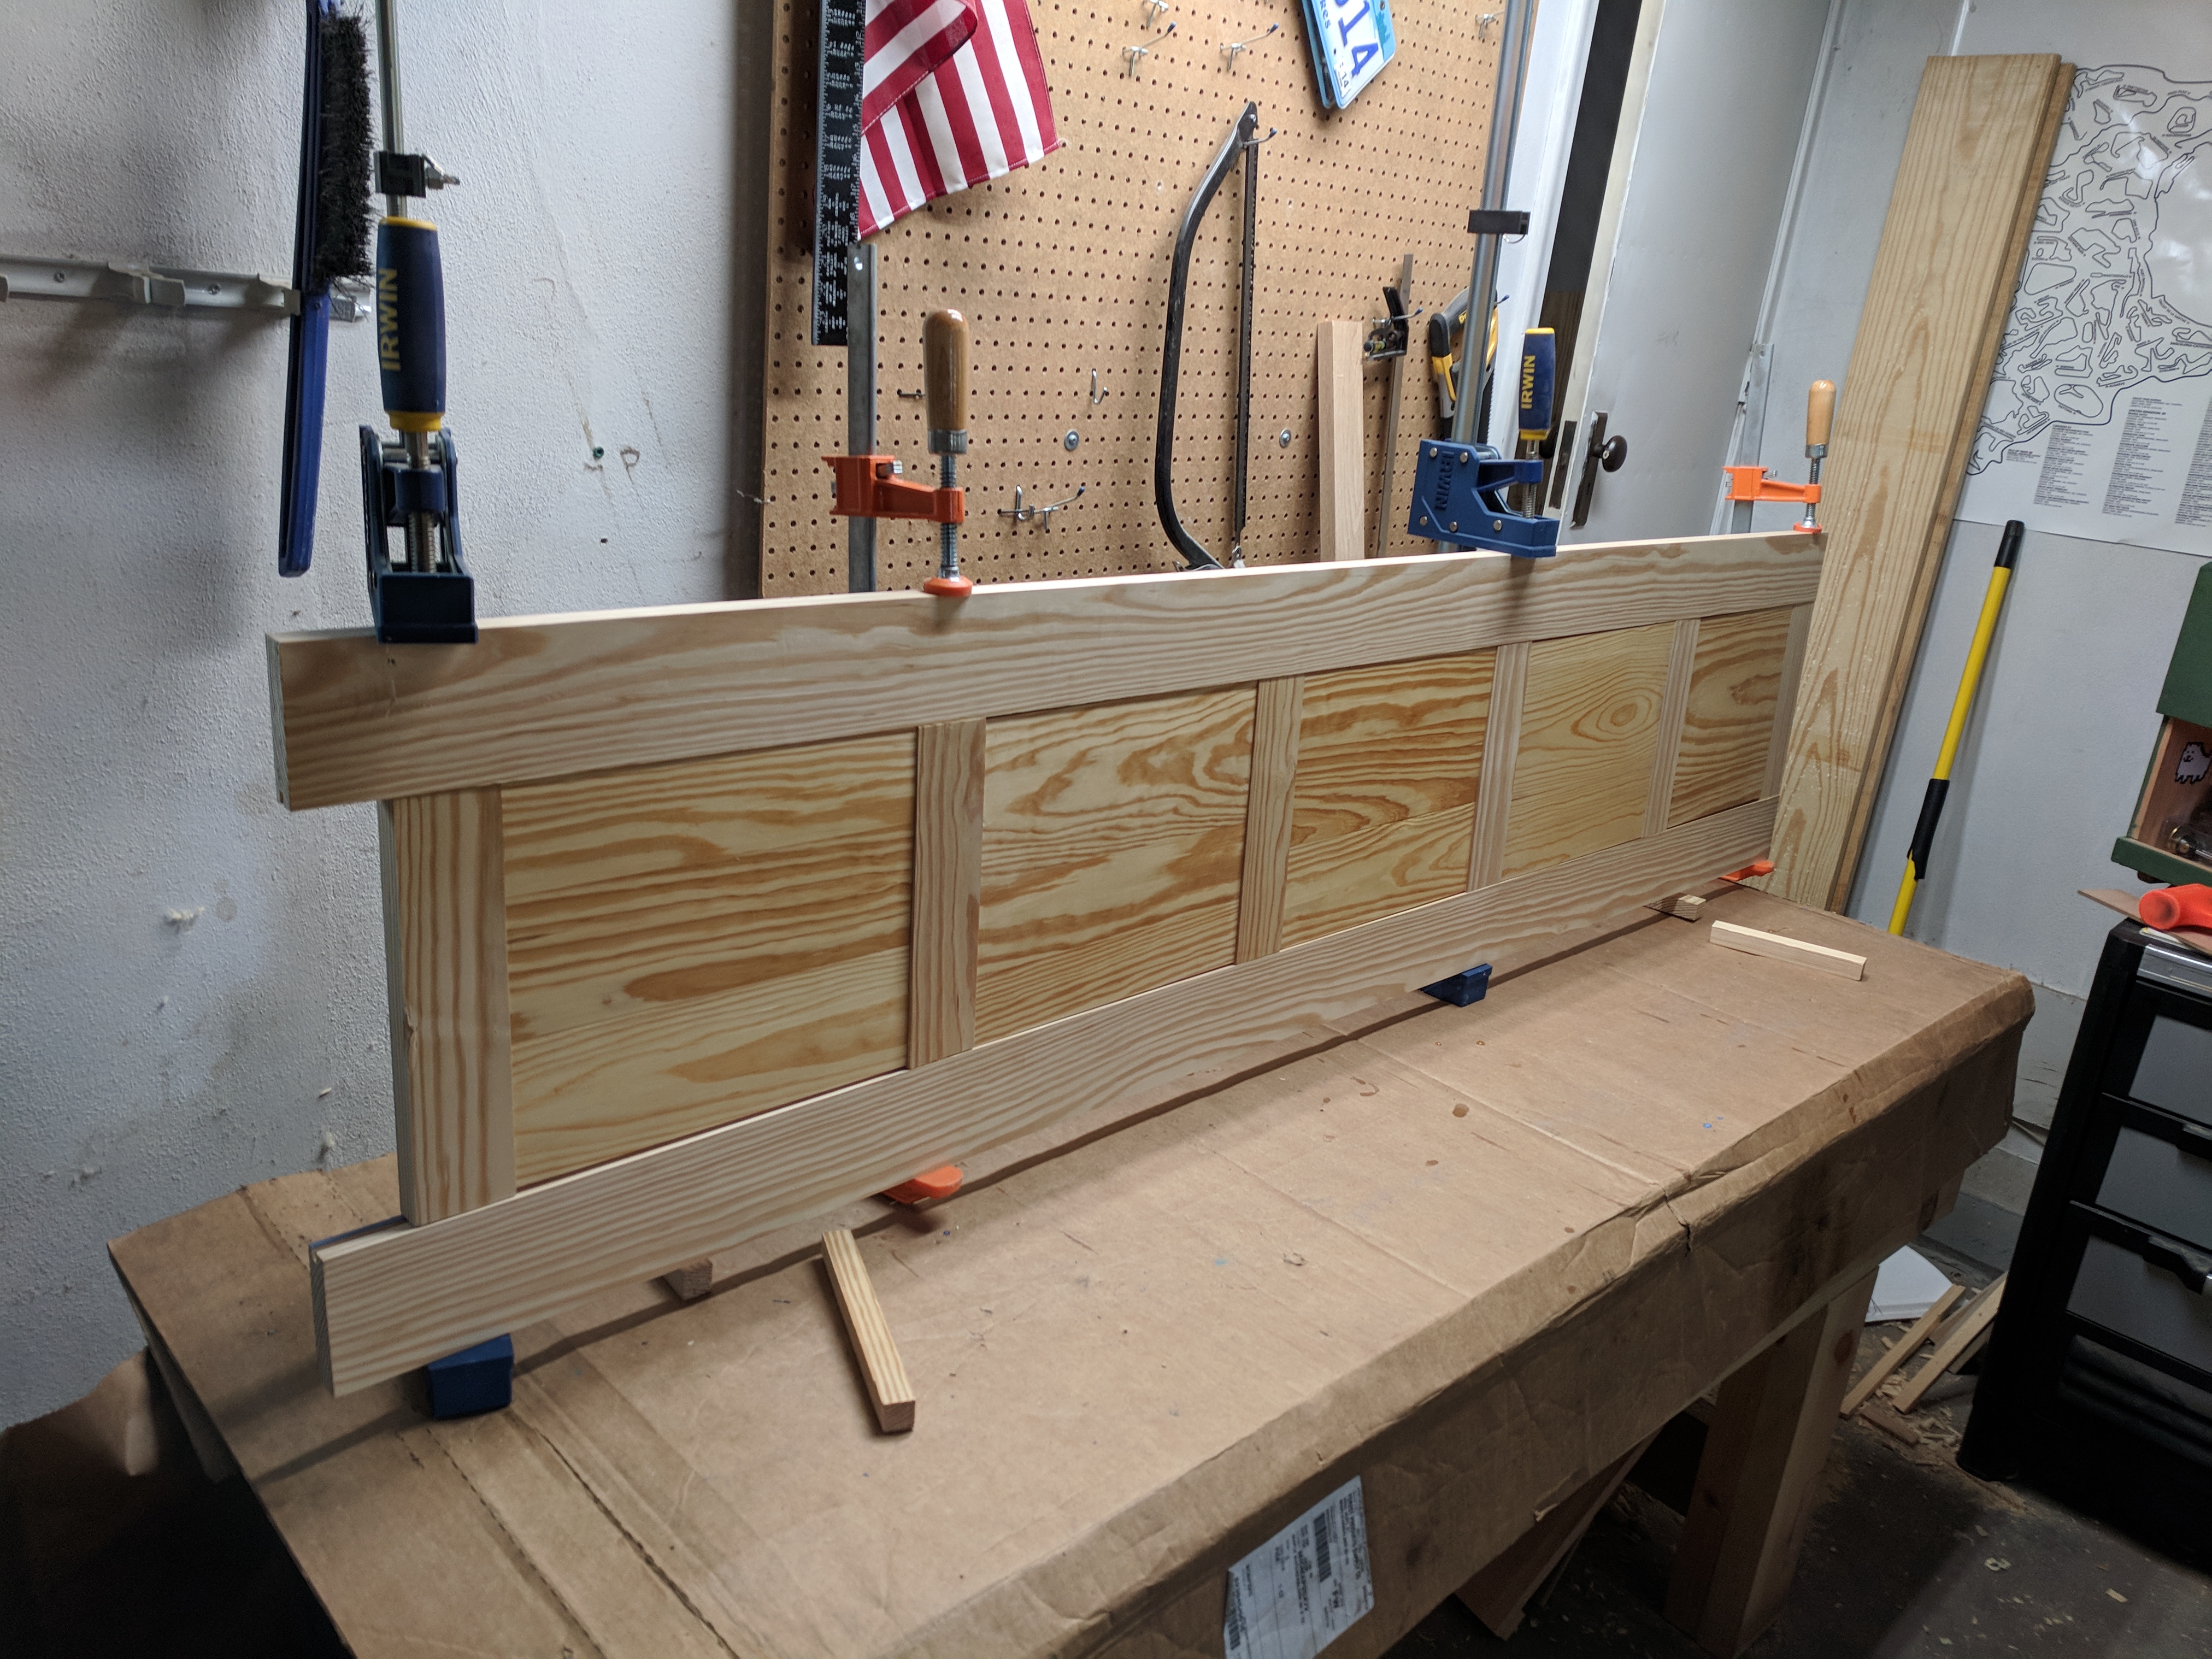
With the panels glued up, I basically started with the joinery from the bottom and worked my way up. I cut the dovetails using a Knew Concepts coping saw that I bought off another member of the Something Awful forums woodworking thread, then cleaned up the waste with a chisel. The dadoes and rabbets were cut using a dovetail saw, chisel, and then router plane. This was my first time doing a frame-and-panel, and I was extremely pleased when all twelve mortise-and-tenon joints came together with all five panels in their grooves. I saved marking and cutting the dadoes in the frame-and-panel component until last, so I could mark the dadoes directly off of the rest of the dry-assembled components, preventing any measuring error. The back is 1/4″ veneered plywood. I cut most of the grooves for the back with the tongue-and-groove plane, and awkwardly cut the grooves that it couldn’t reach with a backsaw and chisel.
The project was painted with blue milk paint and then finished with some fast drying varnish. Annoyingly, winter weather kicked in in the middle of finishing the project, so it had to sit for four months over winter until it was warm enough to continue with the finishing. On a test piece, I didn’t like the way the milk paint looked under the varnish, so I ended up leaving the milk painted surfaces without varnish. All of the exposed wooden surfaces were varnished, but I didn’t bother varnishing where the panels would be covered with carpet.
Glue-up was stressful and took my wife and I several practice runs until we felt comfortable assembling the four panels for the base. Things lined up mostly well, especially considering the project sat over winter after cutting all of the joinery, but it still took some shoving and clamping. The joints were assembled with hide glue and five cut nails per dado. We then wrapped the scratching post (two 2x4s face-glued together) with twine and stapled on the carpet scraps, then shoved it against the wall and let the cats have at it.

Overall I’d consider this to be a practice project more than a learning project. There wasn’t much in the way of new techniques, but rather a lot more application of techniques that I’ve done only a few times before—lots of processing by hand, more panel glue-ups, twelve simultaneous mortise-and-tenon joints, three dovetail joints and lots of dadoes, all of which had to line up at assembly time. I feel I got more confident in cutting joinery after doing this much of it. And I’m happy with the result. While it’s not going to win any design or execution awards, our cats love it, and it fits with the style of our basement. Now on to the next project, already in progress…